 Skip to content
November 18, 2019
posted in: Tutorials
Project Overview
| Skill Level | Estimated Time |
| Advanced | 3-4 hours |
Materials and Tools
| Materials Needed: | Tools Needed: |
| 1/2 yard liteskin | Sewing Machine |
| 10″ x 10 ” mesh | Scissors |
| 3 zipper pulls | Ruler/Tape Measure |
| 21″ waterproof zipper | Marker or Chalk |
| 10″ zipper | |
| 2 Beam pullers | |
| 1 mitten hook | |
| 6 3/4″ x 1/2″ grosgrain | |
| Thread of your choice |
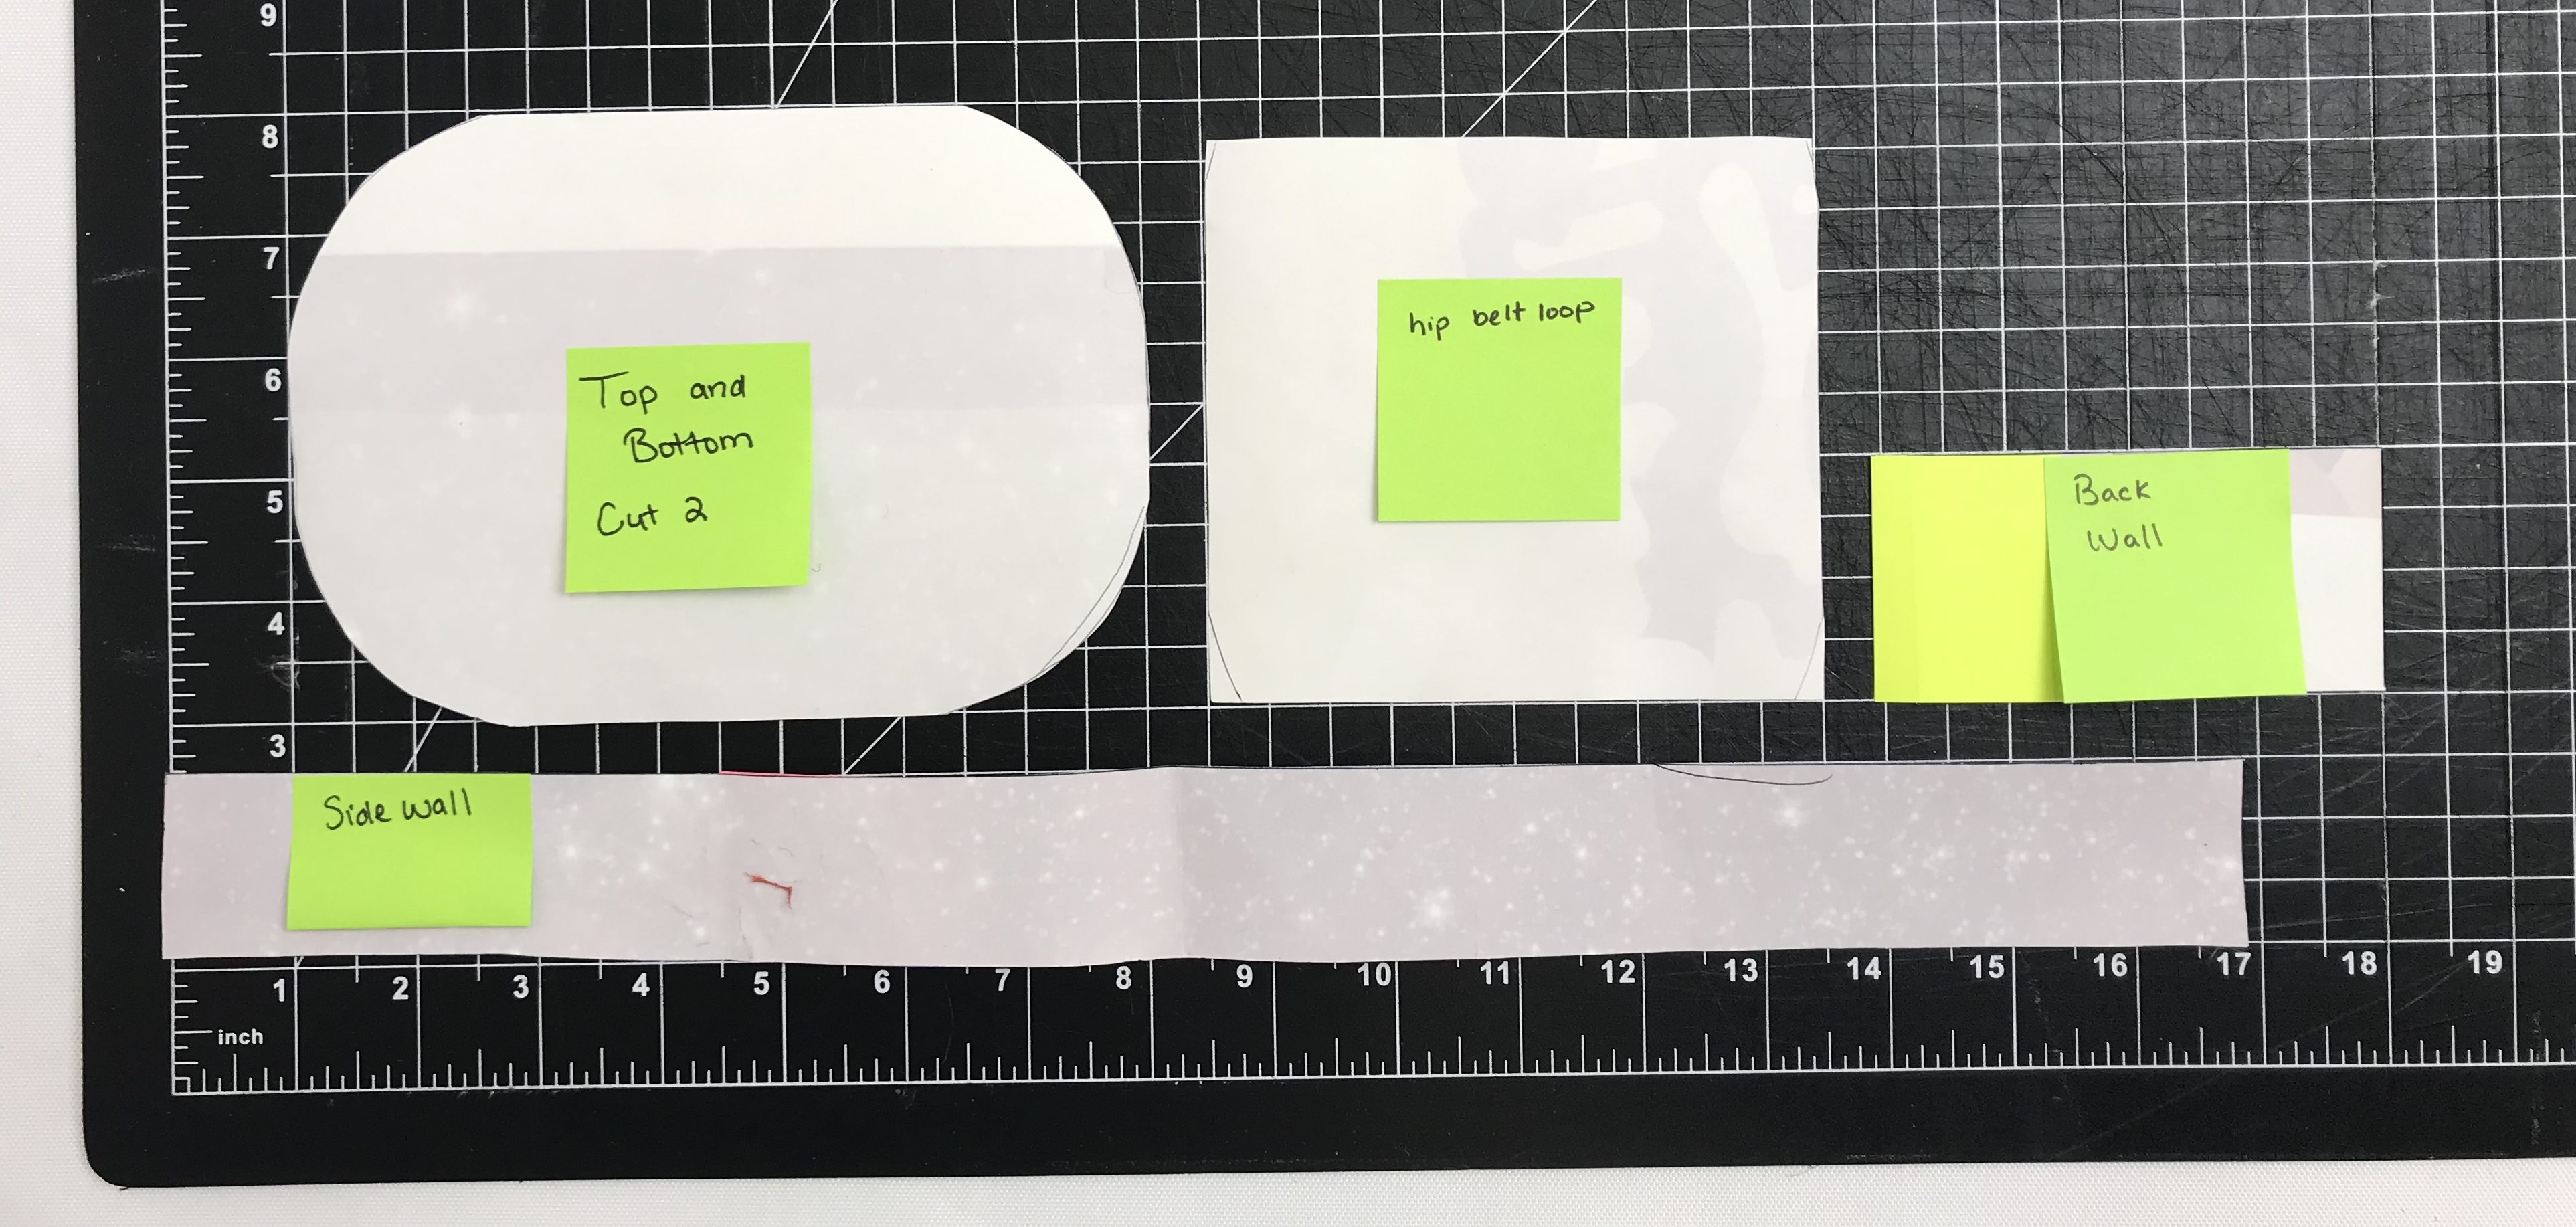
Pattern Components
- Top and Bottom
- Side wall
- Back wall
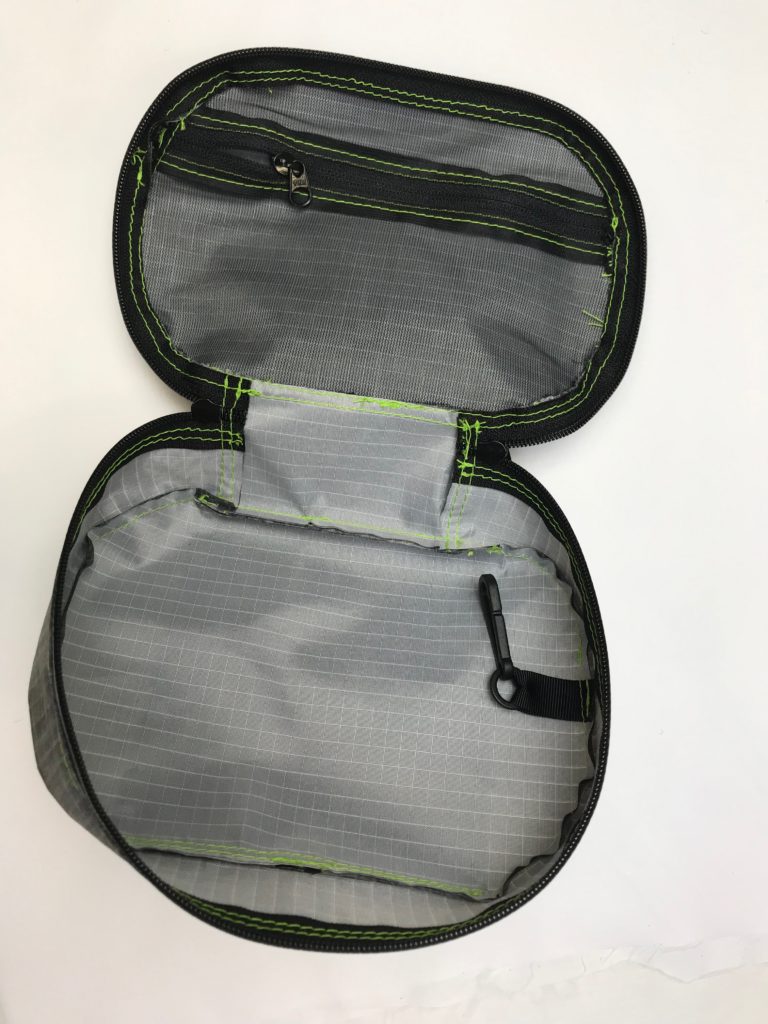
Instructions for a “catch all” to organize all your odds and ends that never have a specific place in your pack. Features include: a mesh pocket for smaller items, a small hanging loop, a small key ring hook, and a large hip belt loop.
Step 1:
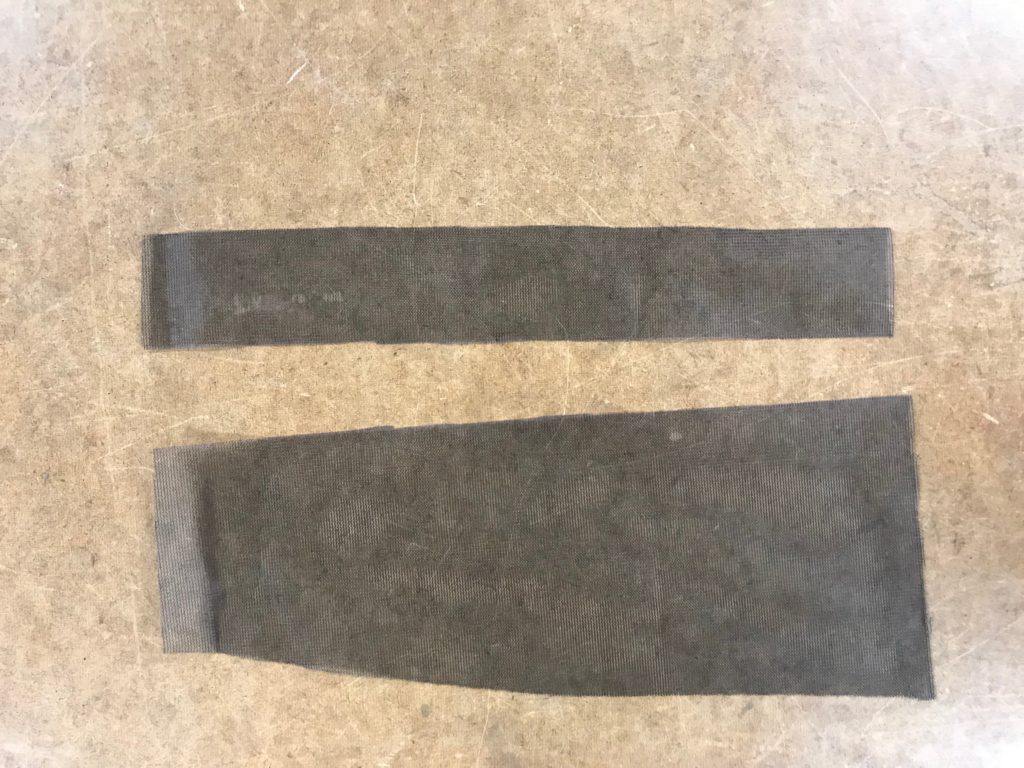
Cut all pattern pieces from mesh and liteskin, following directions from each pattern piece.
Pattern Piece Measurements:
- Top and Bottom 7″ x 5″
- Back Wall 2″ x 4″
- Side Wall 17″ x 1 1/2″
- Hip Belt 5″ x 4 5/8″
Step 2:
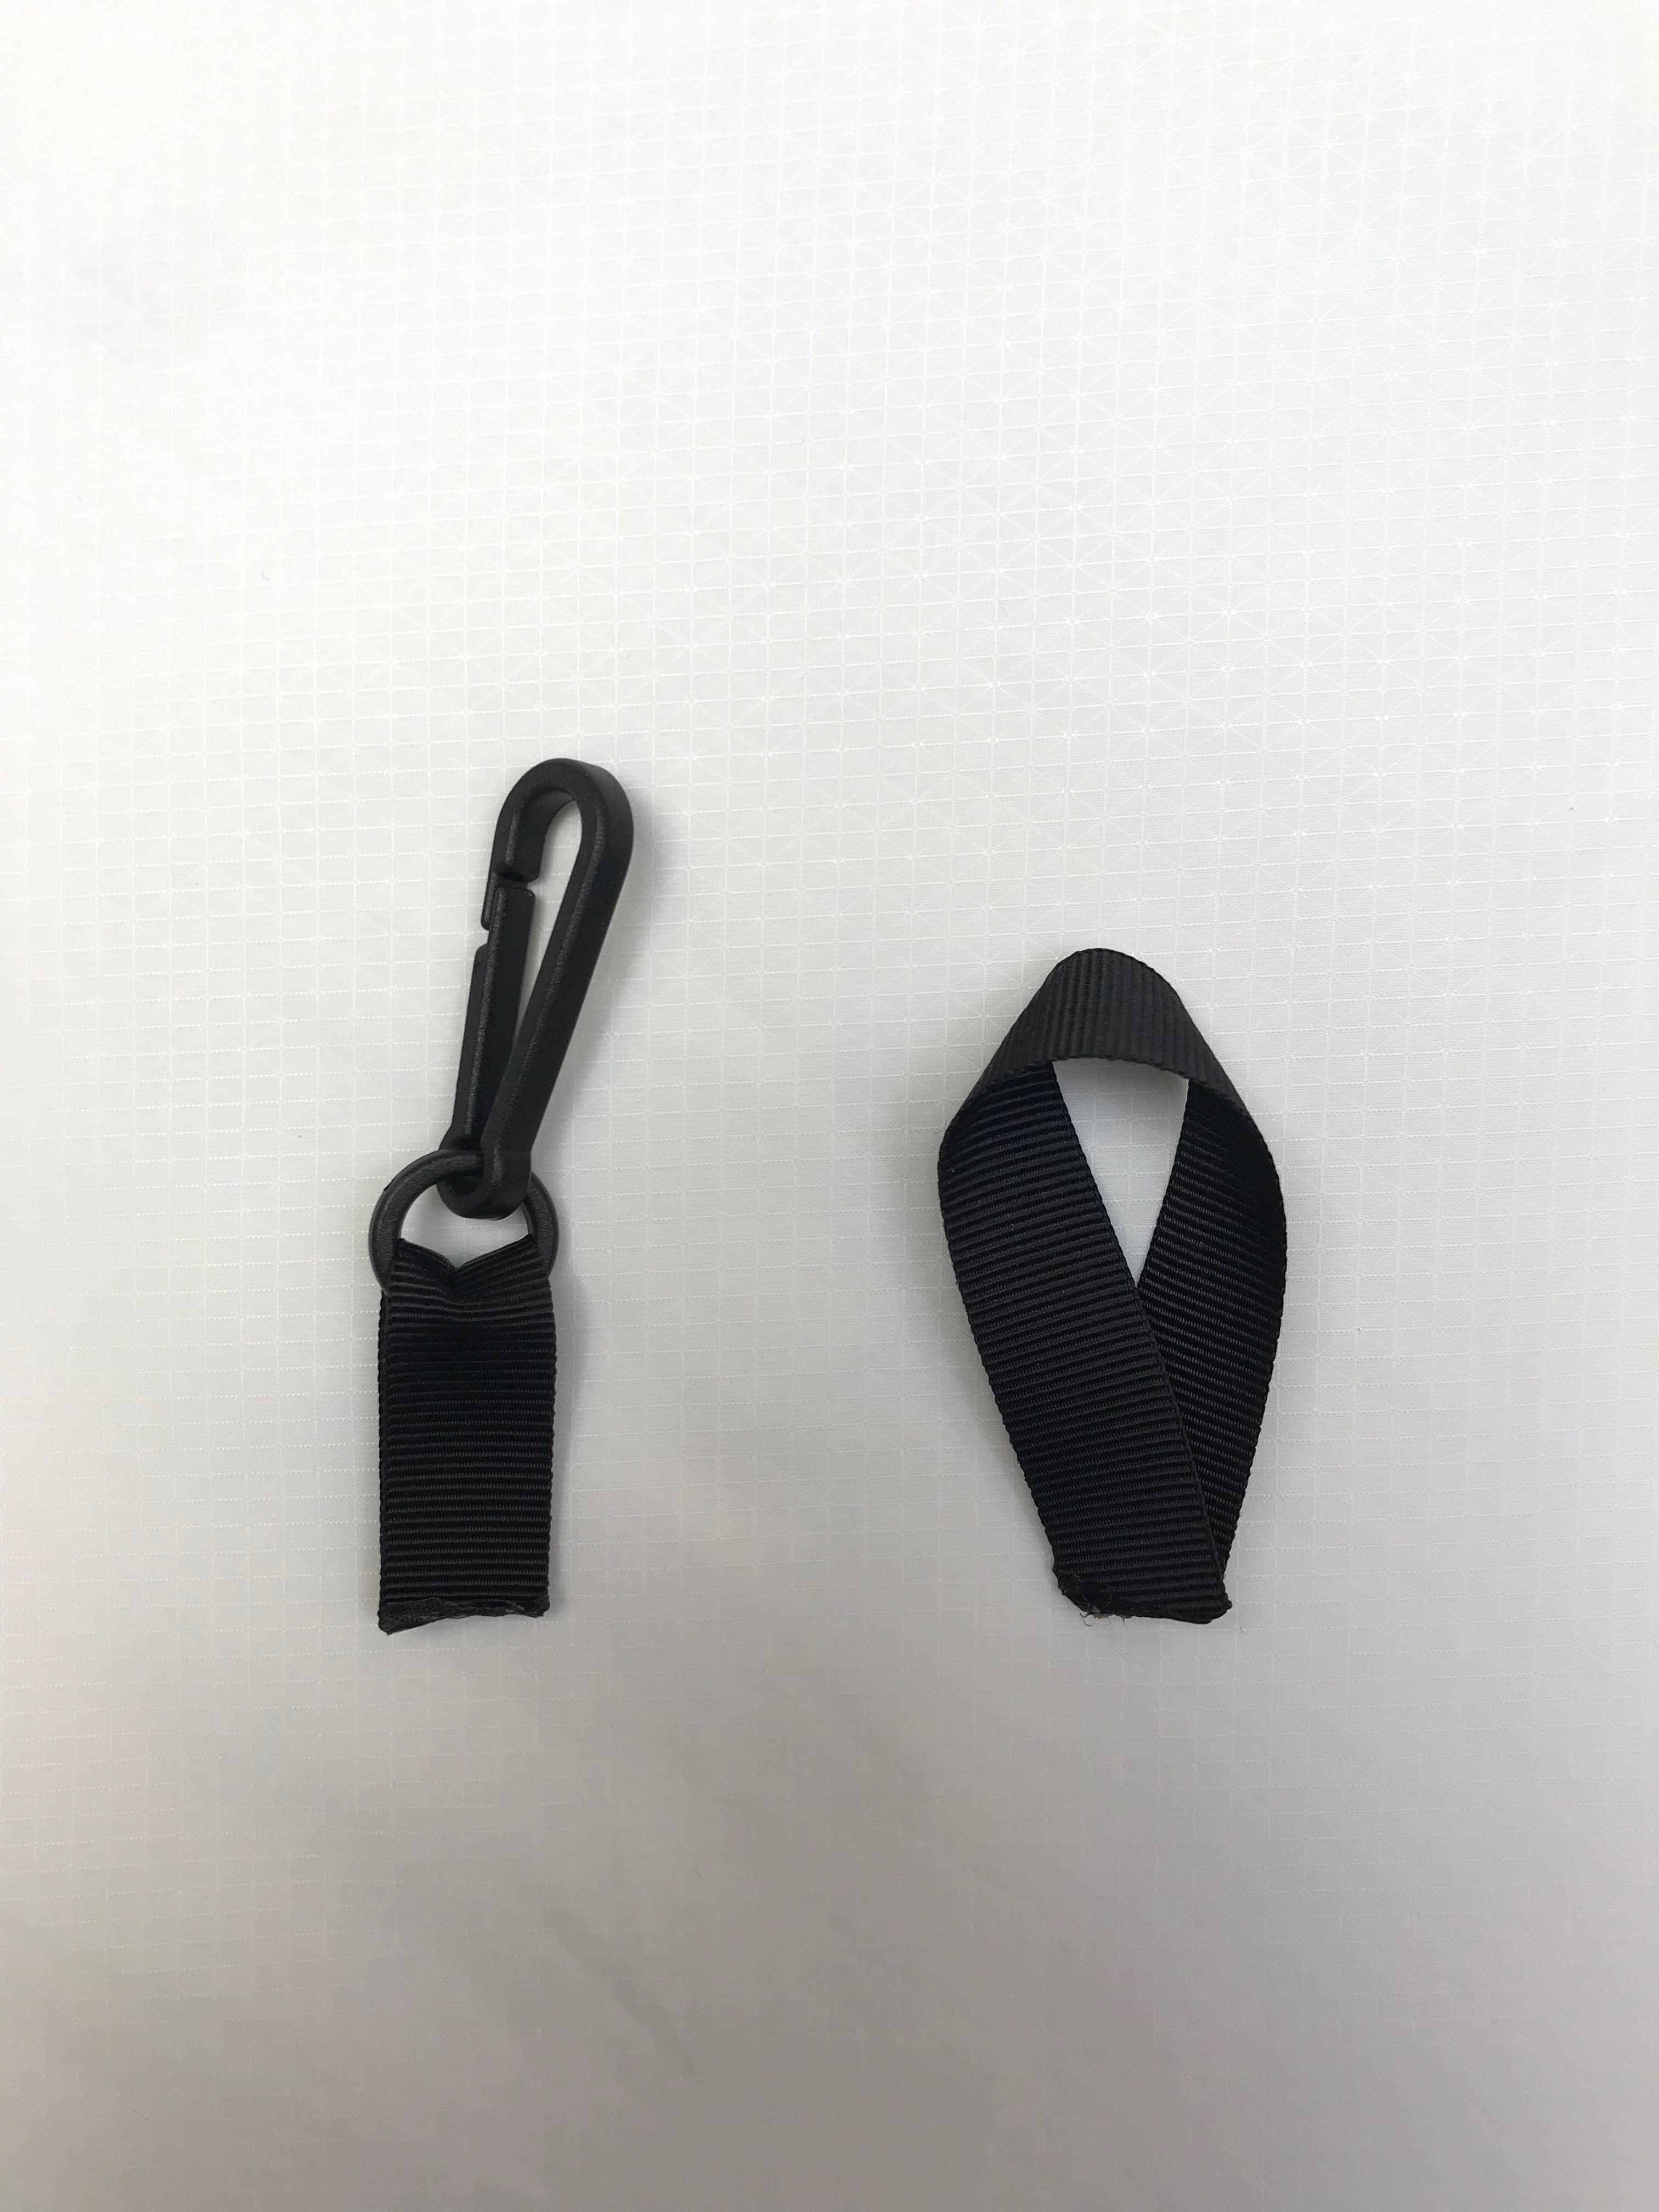
Cut 1/2″ grosgrain into 2 pieces measuring 2 1/2″ and 4 1/4″ .
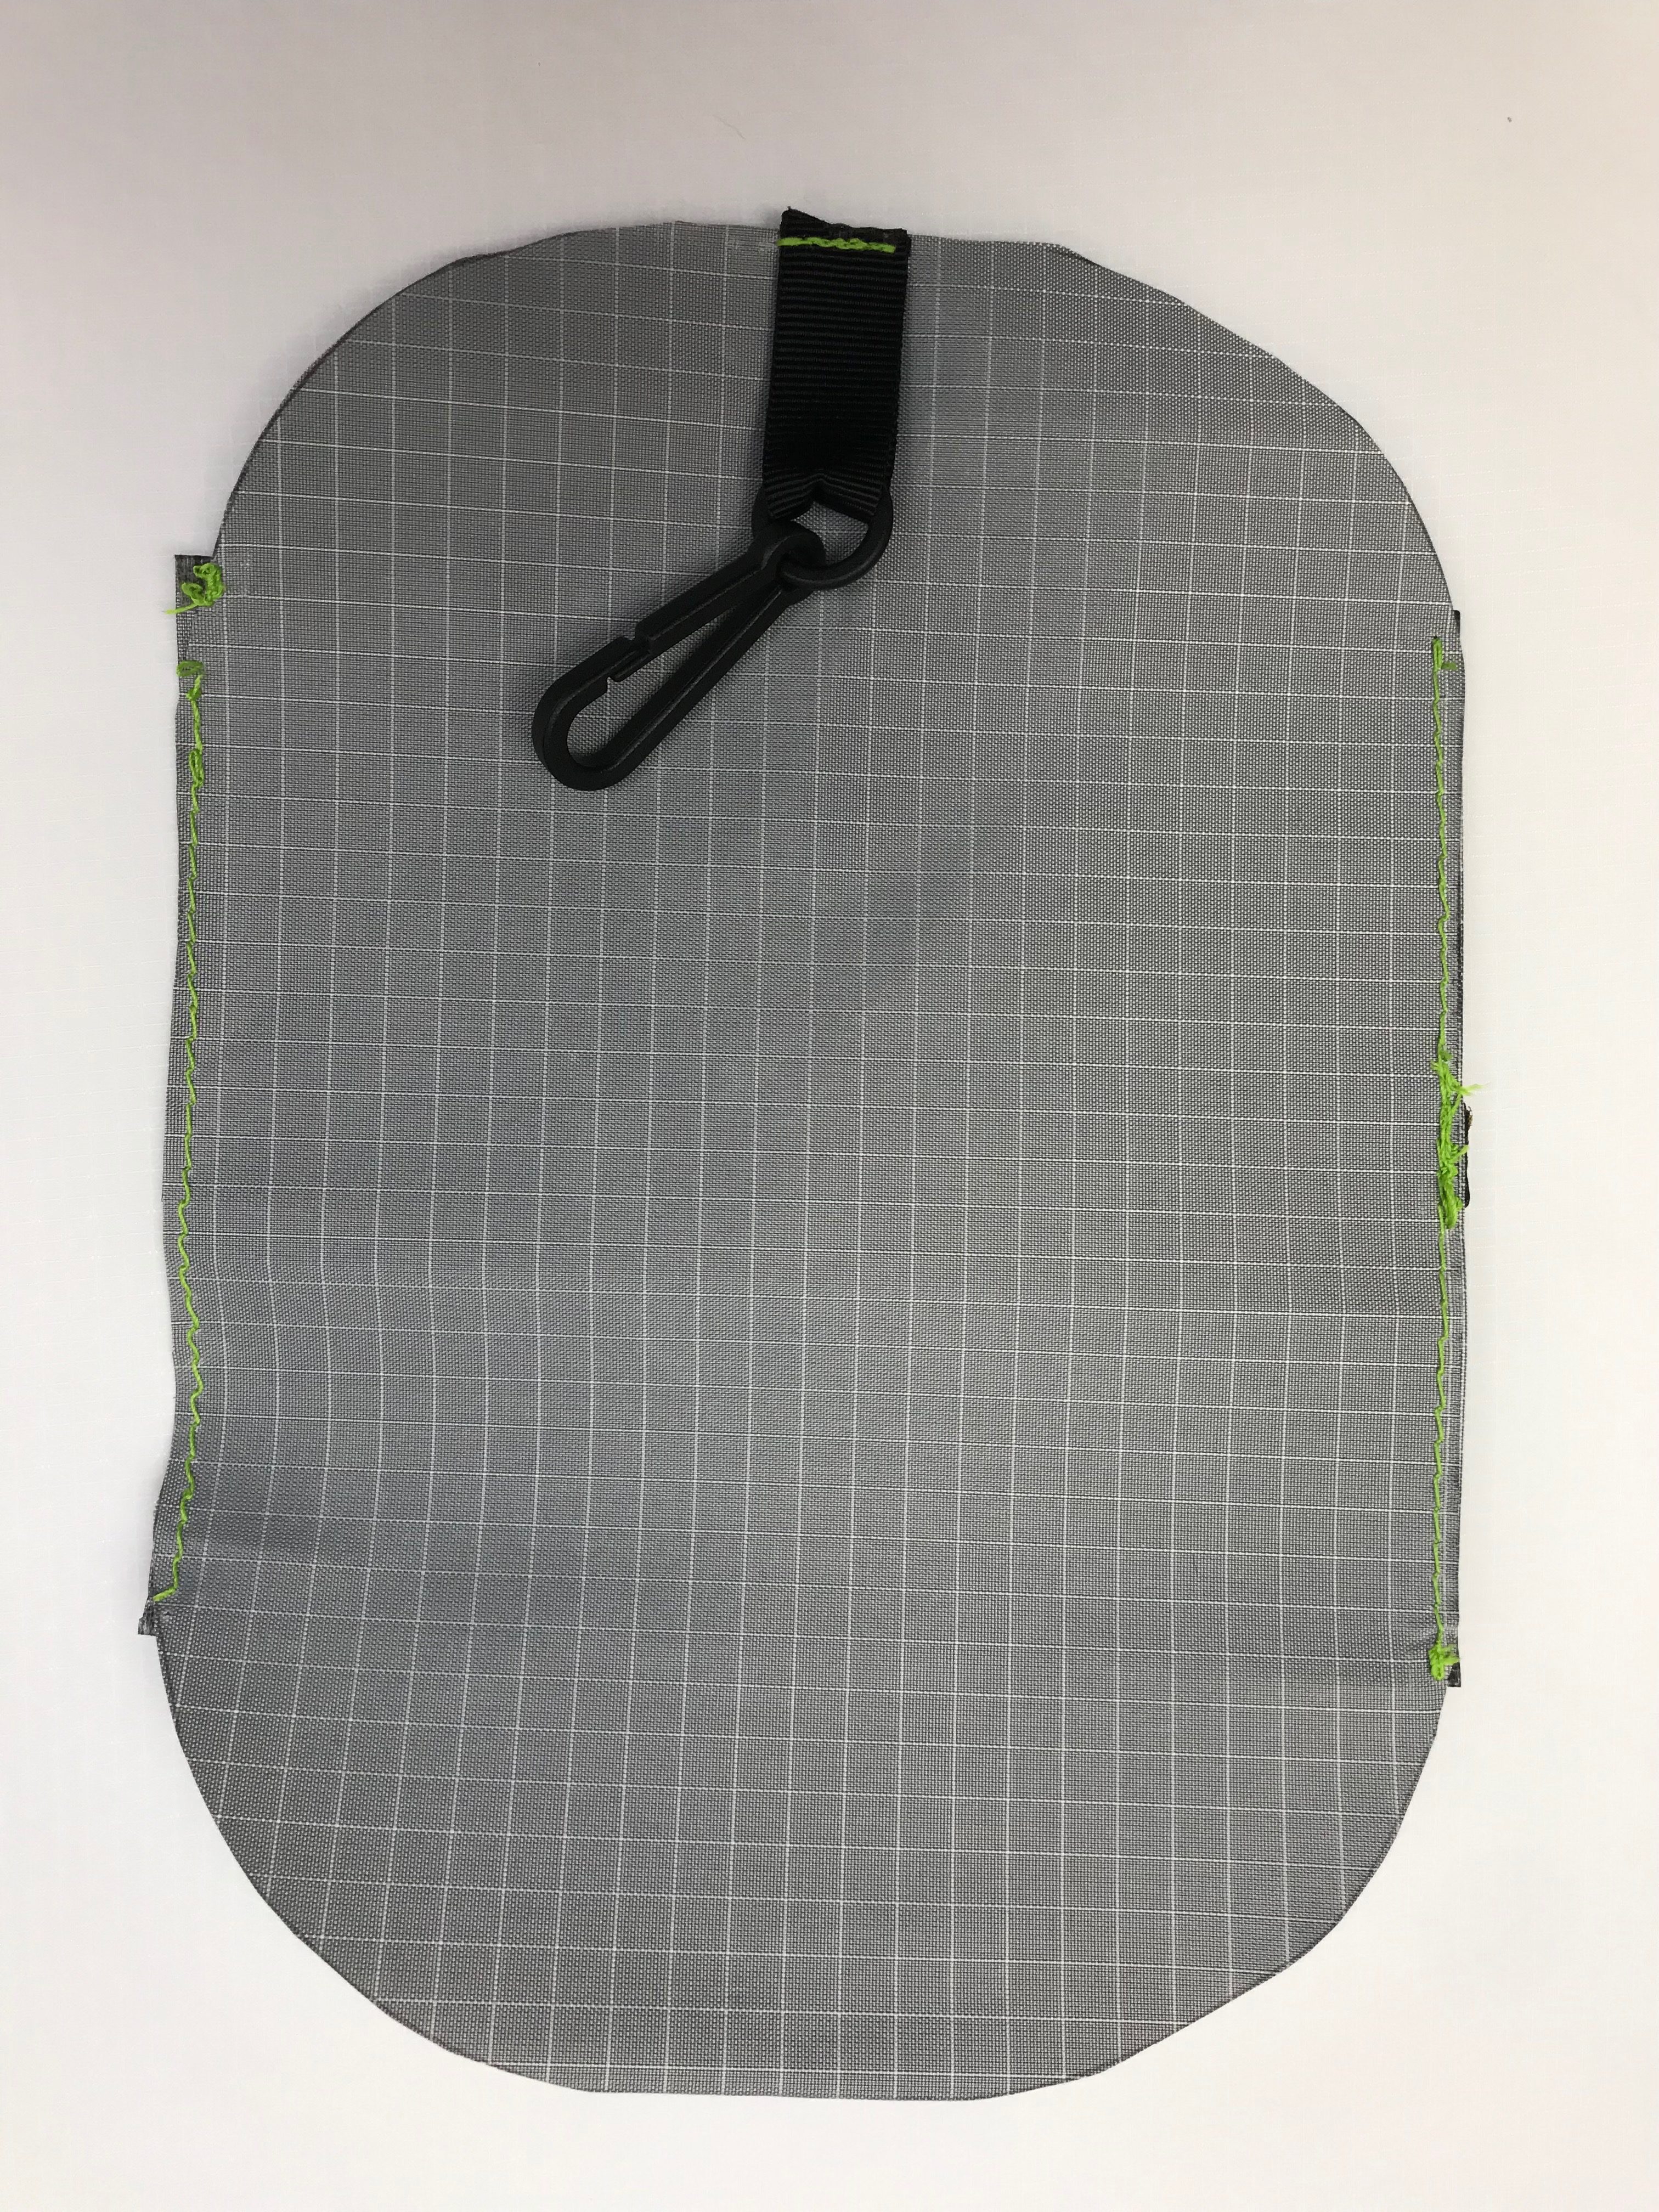
Step 3:
Thread easy mitten hook with the 2 ½” grosgrain, fuse ends together with flame.
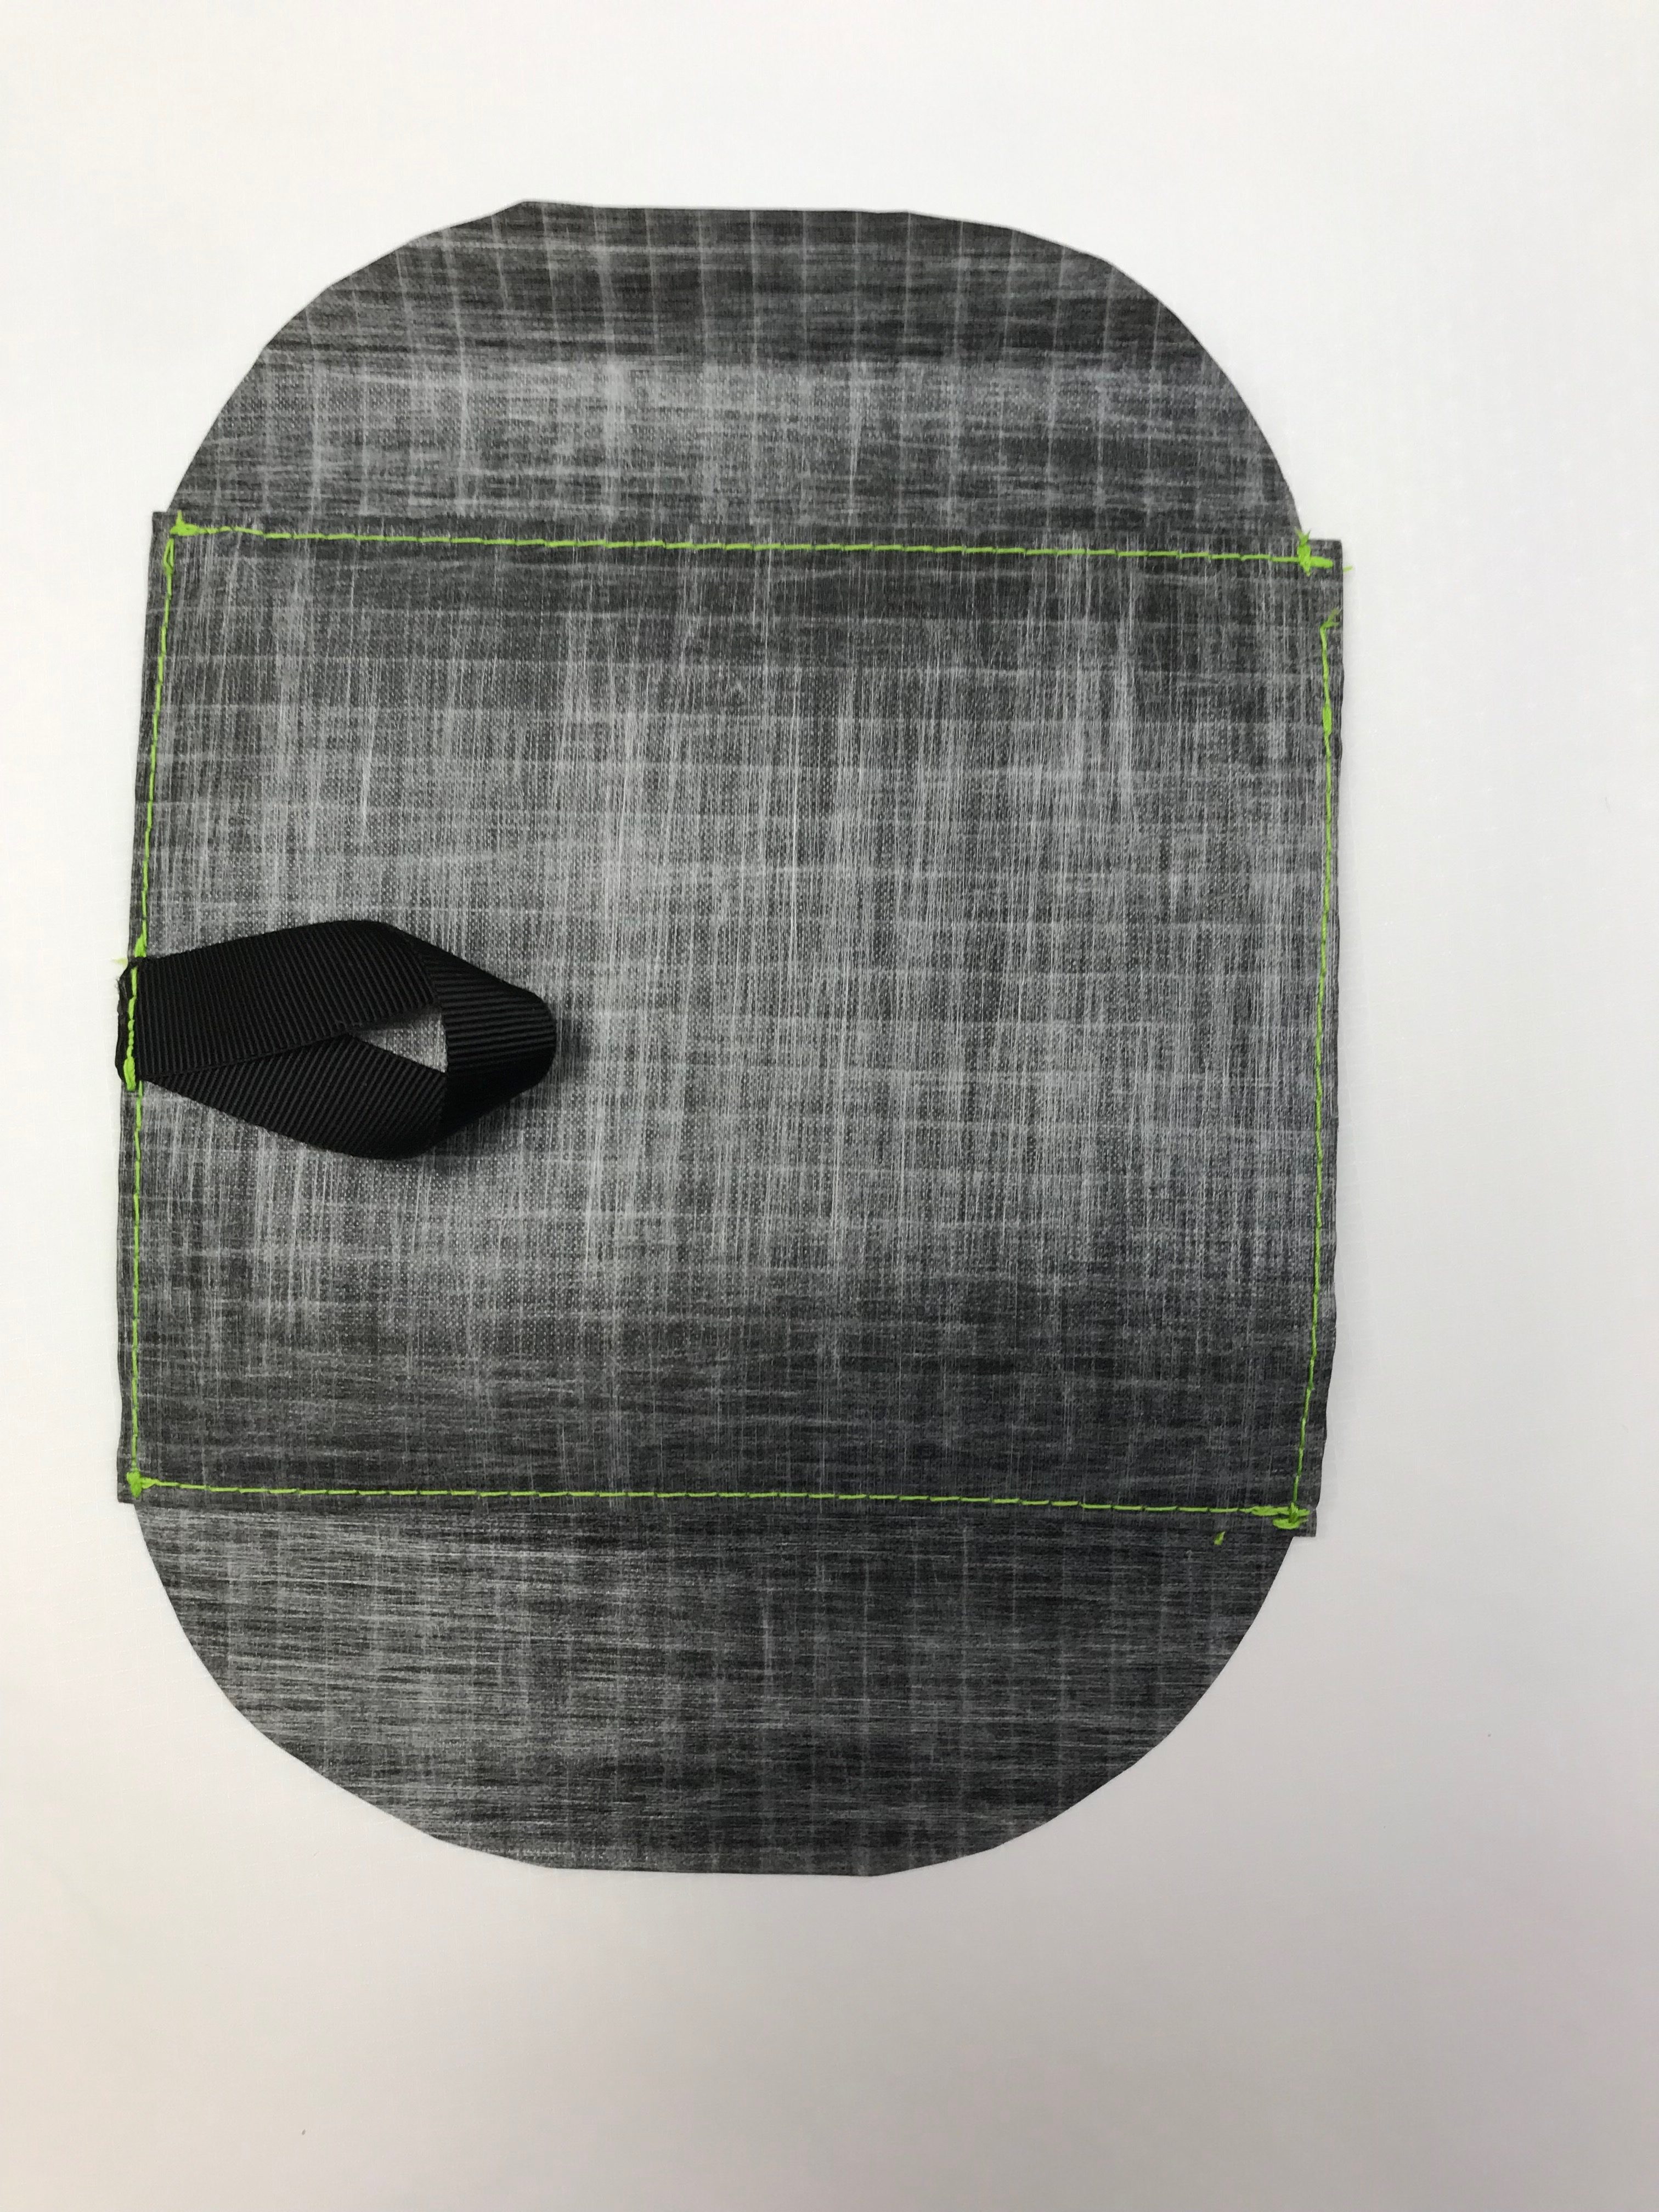
Step 4:
Twist 4 ¼” grosgrain tab once to make loop stand open, fuse ends with flame.
Step 5:
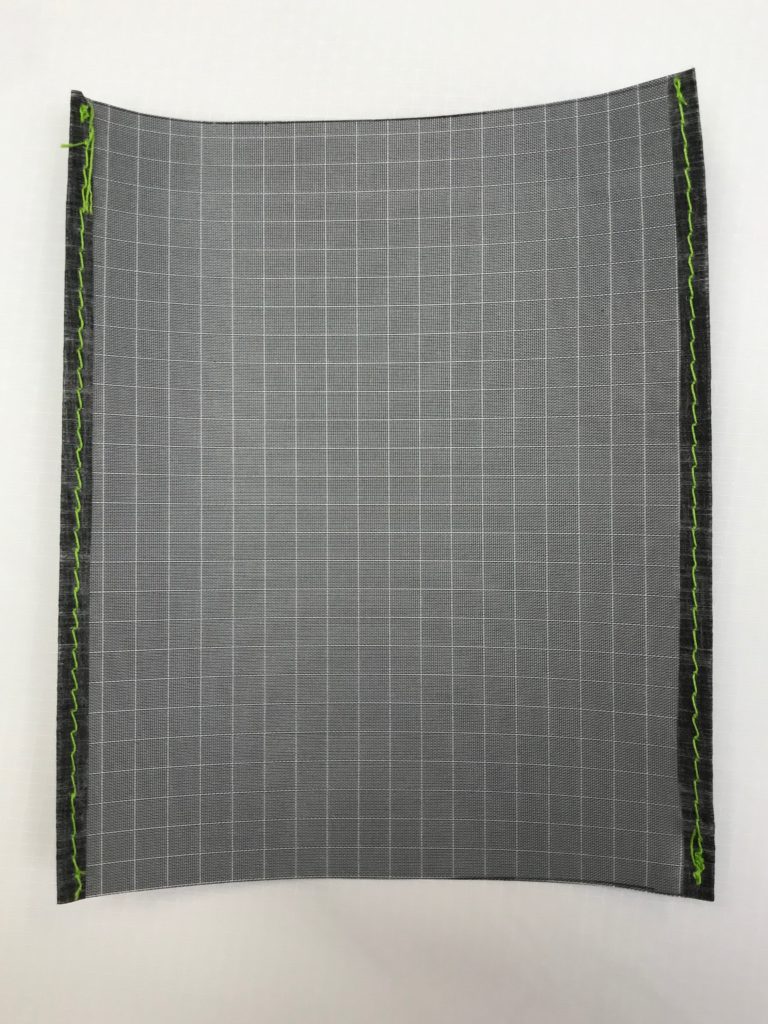
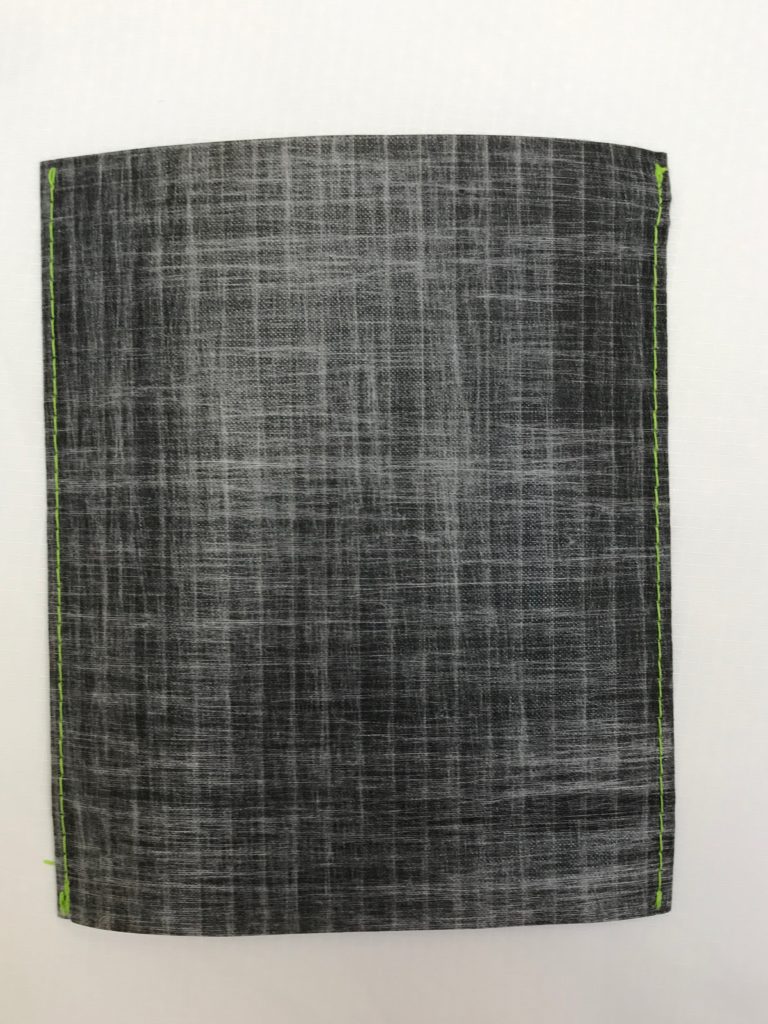
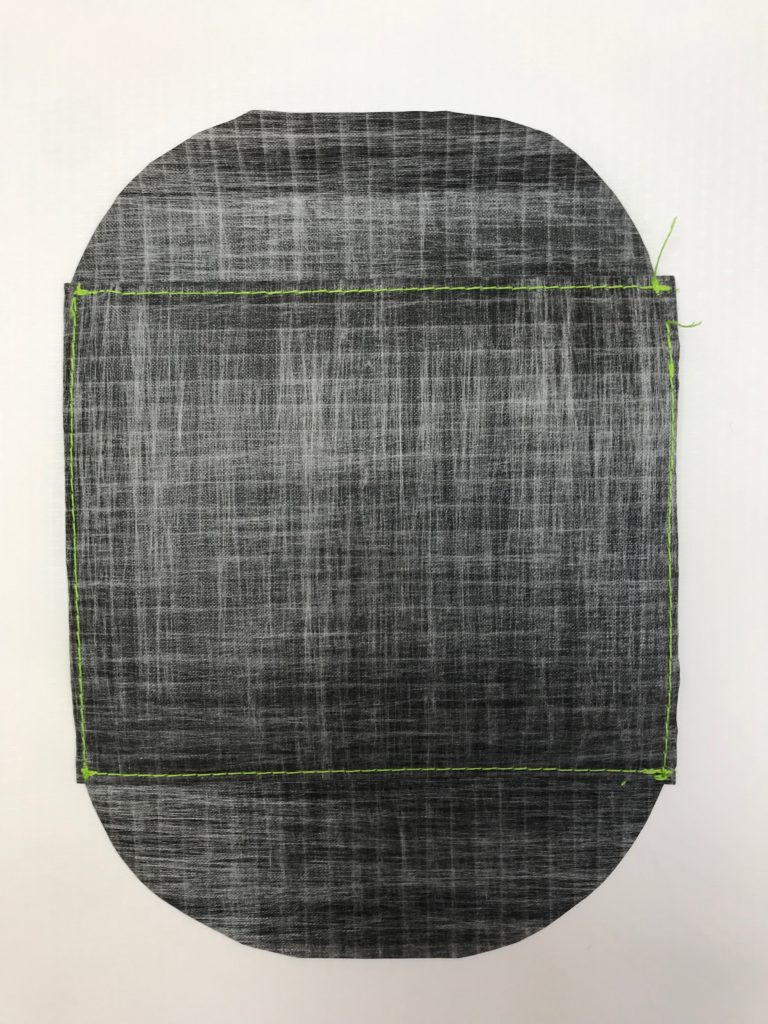
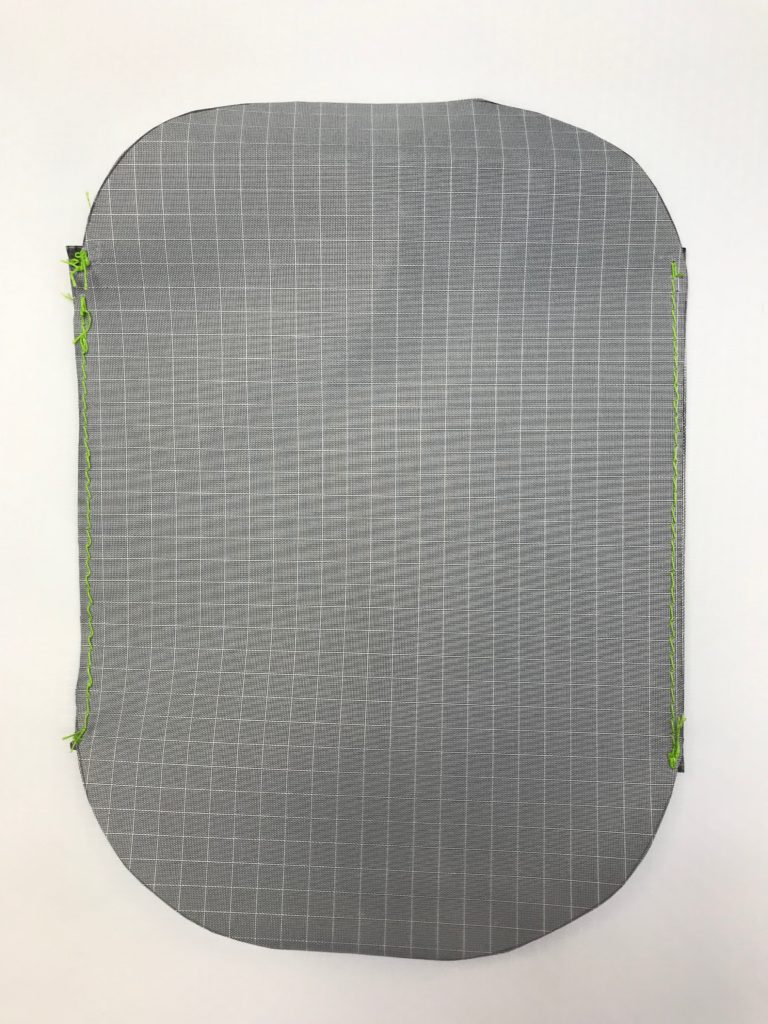
Hem hip belt sides (long edge) with a narrow seam.
Step 6:
Baste hip belt to bottom panel, using narrow seam allowance.
Step 7:
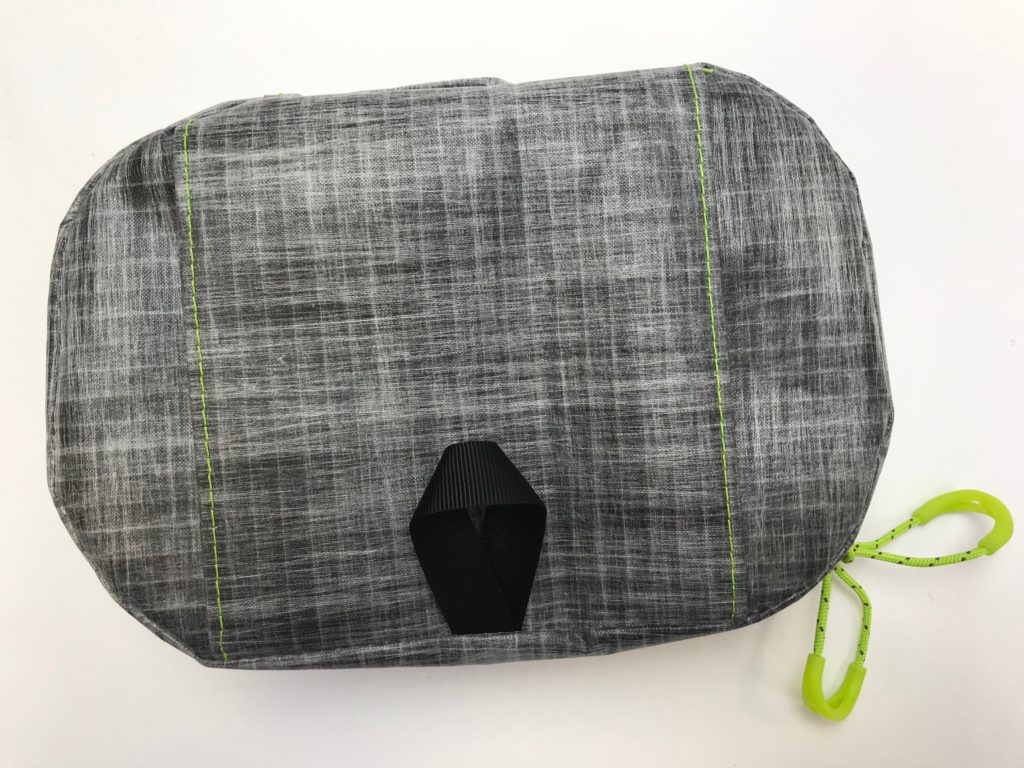
Bar tack 4 ¼” loop to bottom panel, on the right side .
Step 8:
Bar tack easy mitten hook tab to center wrong side end of bottom panel.
Step 9:
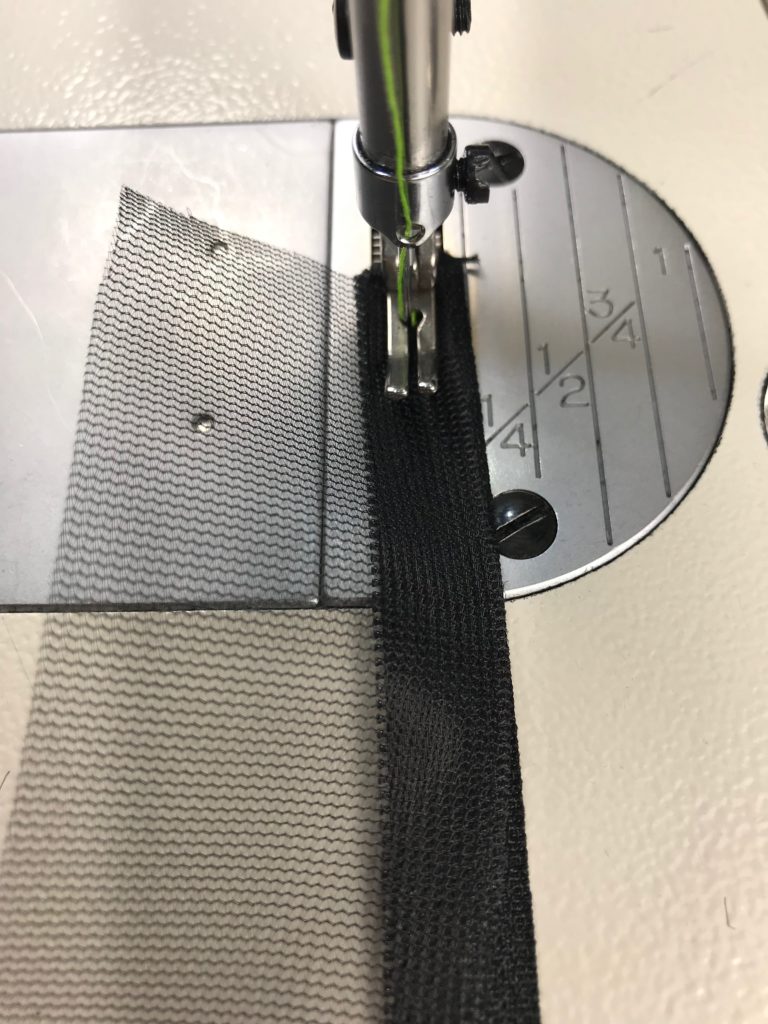
Mark and split mesh, sew half of zipper to half of mesh, right sides together. Turn right side up, topstitch with a narrow hem.
Step 10:
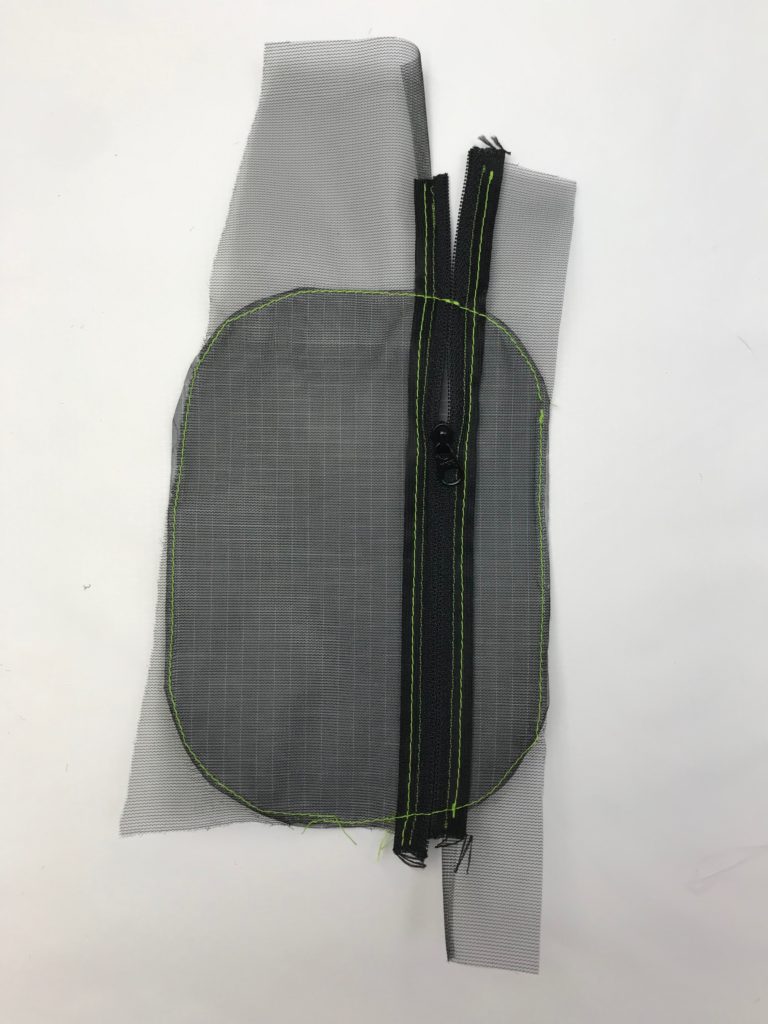
Repeat for second half of mesh.

Step 11:
Zip both halves of the mesh together
Step 11:
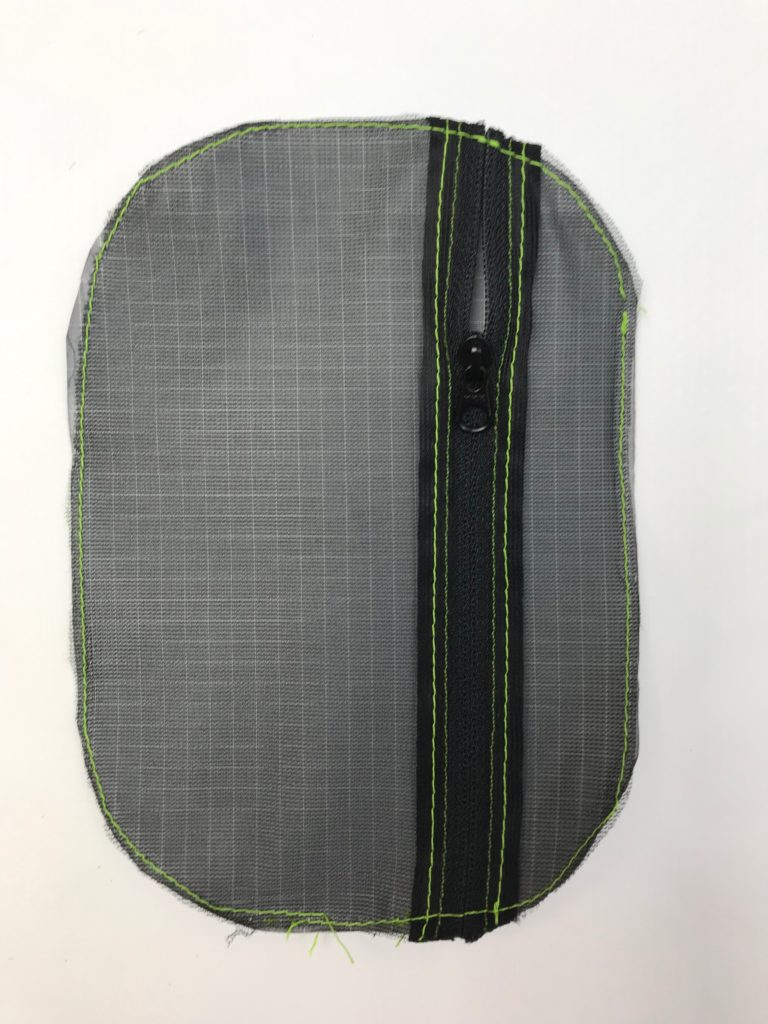
Center mesh zippered piece to top panel (lid), baste with a topstitch and narrow seam allowance.
Step 12:
Trim edges.
Step 13:
Put 2 zipper pulls to waterproof zipper.
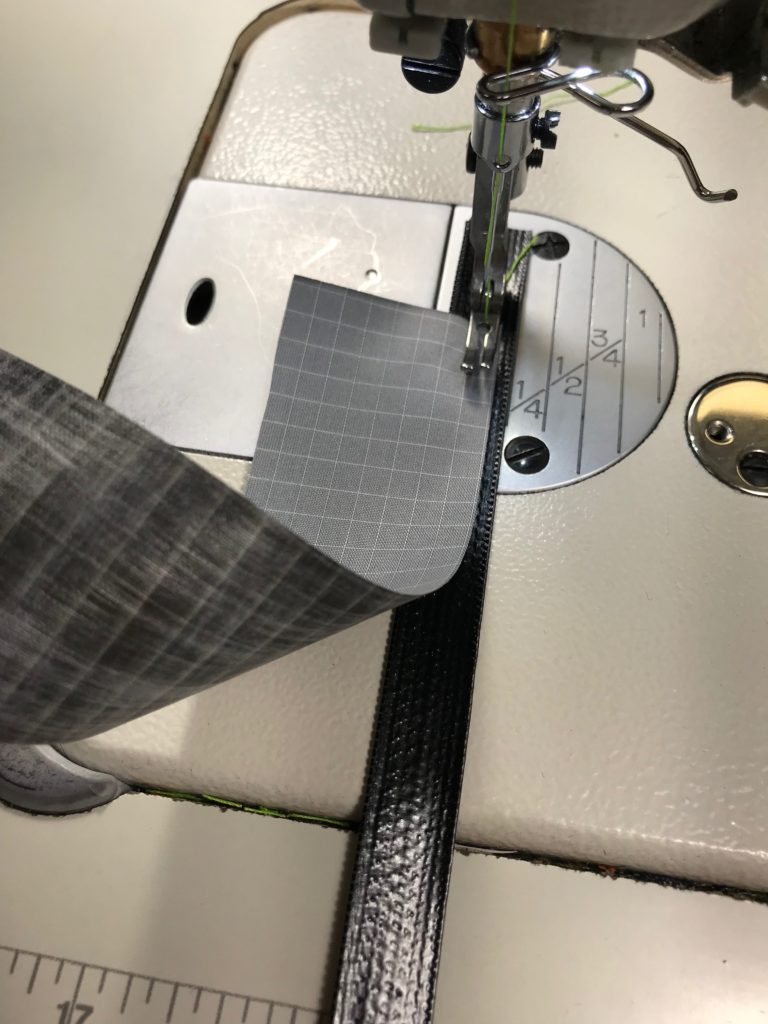
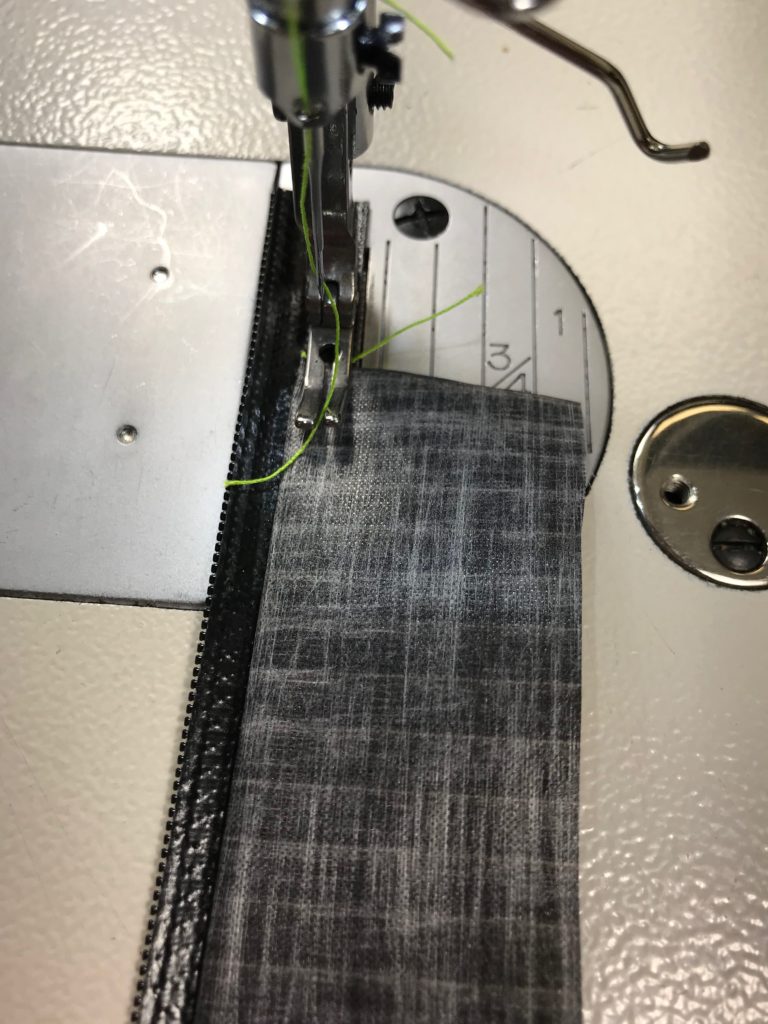
Step 14:
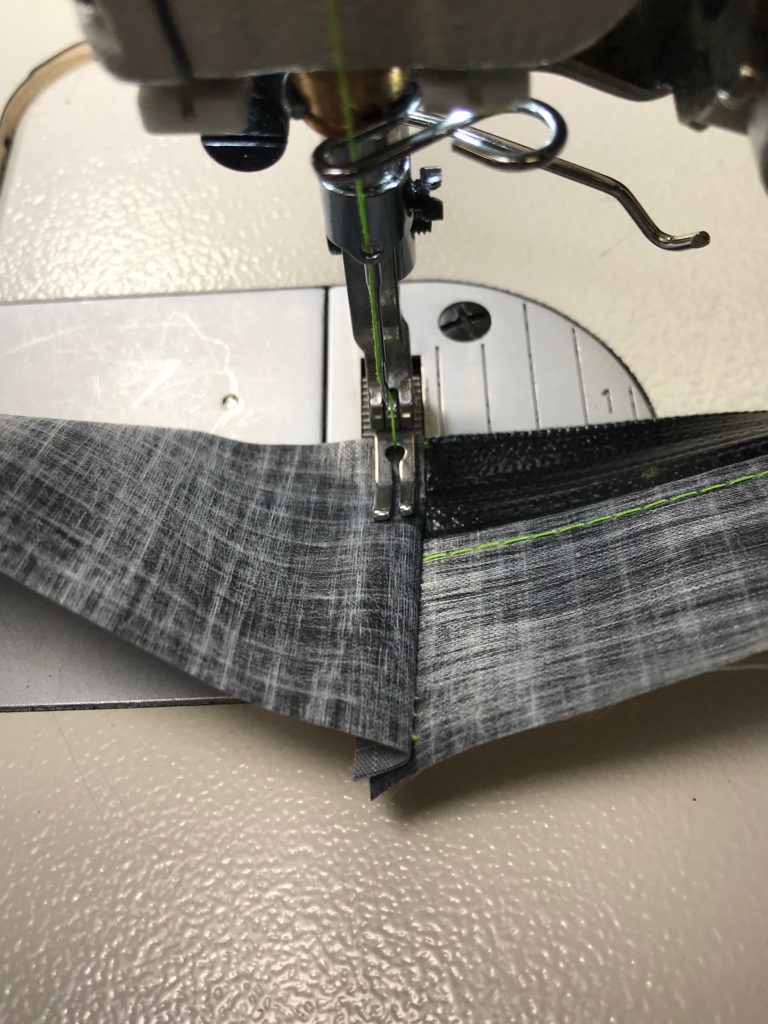
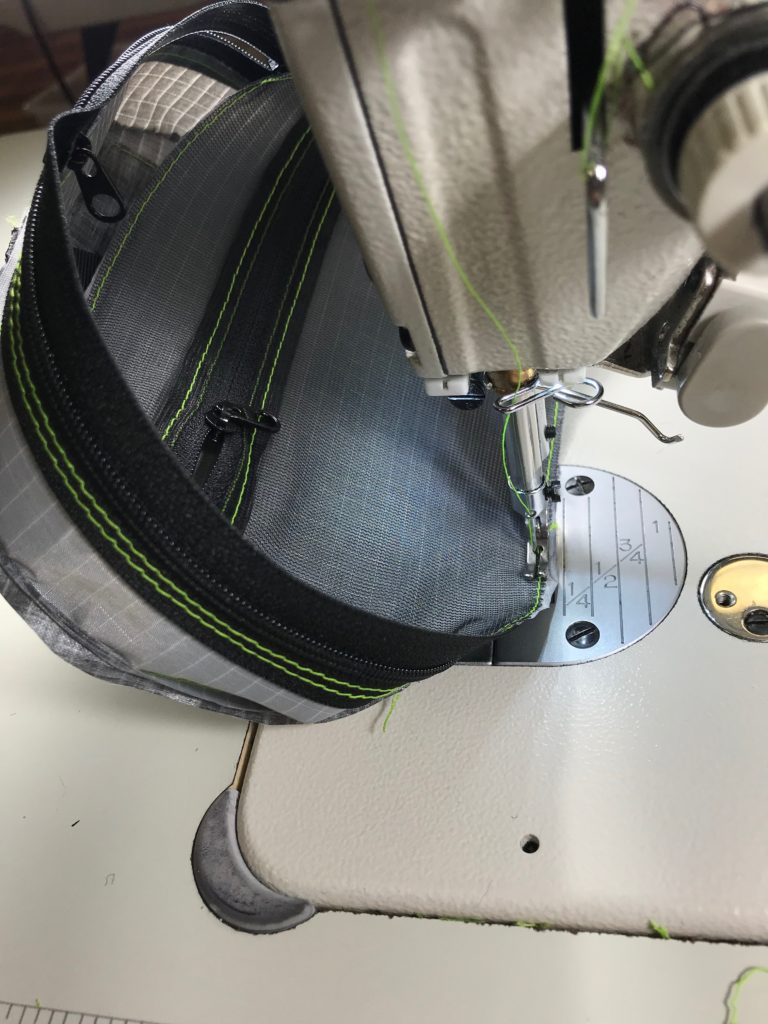
Sew zipper to sidewall, right sides together, turn right side out and top stitch.

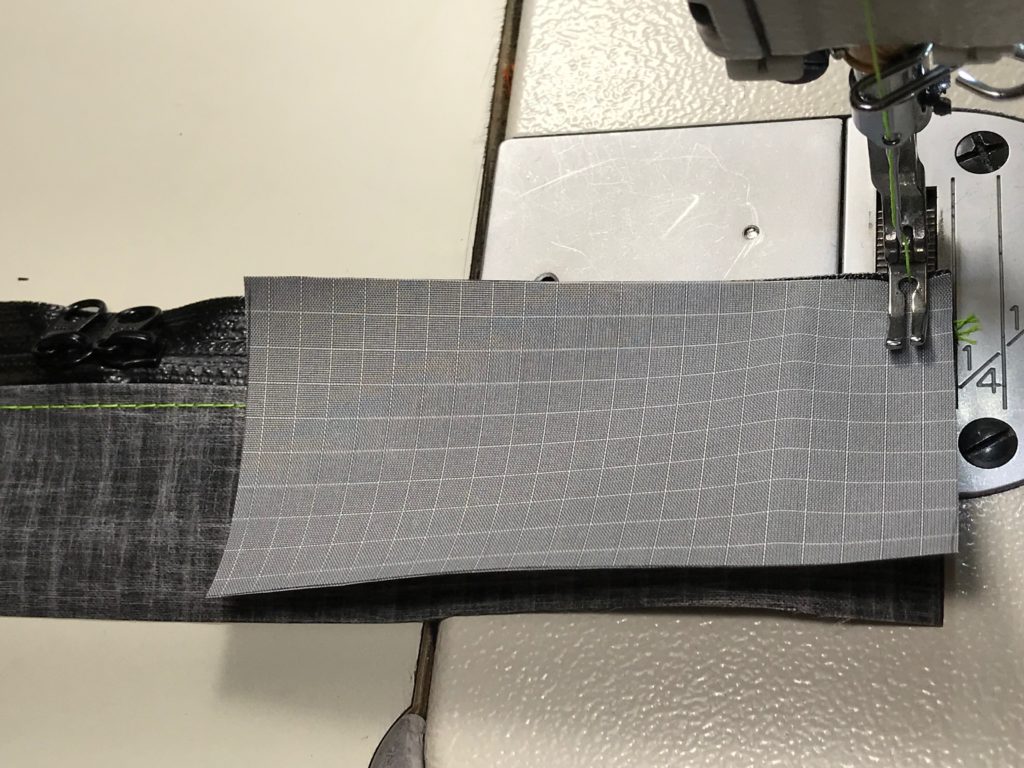
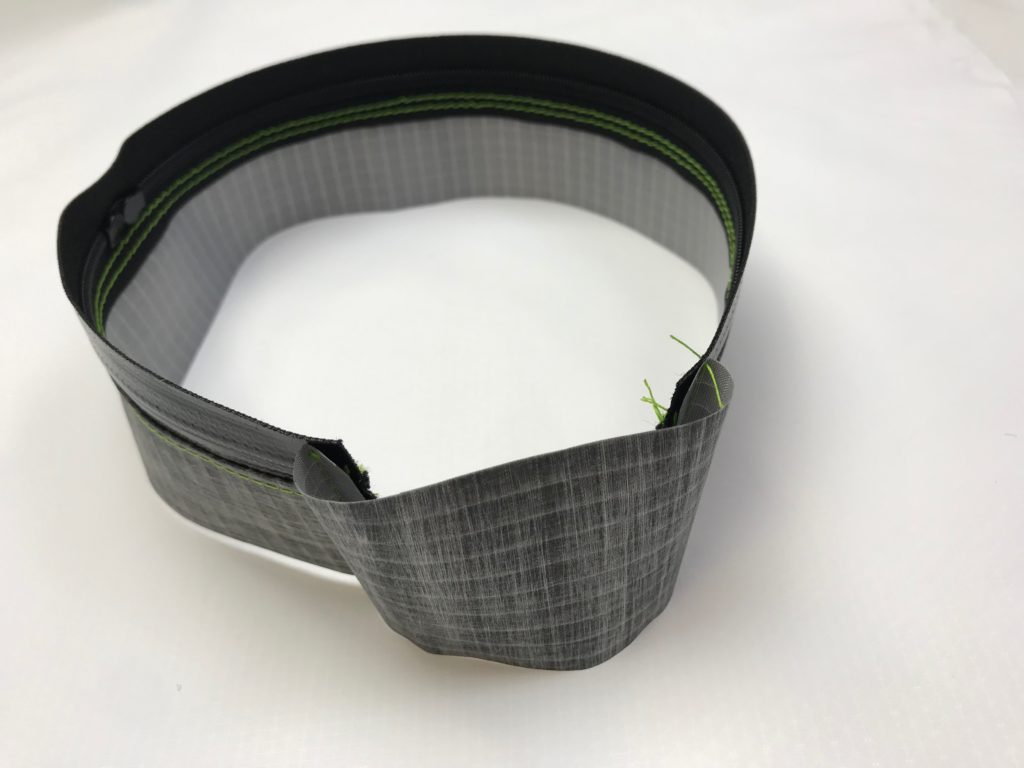
Step 15:
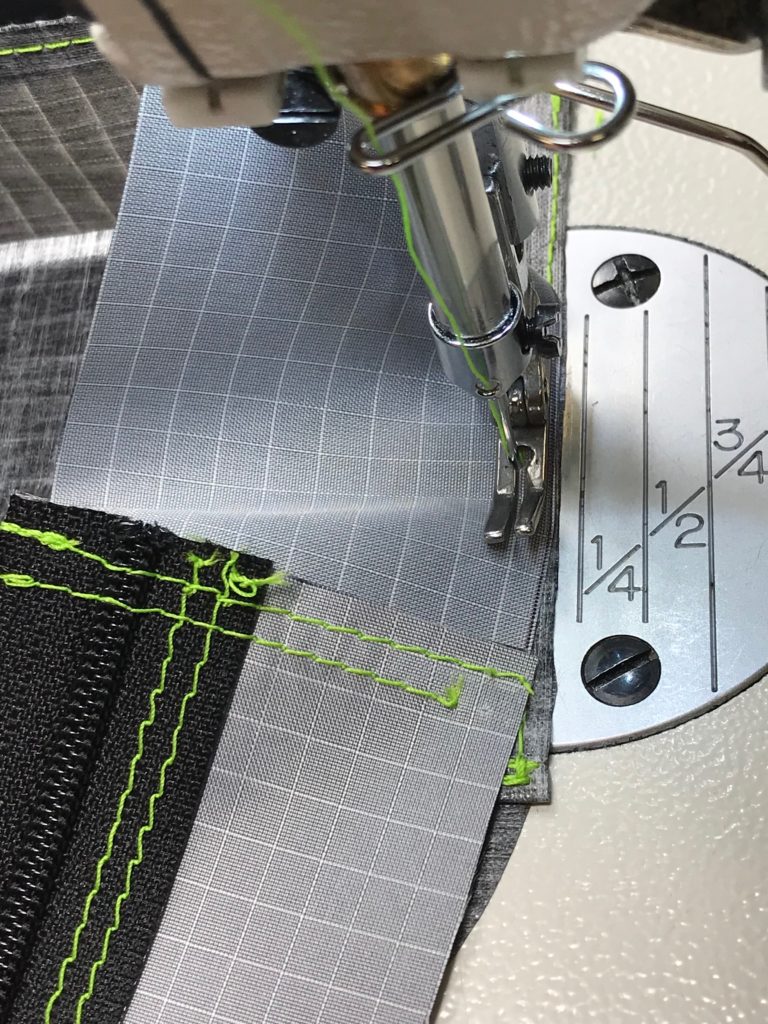
Sew back wall and side wall ends together with ¼” seam, (be precise for this step) repeat for opposite ends. Topstitch.

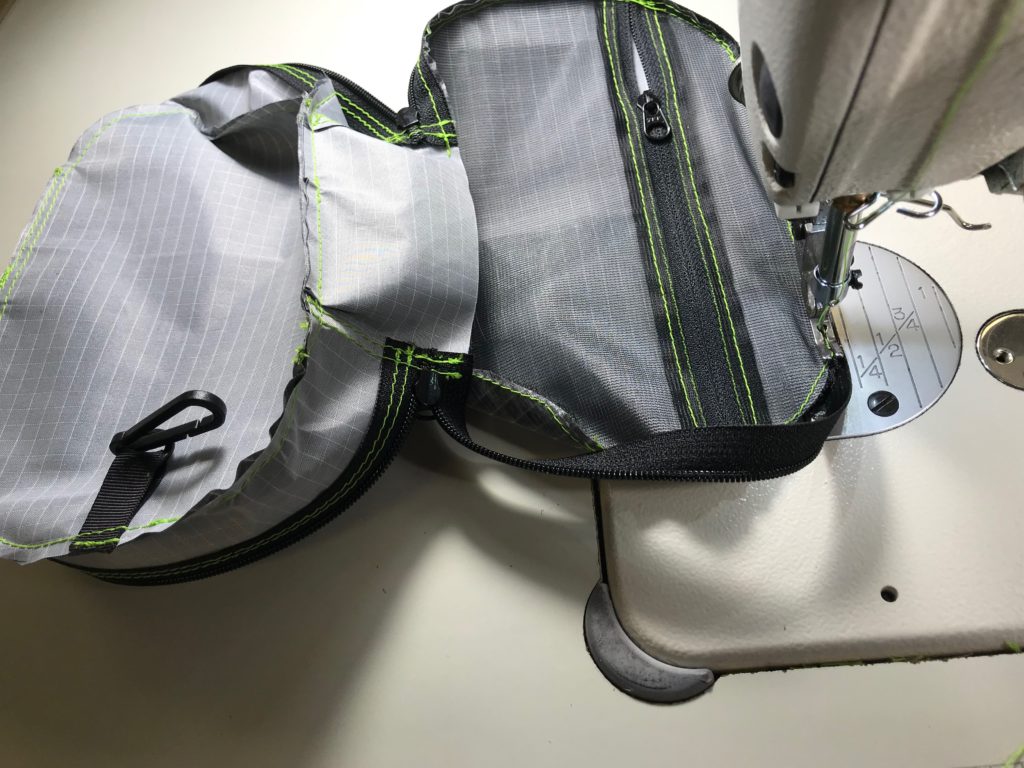
Step 16:
Sew sidewall to bottom panel.
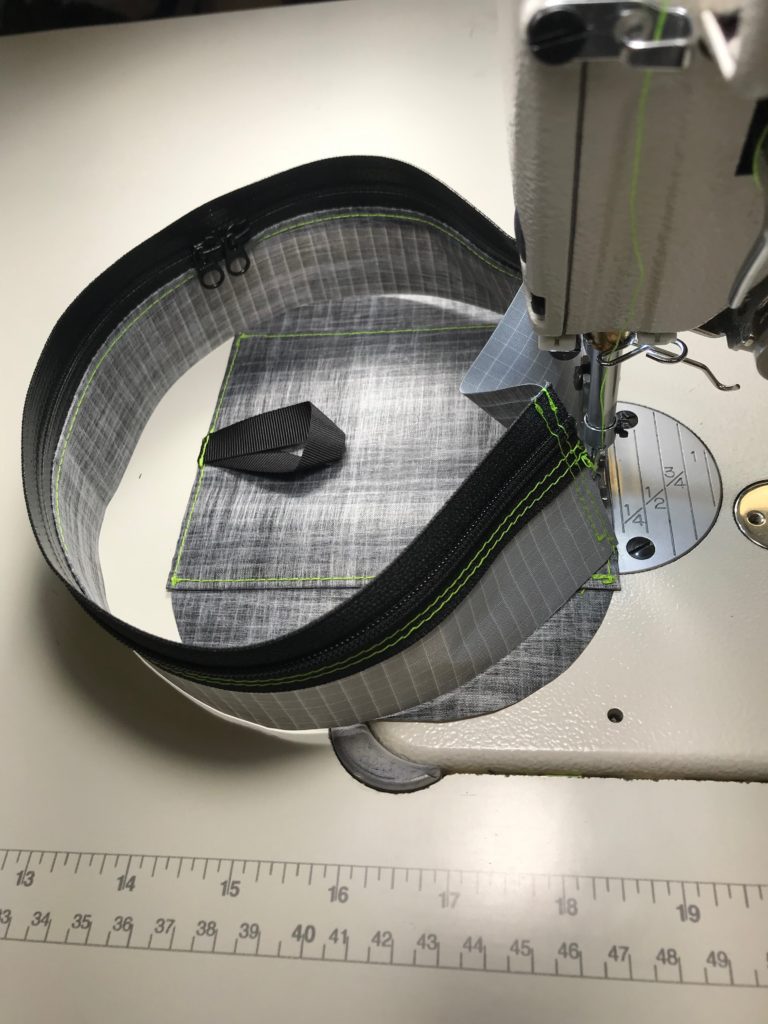
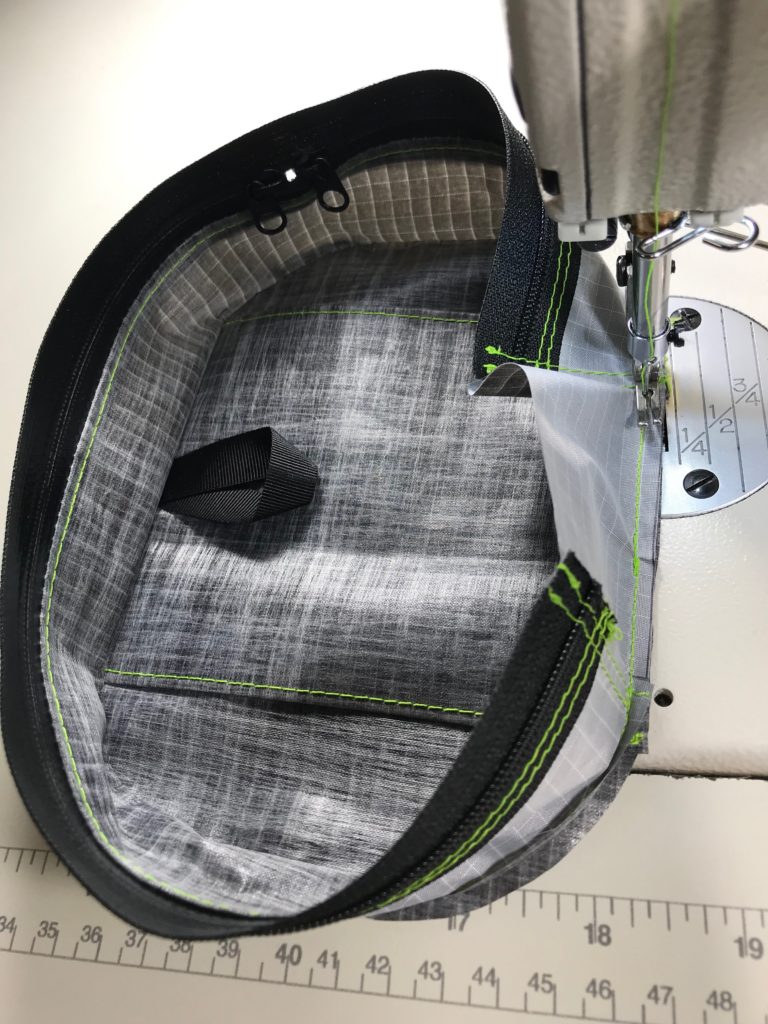
Step 17:
Repeat to attach lid to main body.
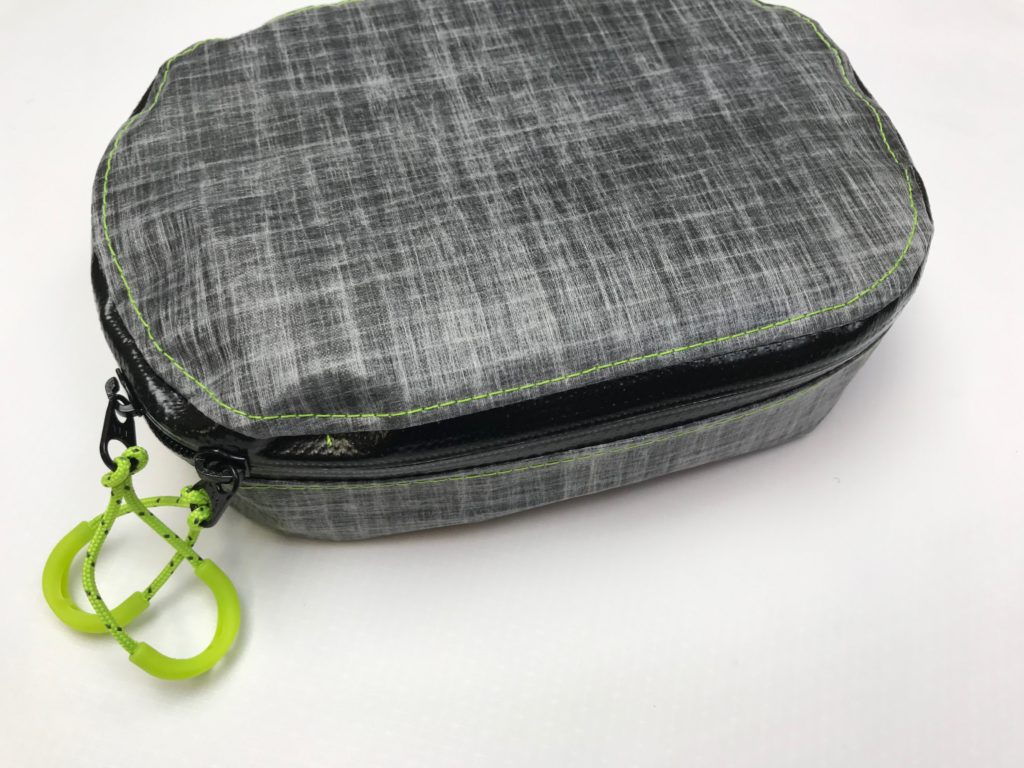
Step 18:
*Optional*. Topstitching the top lid will make opening the junk trunk easier and add cosmetic value.
Similar DIY Pack Projects
