February 12, 2016
posted in: Tutorials
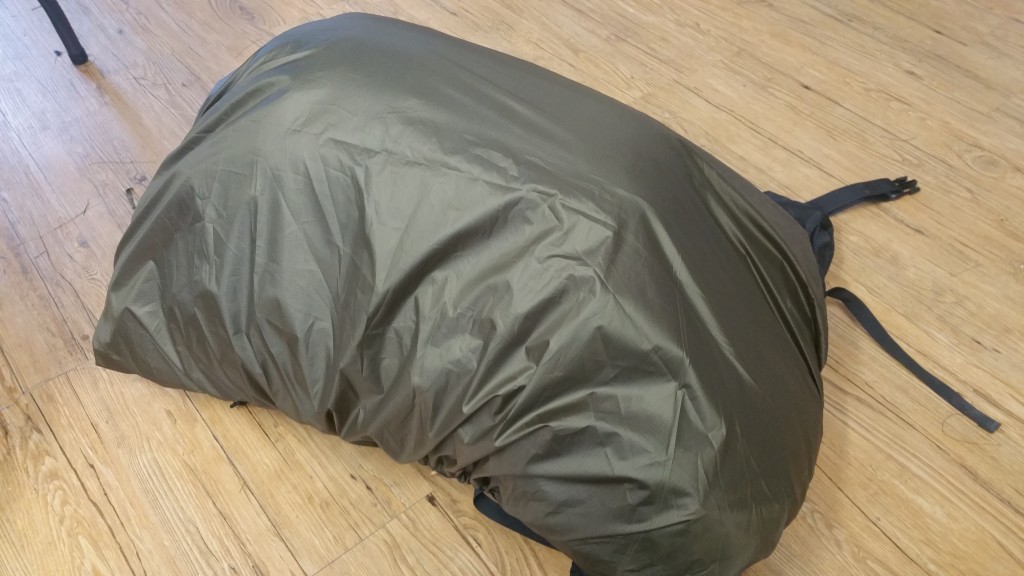
In this tutorial article we are going to show you how to make your own pack cover.
Project Overview
| Skill Level | Estimated Time | Estimated Cost |
| Beginner | 45 Minutes | $ |
Materials and Tools
| Materials Needed: | Tools Needed: |
| 1 Yard Waterproof Fabric | Sewing Machine |
| 4 Feet of Shock Cord | Scissors |
| 1 Cordlock | Ruler/Tape Measure |
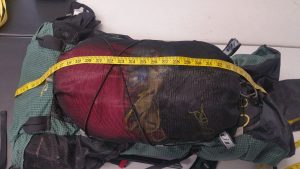
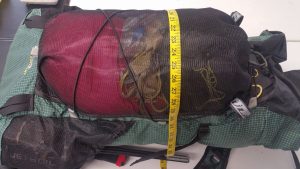
Step 1: Measure your full pack top to bottom and side to side. Add 3 inches to both measurements so you have room for your rolled hems.
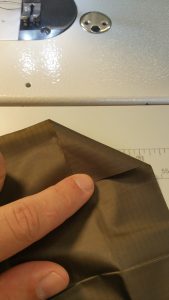
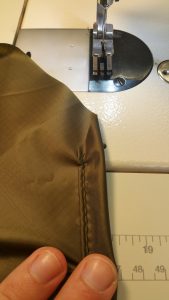
Step 2: Lay out fabric on a flat surface. Use the measurements from step 1 to mark and cut your fabric to size. 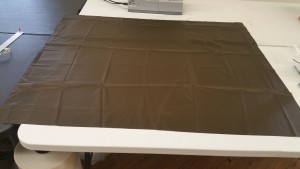 Step 3: Once your fabric is cut hem each of the 4 corners by folding in 2 inches then rolling over and sewing along straight edge. Reference pictures below for help.
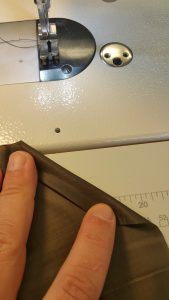
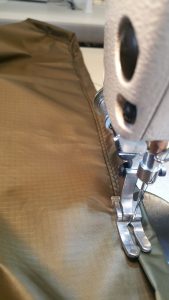
Step 4: Once all 4 corners are hemmed you will now do a rolled hem the whole way around the pack cover.
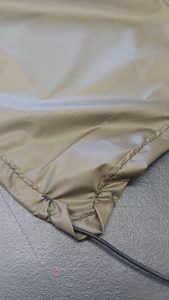
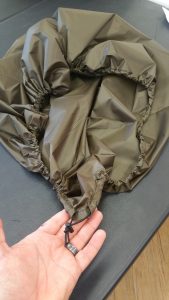
Step 5: All 4 of your corners/edges should look like the picture below now.  Step 6: Last step is to run the shock cord around the perimeter of the pack cover and add your cord lock to the end.
You should now have a completed pack cover ready to use!
Similar DIY Pack Projects


