 Skip to content
November 20, 2019
posted in: Tutorials
Project Overview
| Skill Level | Estimated Time |
| Beginner | 45 – 60 minutes |
Materials and Tools
| Materials Needed: | Tools Needed: |
| 1/2 Yard Mesh | Sewing Machine |
| 4 1/2 yards shock cord | Scissors |
| 2 – Mini Cord Locks | Ruler/Tape Measure |
| 4 Attachable Cord Locks | Marker or Chalk |
| 4 Hook Cord Ends | |
| 4 Easy Grip Cord Ends | |
| 2 Yards 1 1/2″ Grosgrain | |
| 8″ 1/2″ Grosgrain | |
| Thread of your choice |
Pattern Components
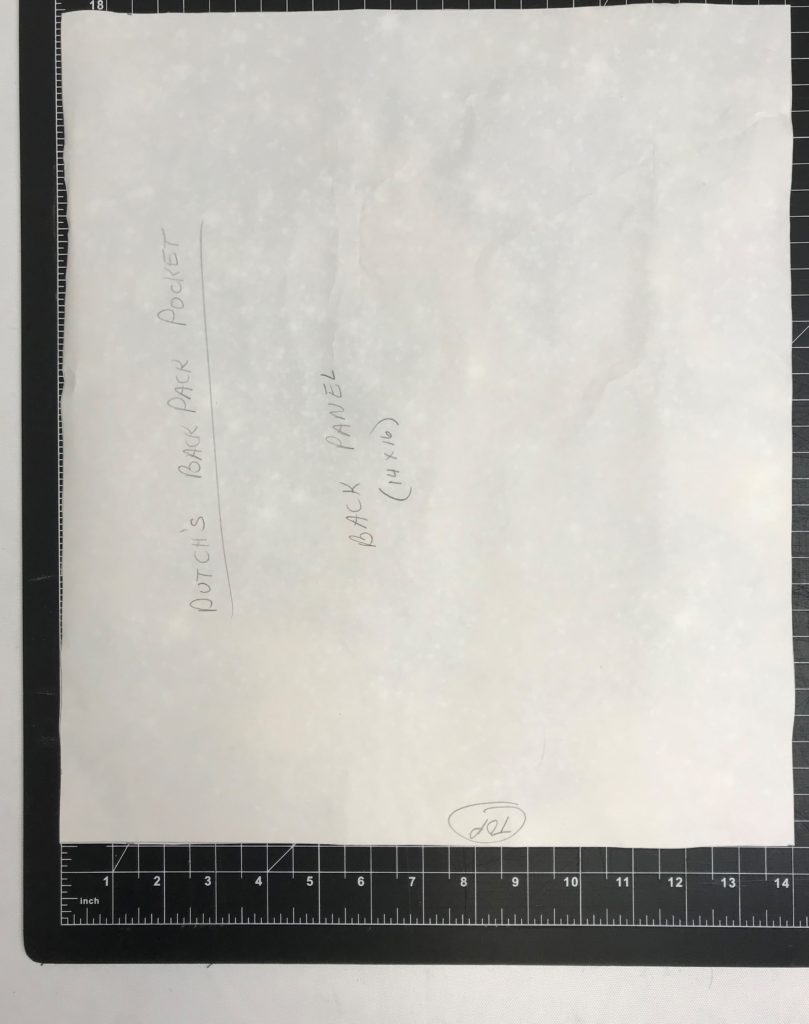
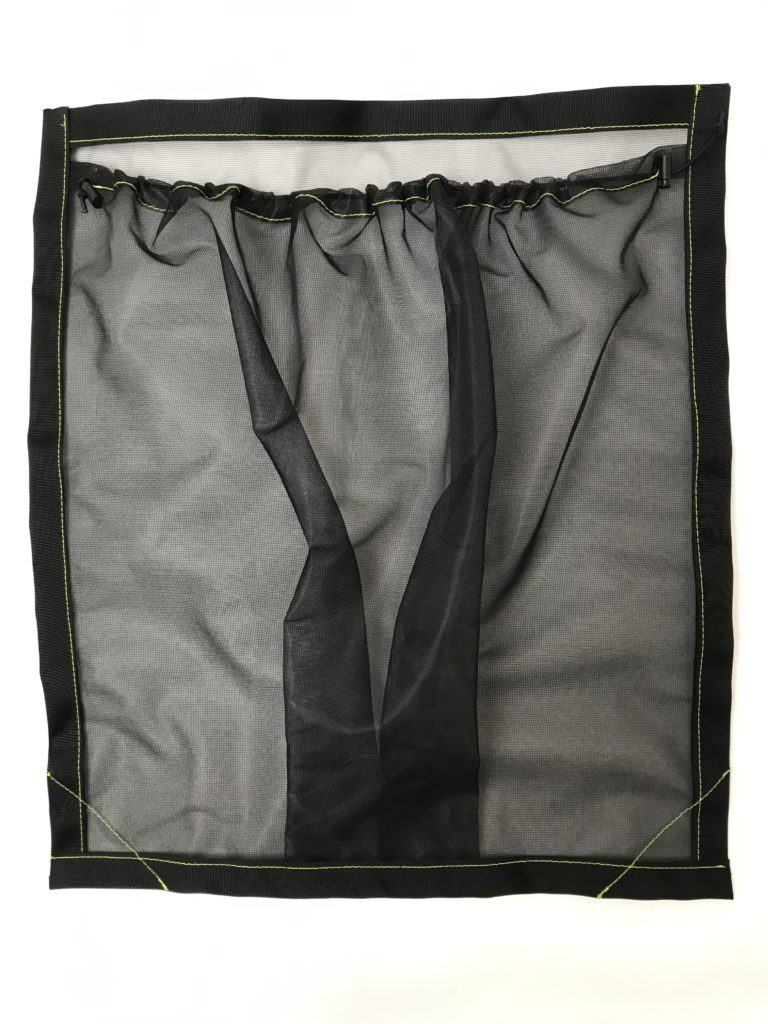
- Front Panel 22″ x 16 1/2″
- Back Panel 14″ x 16″
Instructions for a light weight mesh pocket, able to be used on its own or as an outside pocket on a pack.
Note: Avoid backtacking on single layer mesh.
Step 1:
Cut 1/2″ grosgrain into four 2″ pieces.
Step 2:
Cut shock cord into one 16″ length and four 36″ lengths.
Step 3:
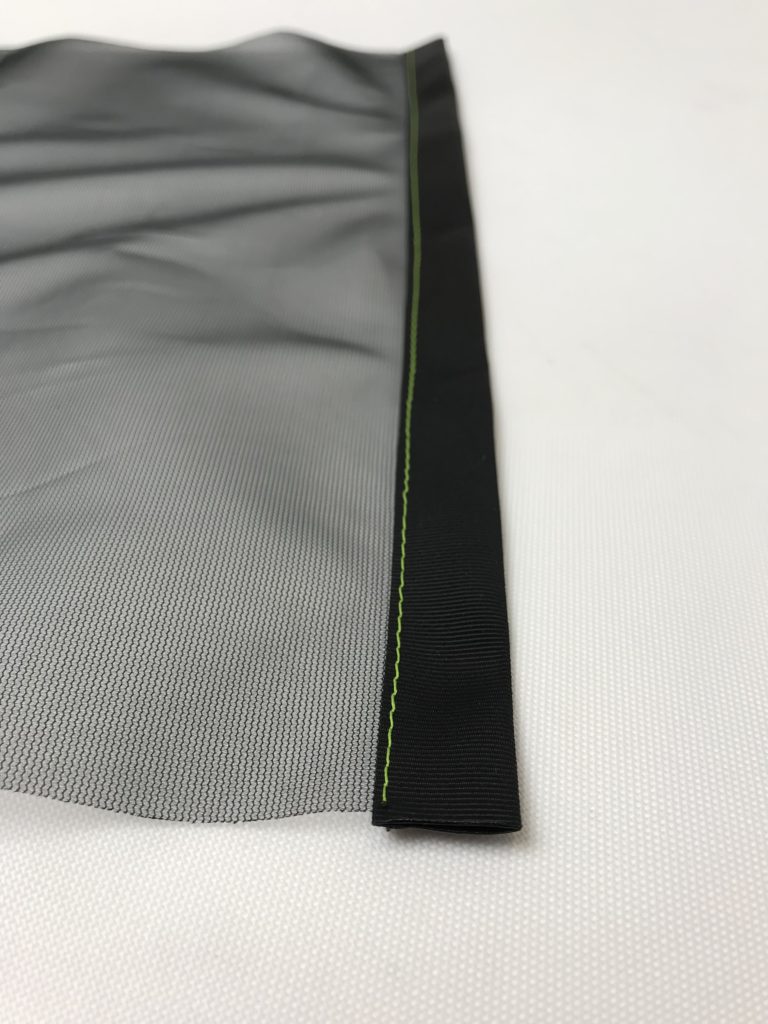
Iron 1 1/2″ grosgrain in half to create a bias tape .
Step 4:
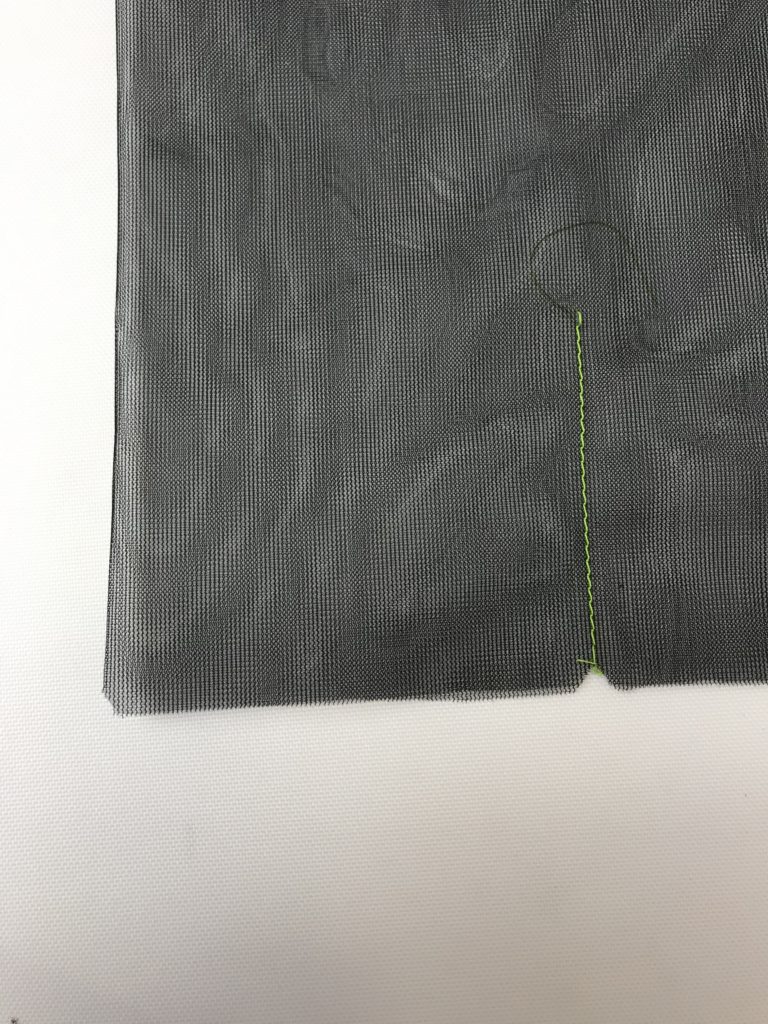
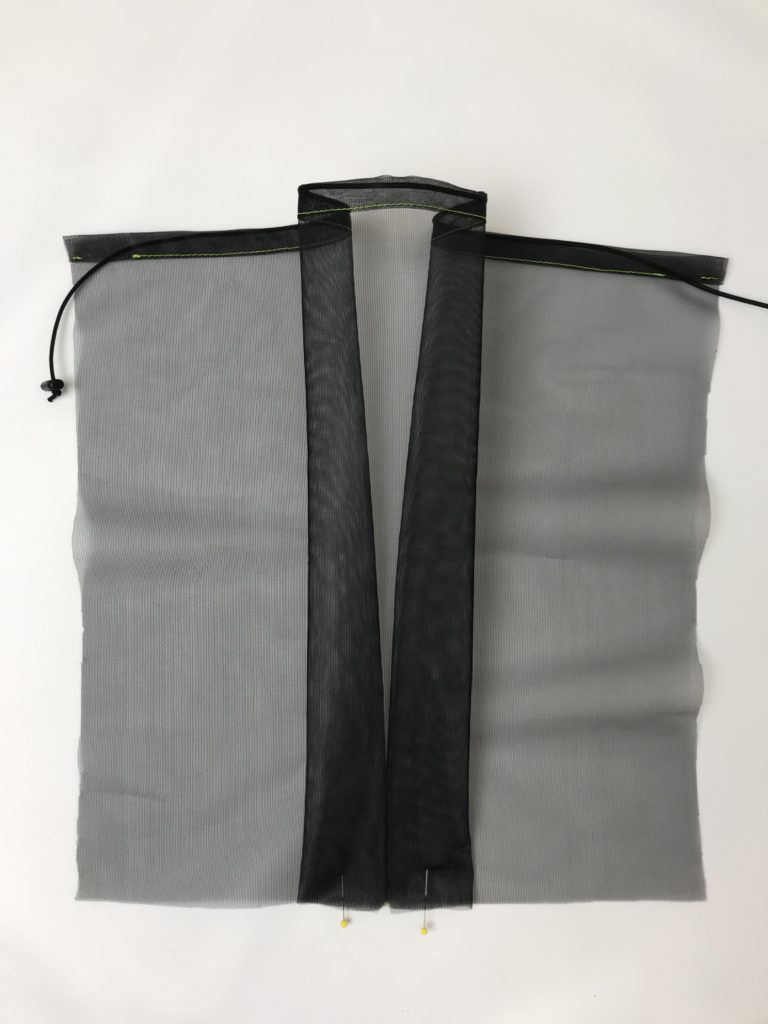
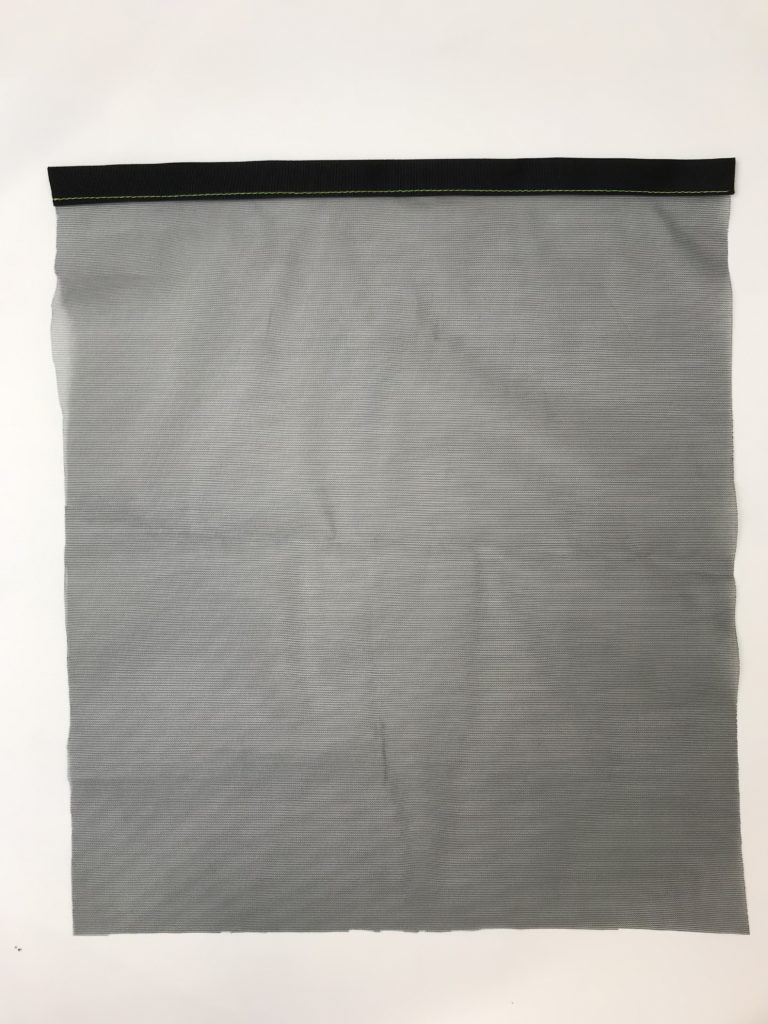
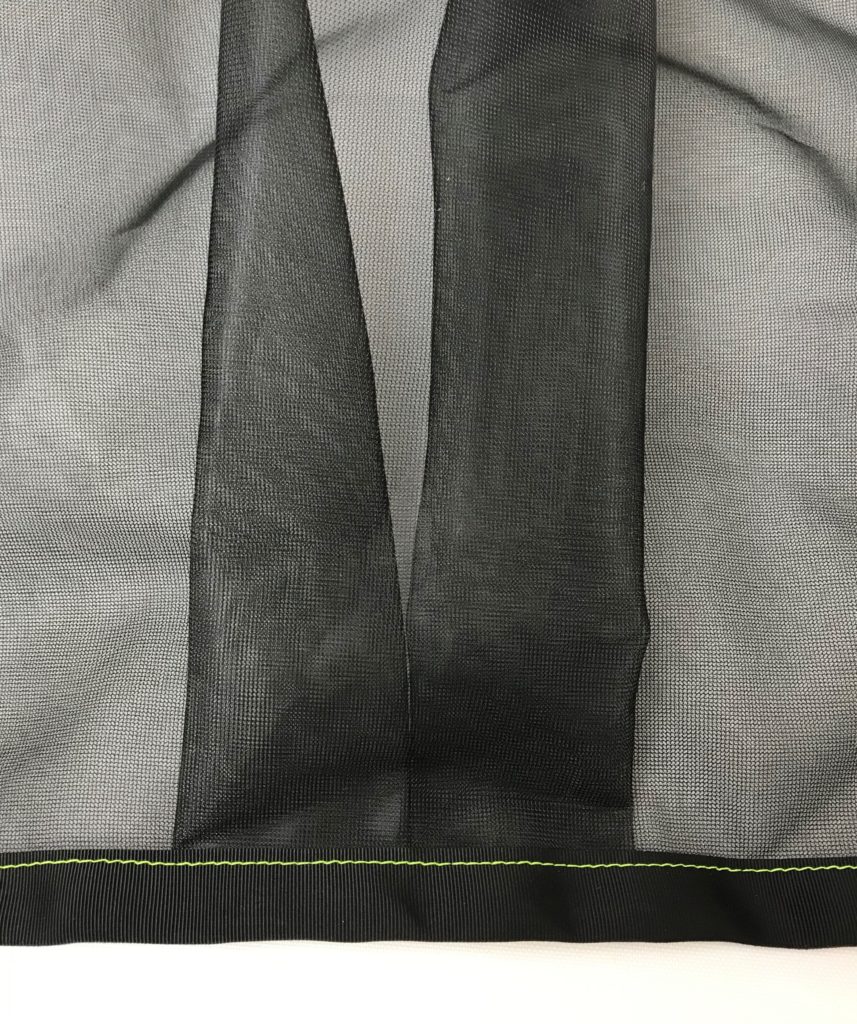
Cut mesh panels, notch bottom of front panel in center and two notches 4″ on either side of center notch. See photos.

Step 5:
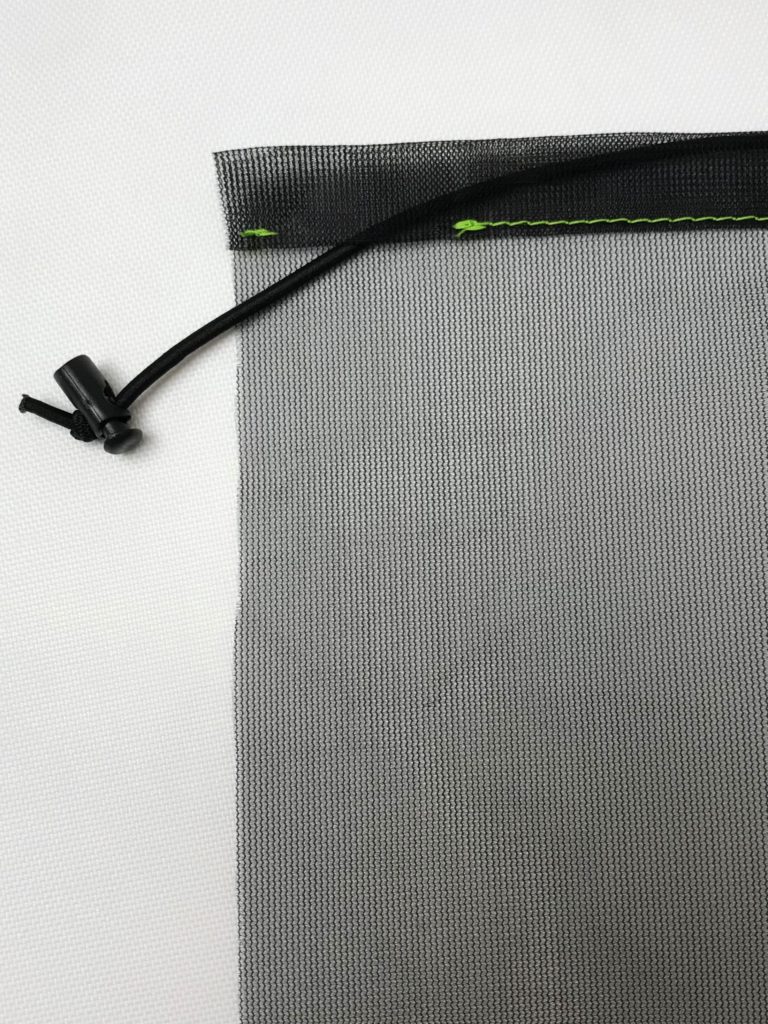
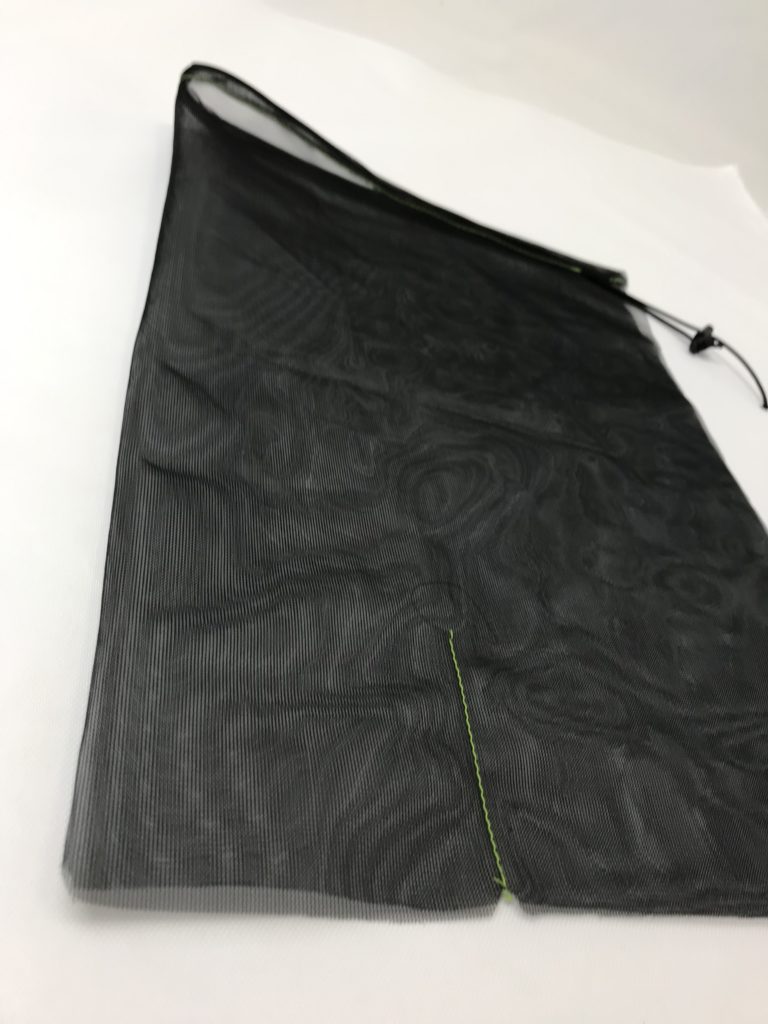
Double fold hem (½” for each fold) on top edge of front panel. (top edge is opposite from side with pattern notches) Leave a gap in the topstitching inset from both sides. This creates an opening for the shock cord drawstring.

Step 6:
Use a bodkin to thread shock cord through casing, (a safety pin works if you don’t have a bodkin) attach mini cord locks to both ends, knot and fuse both ends.
Step 7:
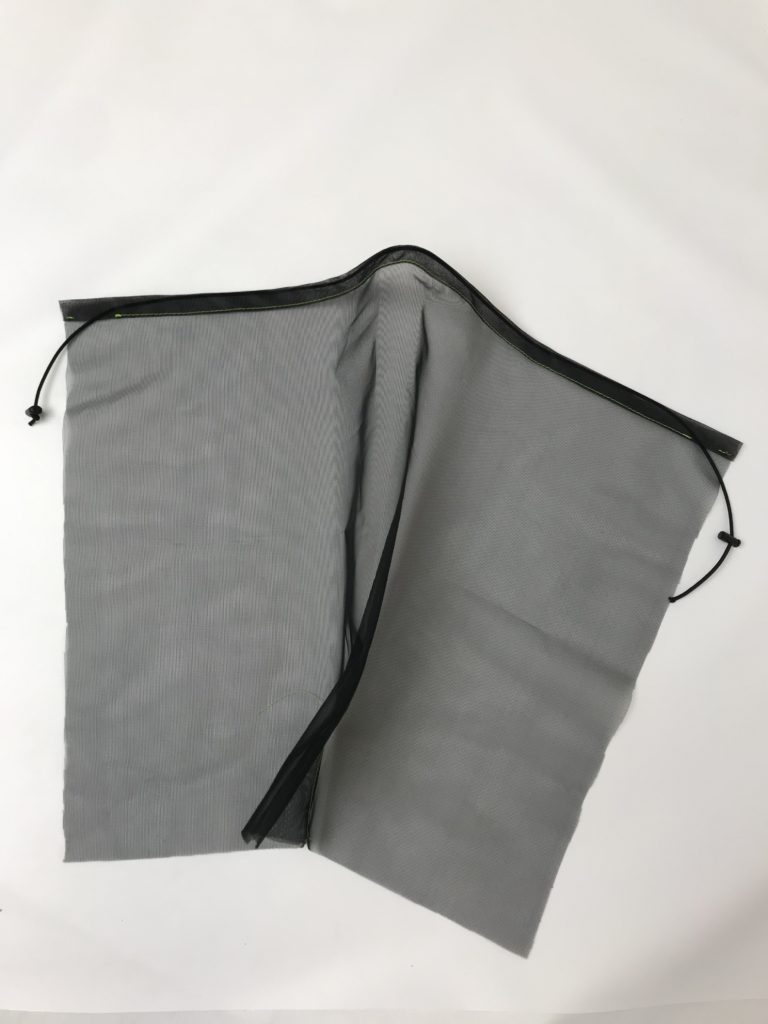
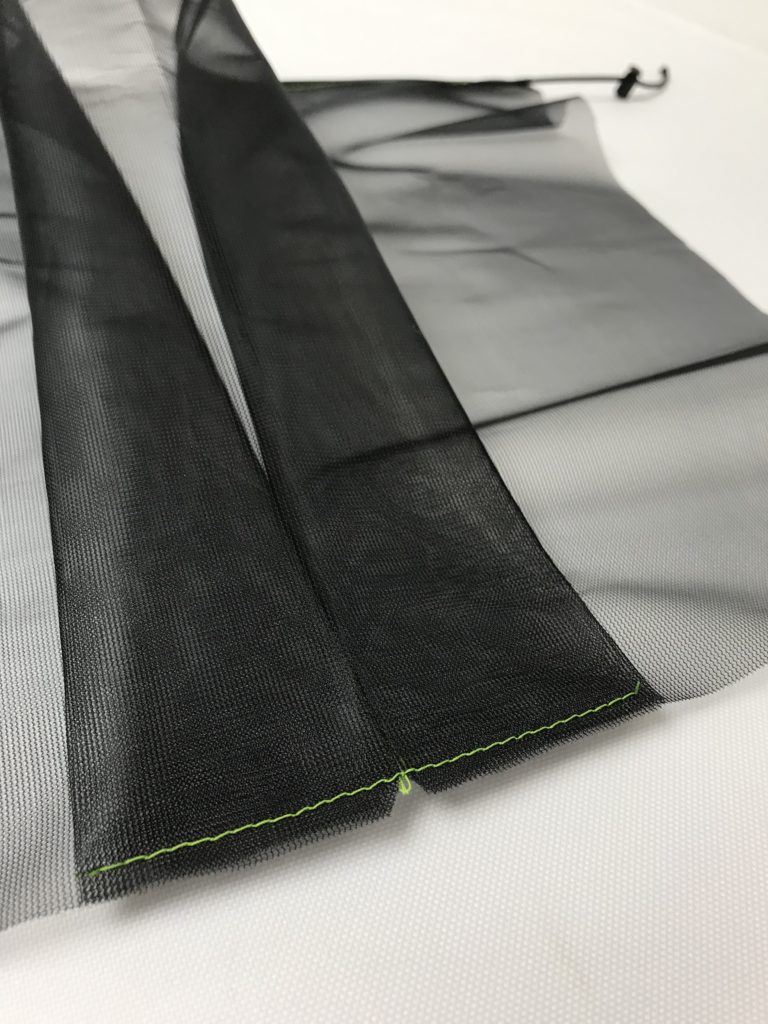
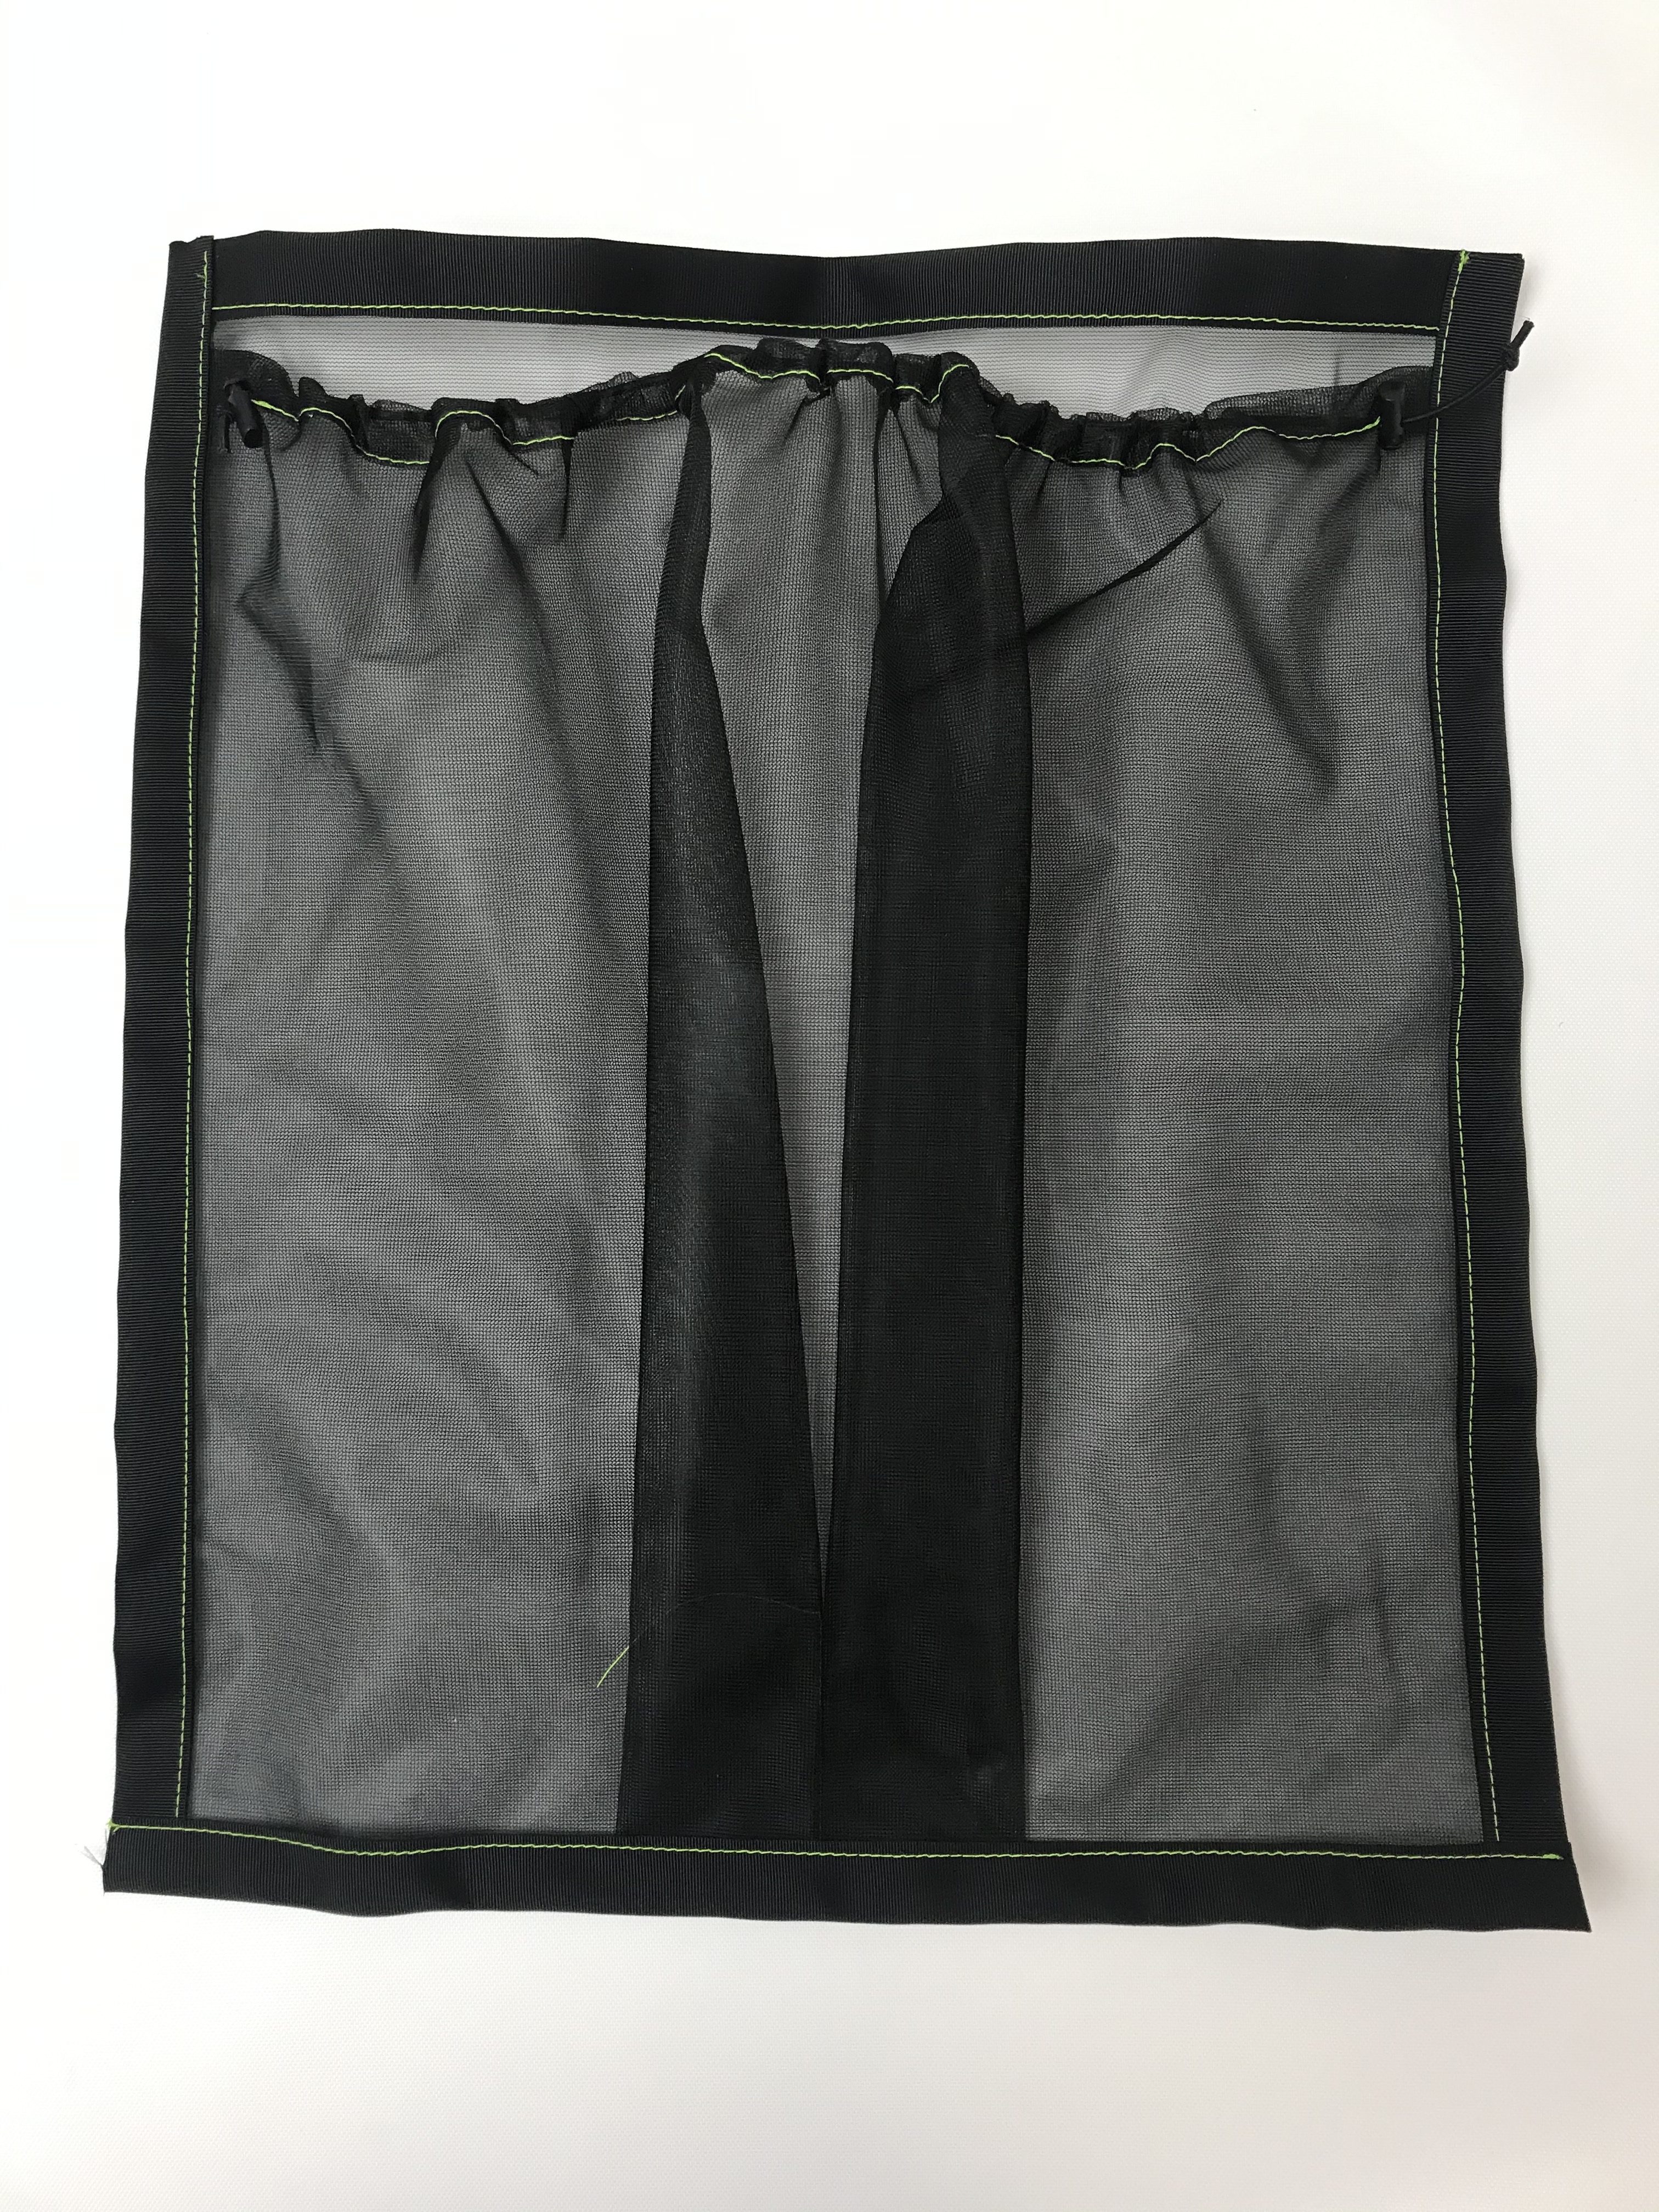
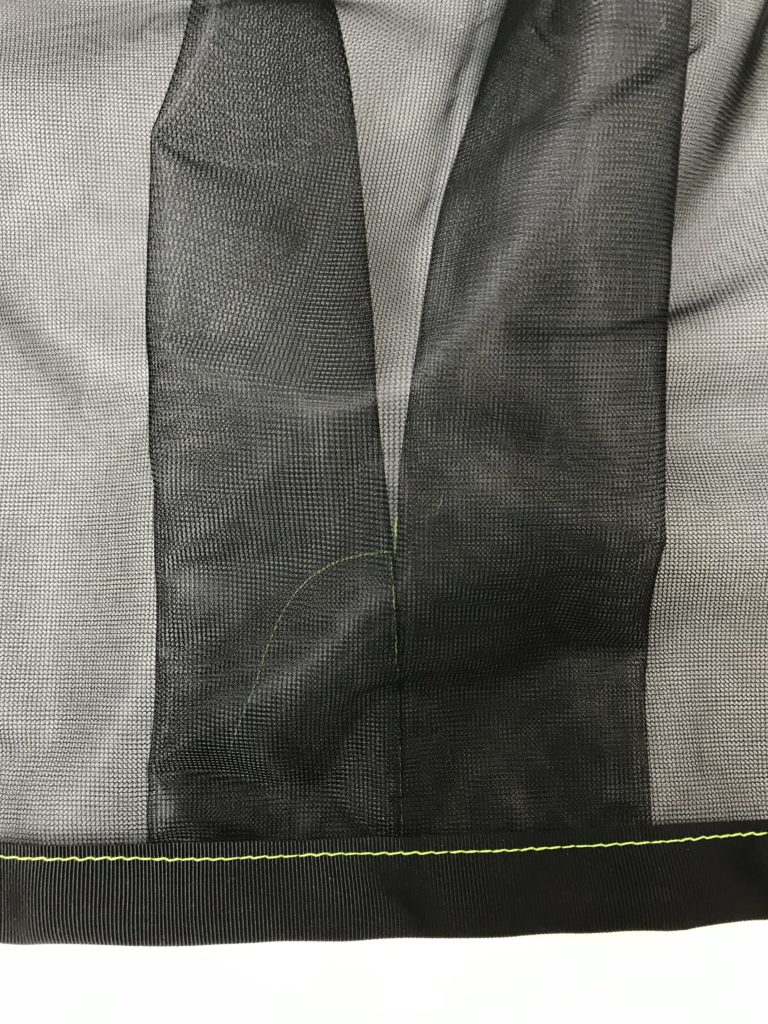
Baste a tuck on the bottom side of the front panel, matching 2 outside notches. When folding panel in half to baste tuck, shock cord casing should be on the outside.
Step 8:
Lay front panel flat, facing upwards. Flatten the tuck. Use pins to center the tuck, matching all three pattern notches. Sew with a basting stitch and a narrow seam allowance. This seam will later be covered with the grosgrain binding.
Step 9:
Bind top of back panel with the 1 1/2″ grosgrain binding tape, trim grosgrain ends to be even with mesh.
Step 10:
Baste front panel to back panel, making sure shock cord casing and basted tuck is facing outwards.

Step 11:
Bind sides with 1 1/2″ grosgrain, then bottom. Trim ends.
Step 12:
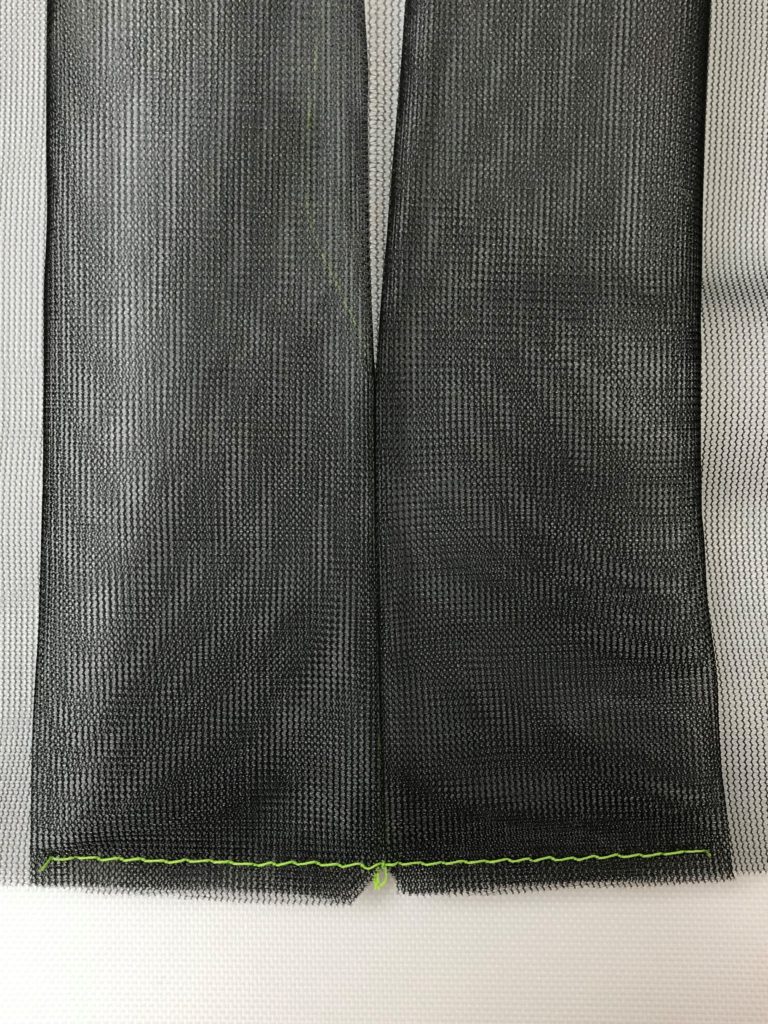
Pull out basting stitch from bottom center tuck.
Step 13:
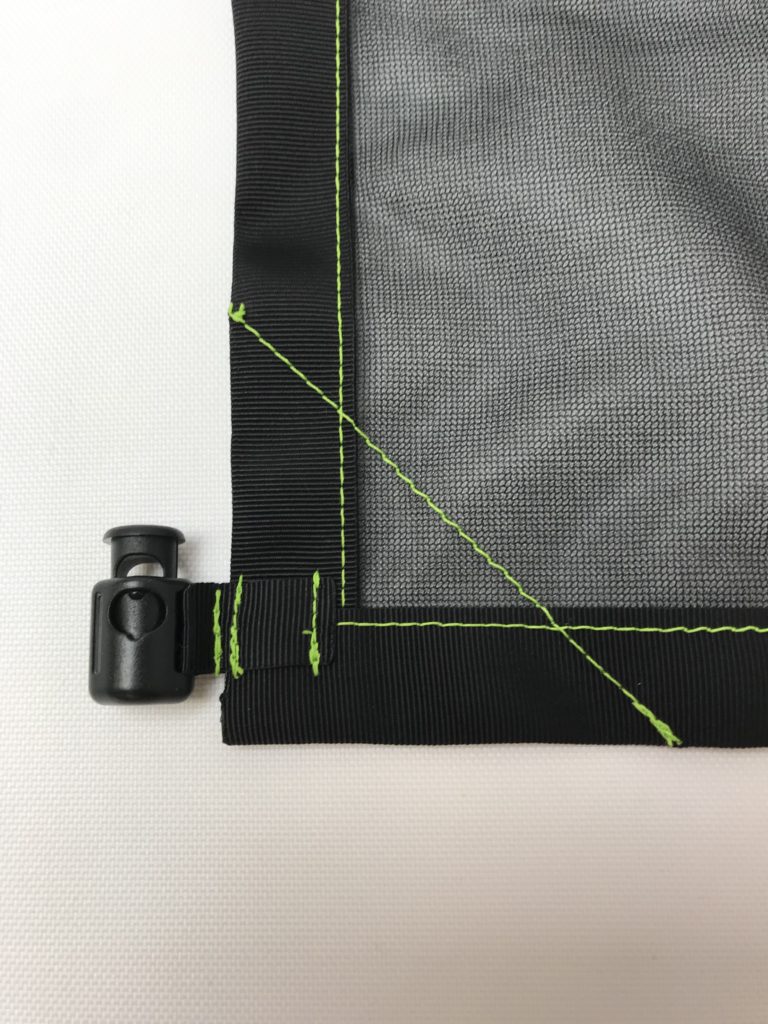
Sew a reinforcement seam on two bottom corners, ½” inset from corner.
Step 14:
Thread flat edge opening of attachable cord lock with 2” x ½” grosgrain. Bar tack tab near the cord lock to create a tab. Repeat for remaining three tabs. Trim and fuse (with flame) all grosgrain raw ends.

Step 15:
Attach cord lock tab to each corner. Make 4-5 passes on grosgrain tab for bar tack. Sew 2 bar tacks for each tab. Top cord locks point outwards, bottom cord locks point upwards.
Step 16:
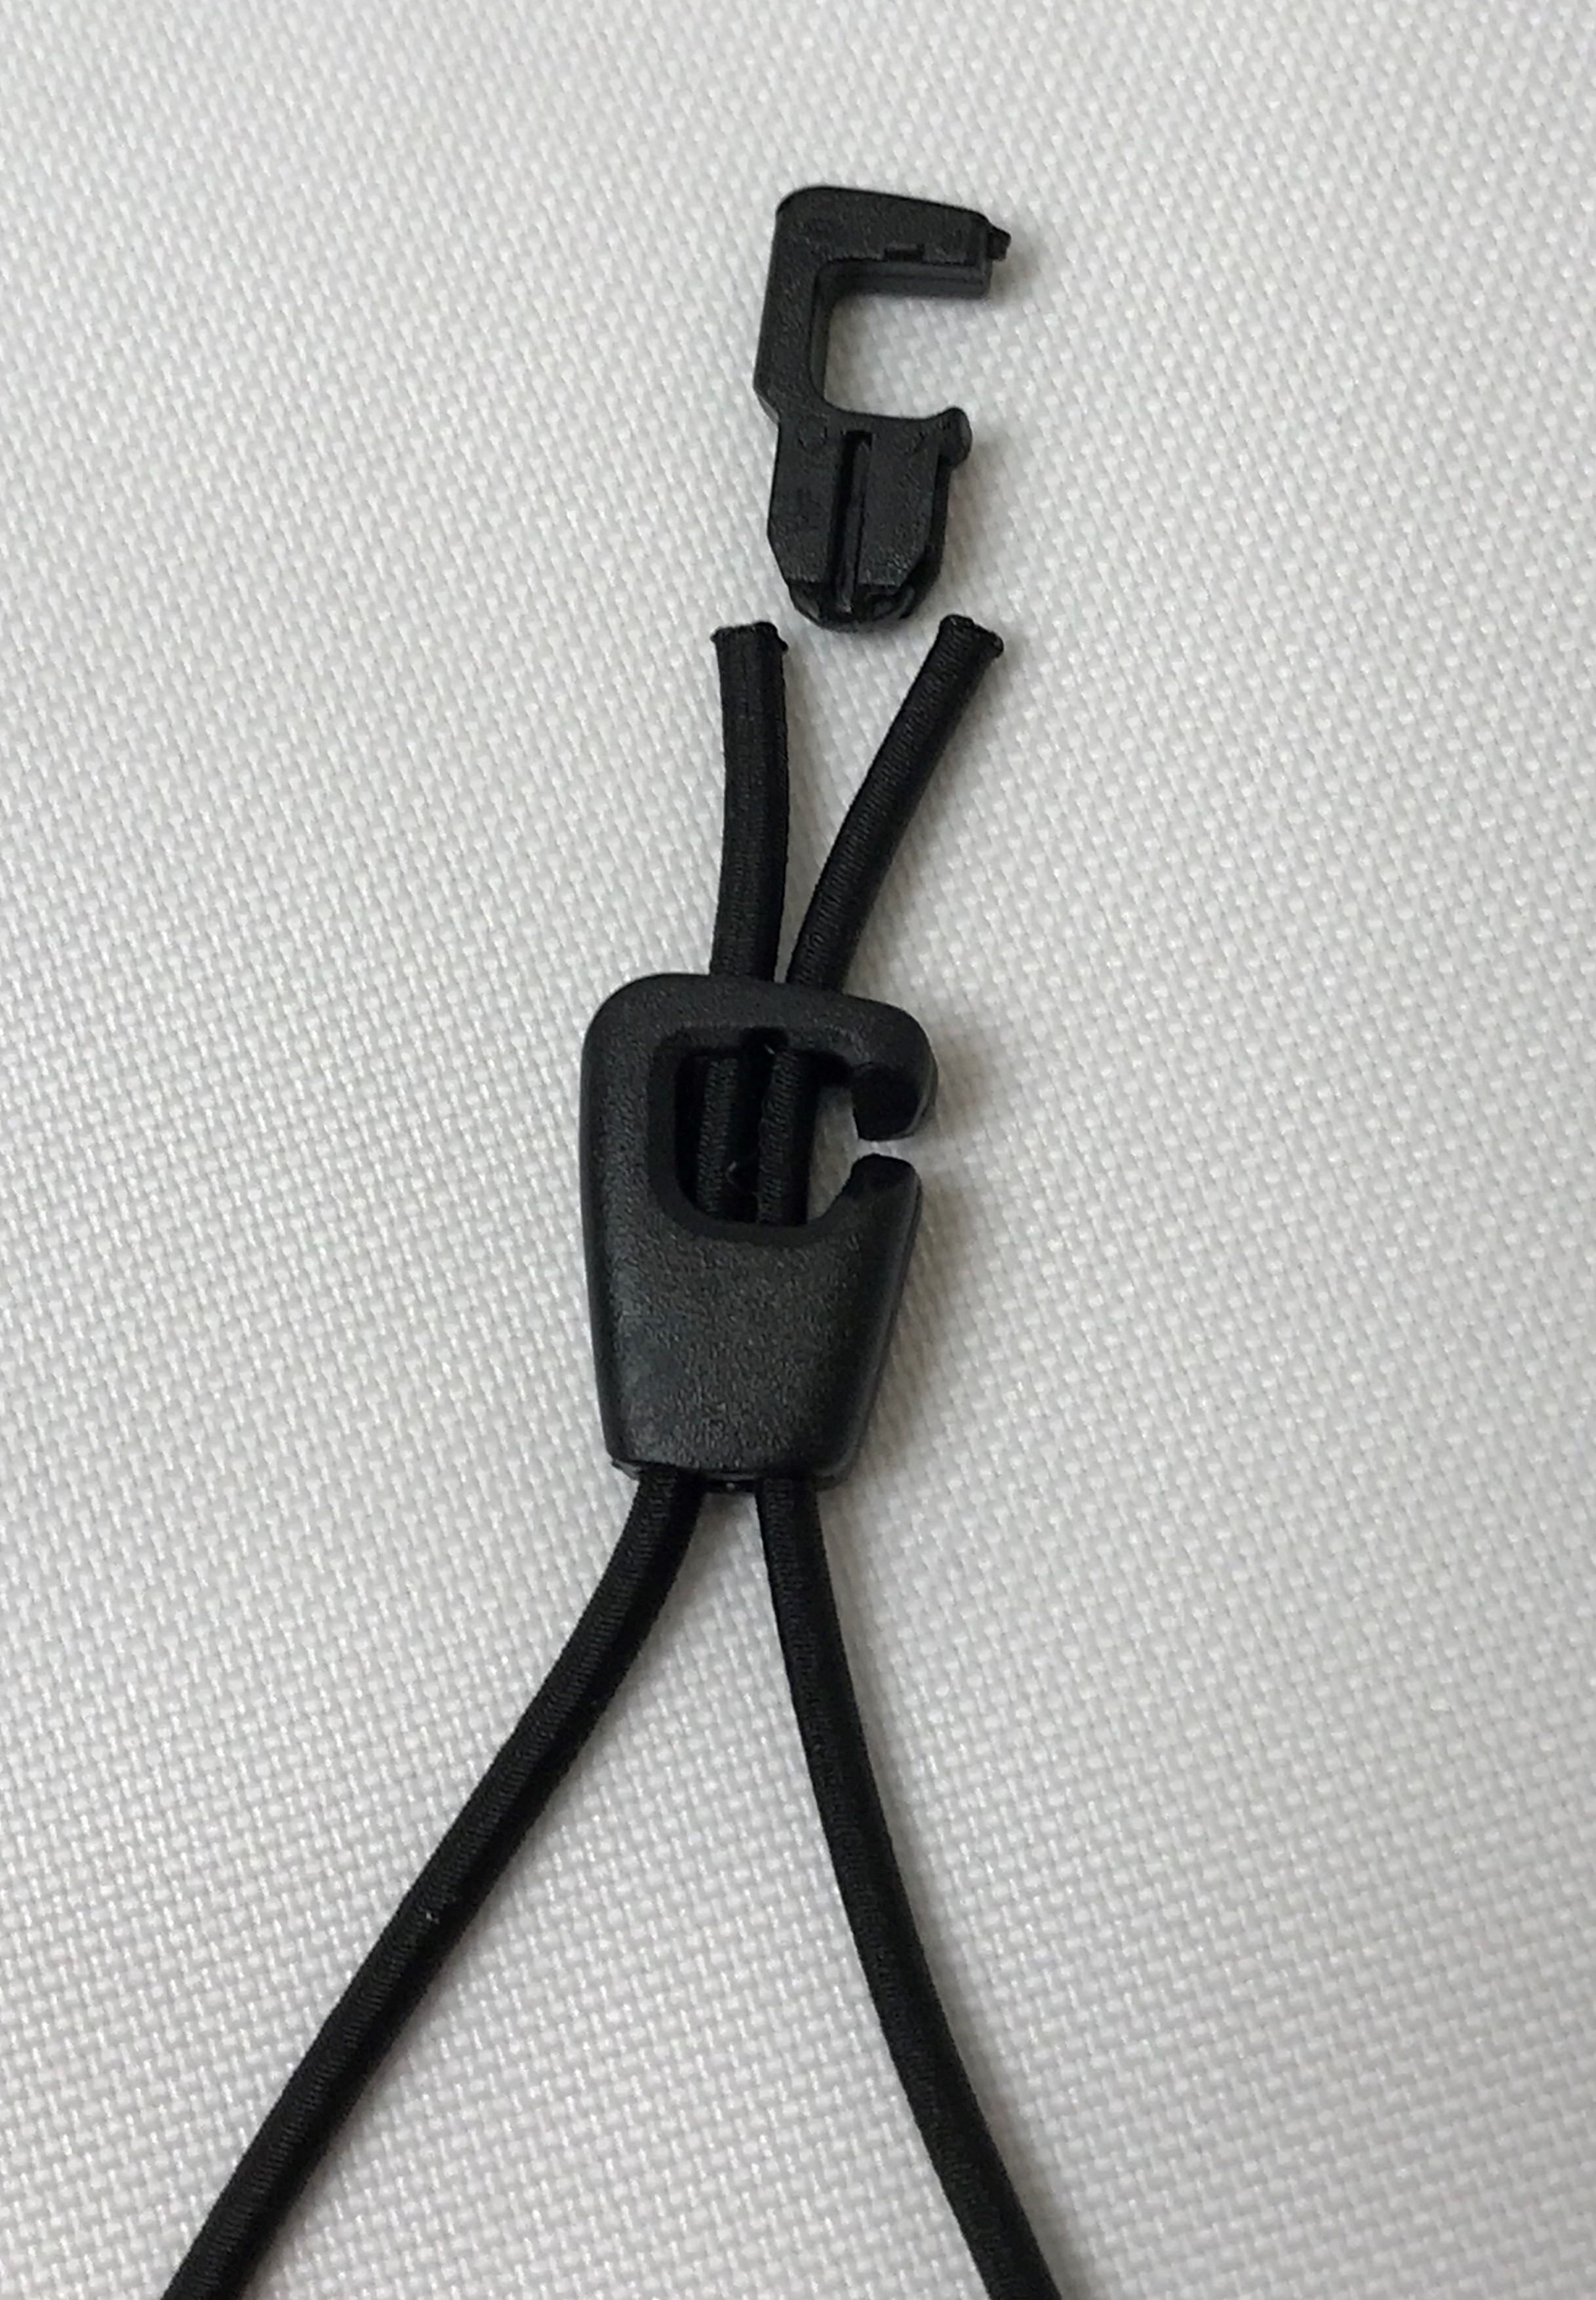
Thread a 36” length of shock cord with an easy grip cord end.

Step 17:
Take both ends and thread through an attachable cord lock on a corner of the pack back.
Step 18:
Finish off the ends by capping them with a hook cord end.
Step 19:
Repeat steps 14-18 for remaining 3 corners.

