June 27, 2017
posted in: Tutorials
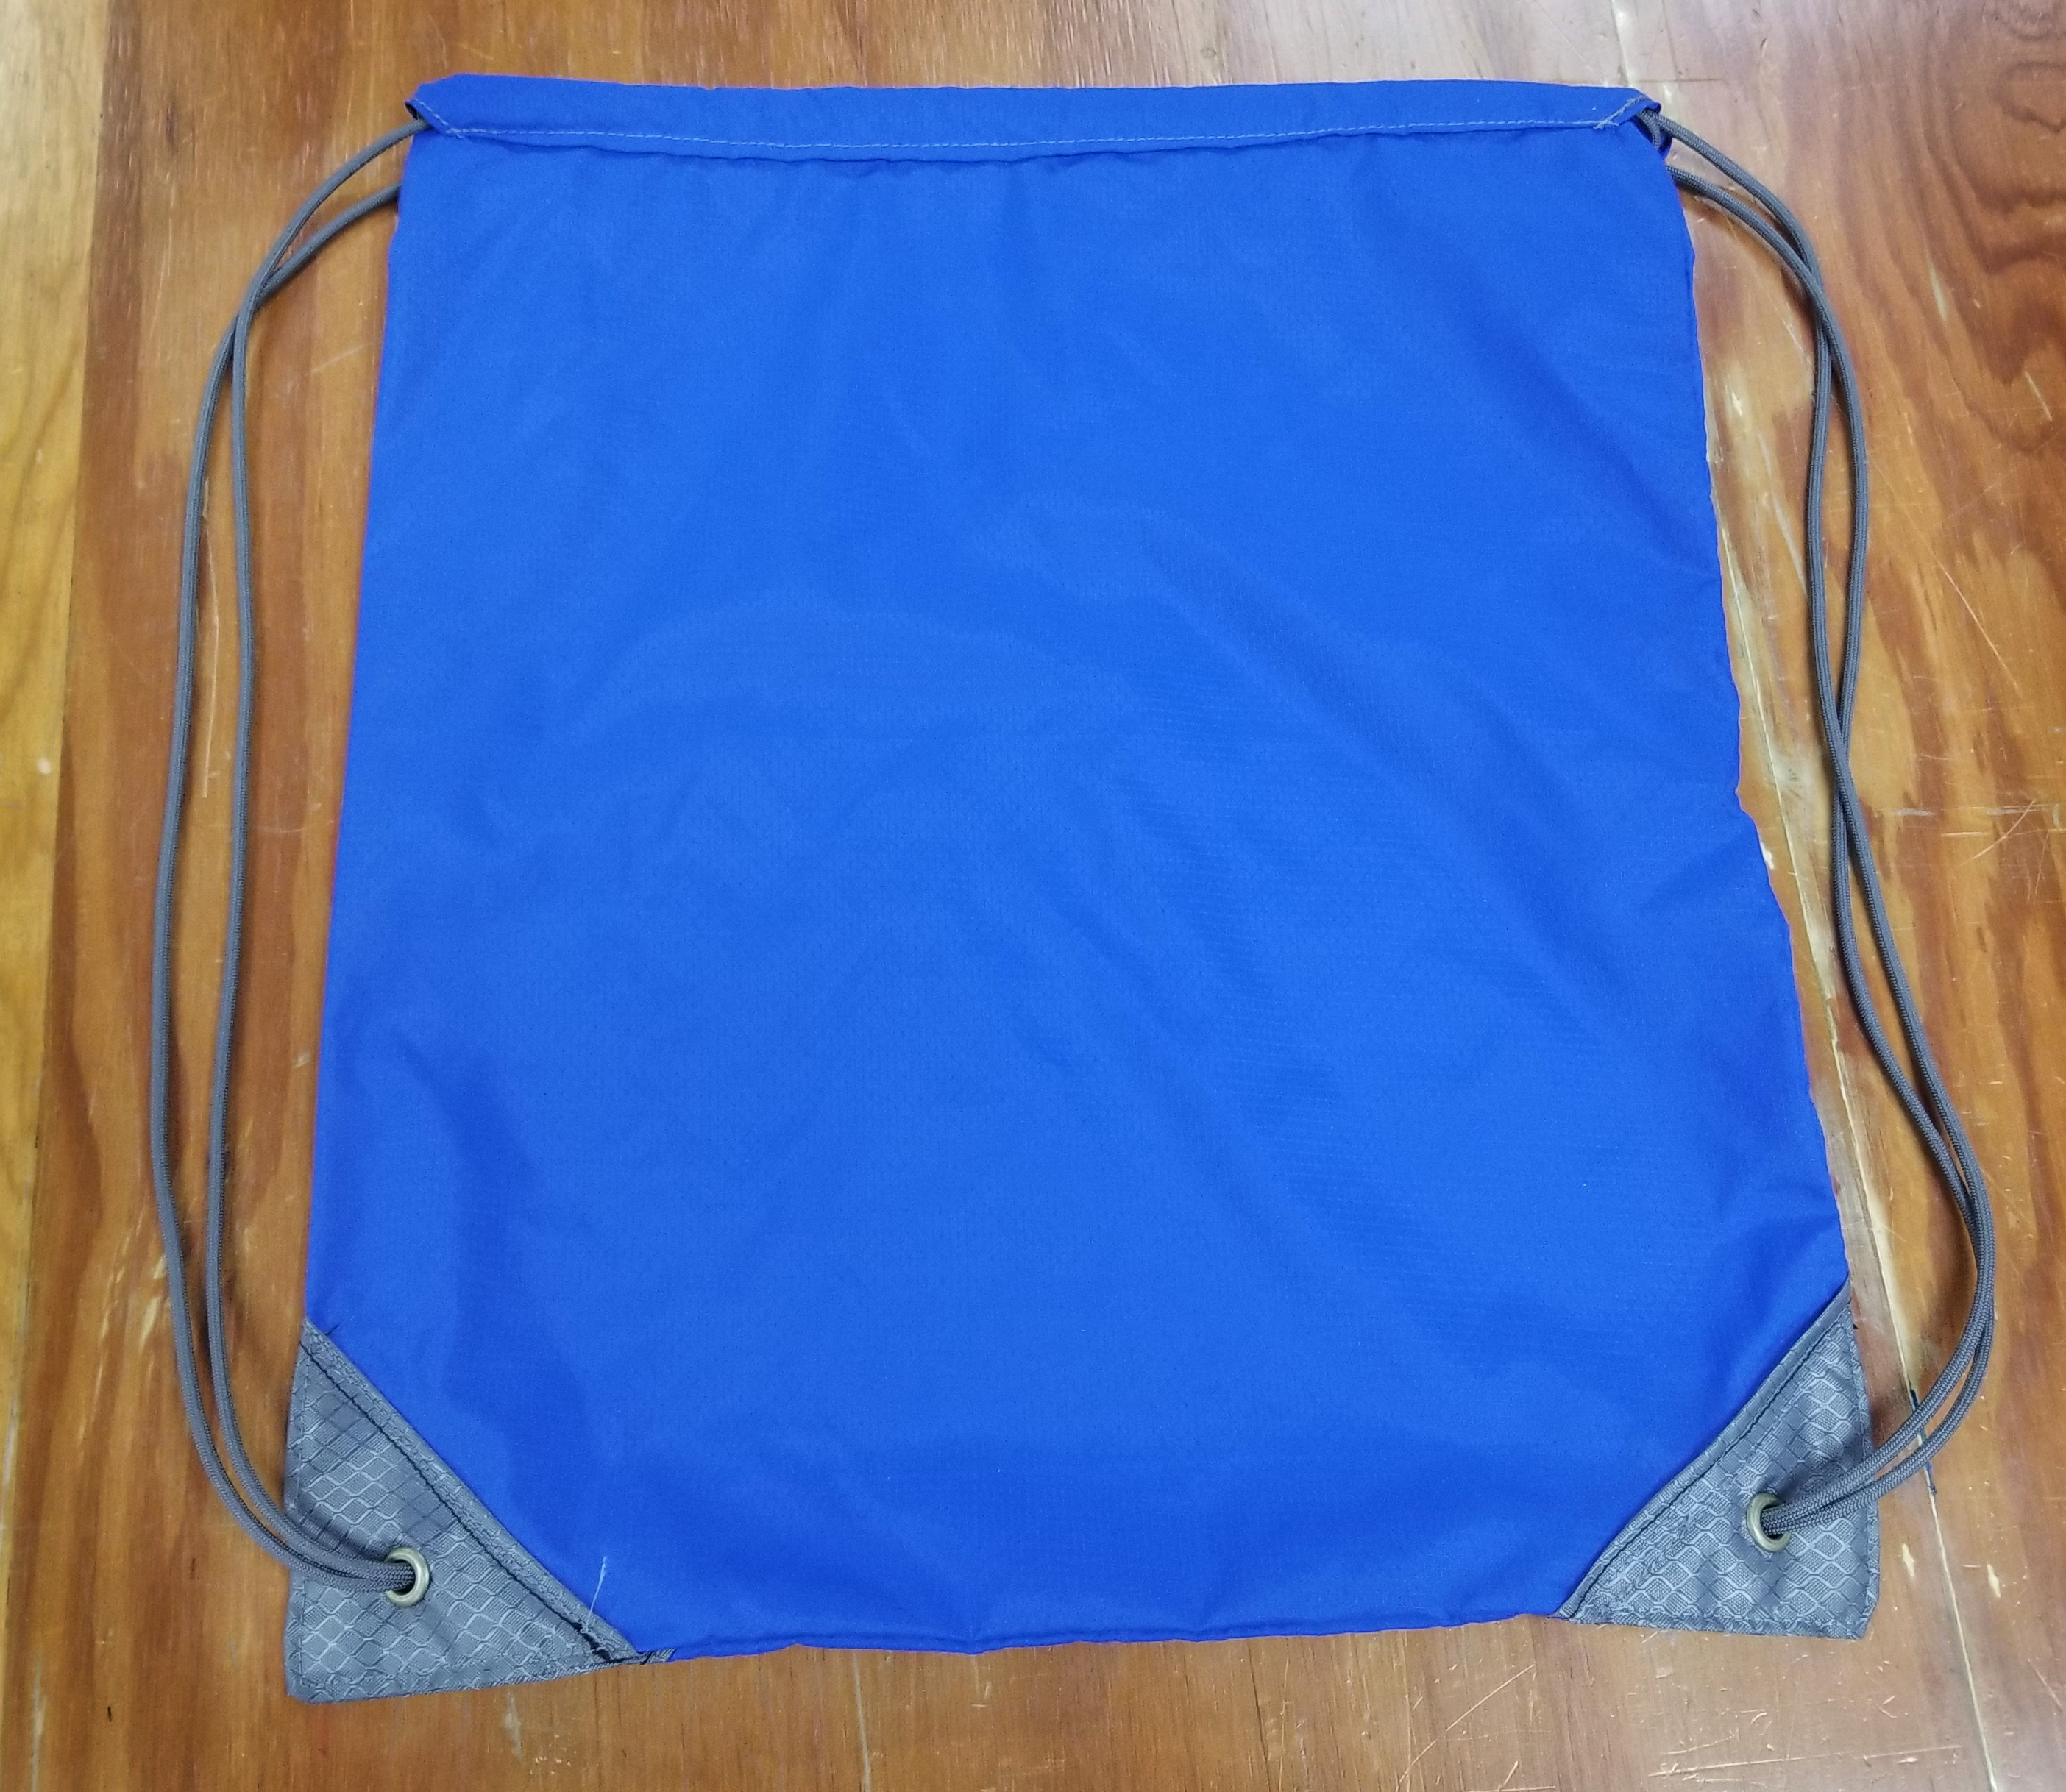
In this tutorial article, we will show you how to make your own Drawstring Backpack. This is a great project for anyone just getting started with DIY gear making and produces a beautiful, useful piece of gear! It is simple and cheap to make and can be a great tool for getting young campers into DIY gear making.
Project Overview
| Skill Level | Estimated Time | Estimated Cost |
| Beginner | 1 Hour | $ |
Materials and Tools
| Materials Needed: | Tools Needed: |
| 1 Yard Fabric | Sewing Machine |
| 1/2 Yard 300D Reinforcement | Scissors |
| 12 Feet 550 Paracord | Ruler/Tape Measure |
| 2 1/4 Inch Grommets | Marker or Chalk |
| Grommet Setting Tool | |
| Drawstring corner reinforcement pattern |
Preparation Instructions
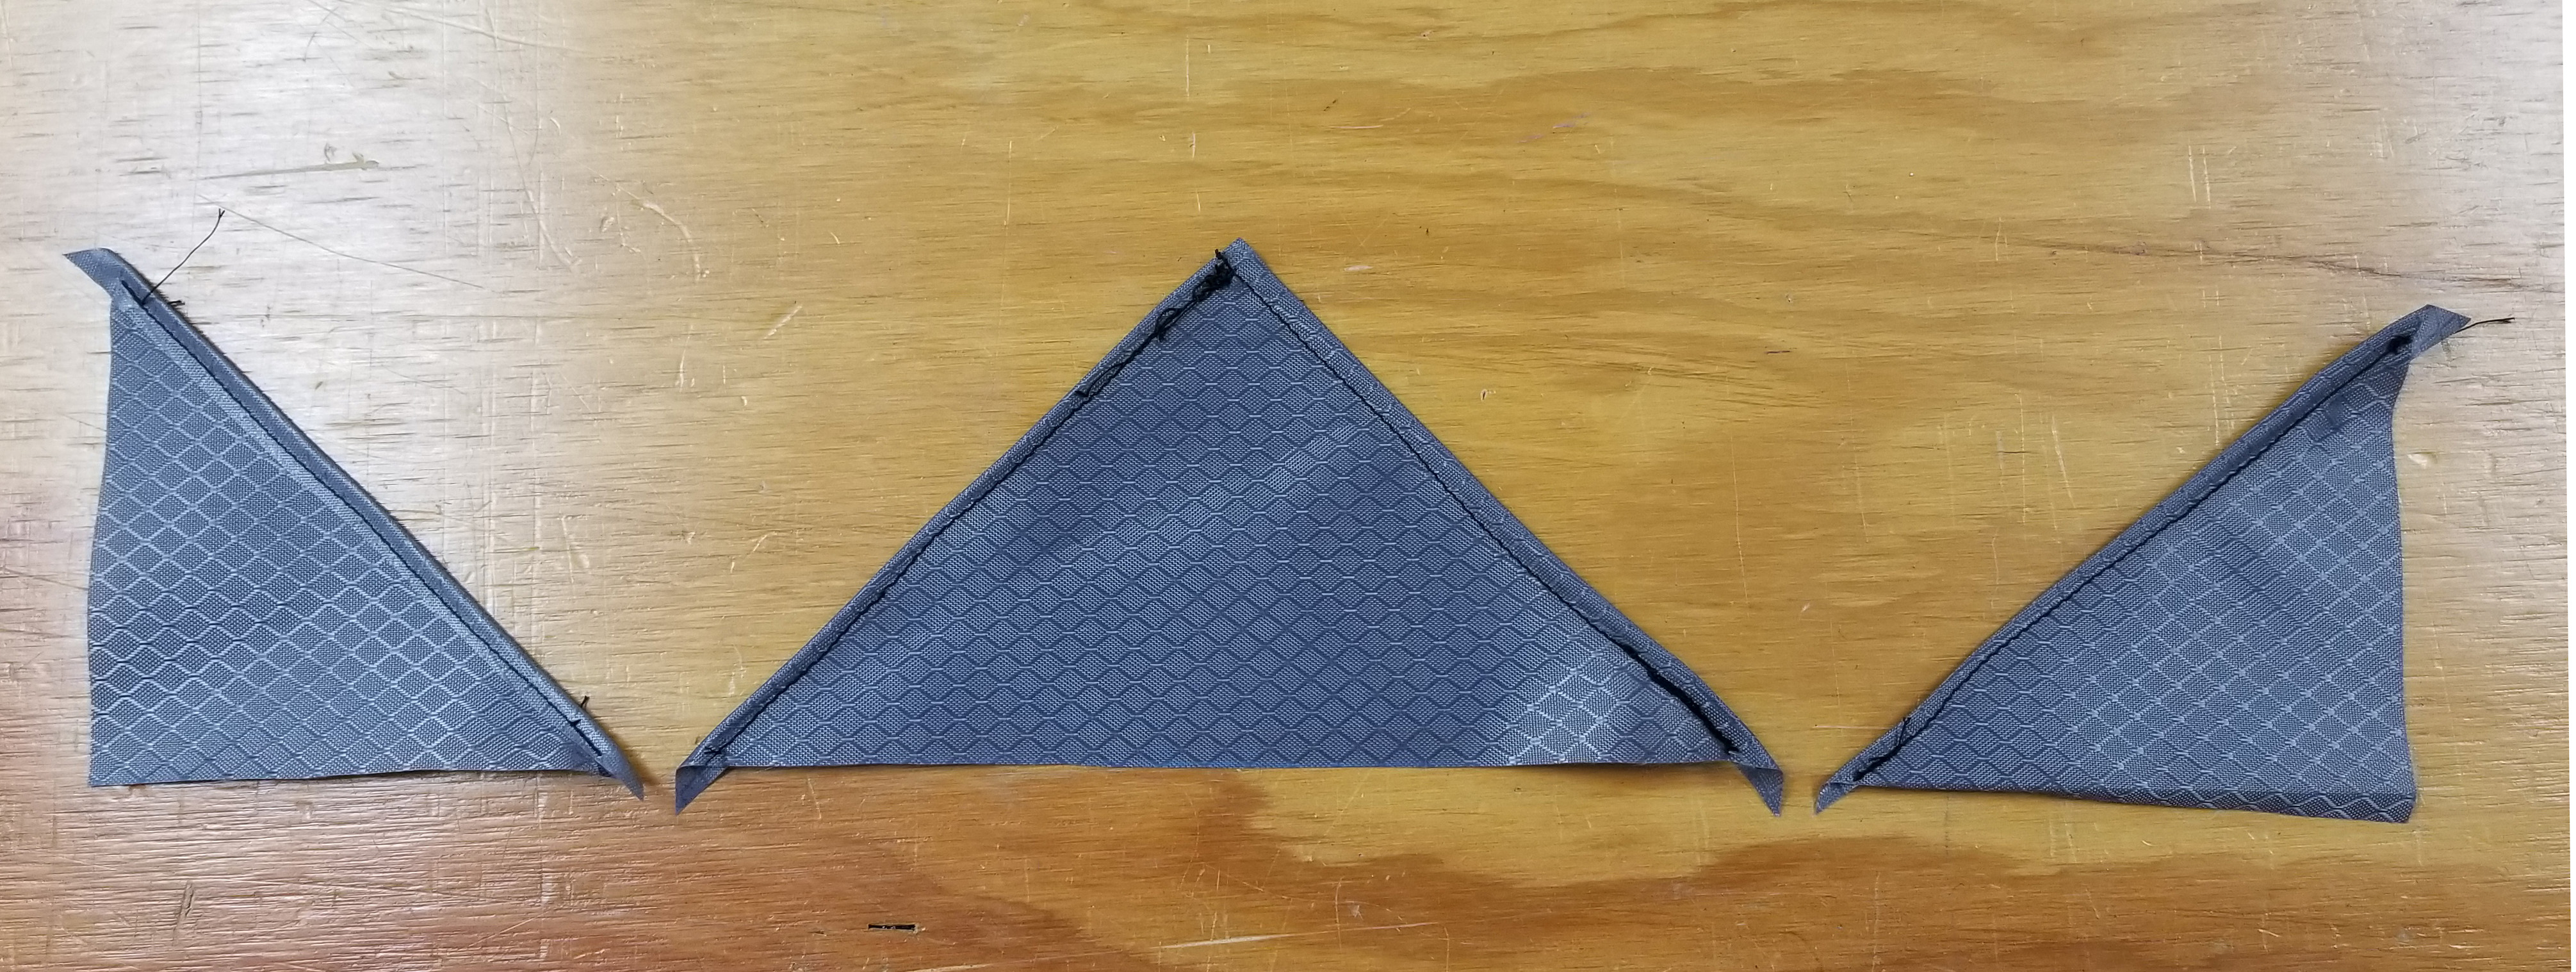
- Print and cut-out the Drawstring corner reinforcement pattern. This is to make the 300D corner reinforcements. You will need to trace one of the large triangle. Then cut the pattern in half and trace two of the smaller triangles. The most efficient way to lay this out is as shown by the diagram.

- Cut this pattern out of the reinforcement material.
- Cut one square of fabric that measures 20” x 31”
- Cut two lengths of Paracord 72” long and fuse the ends with a flame.
Sewing Instructions
**Seam allowances should be 1/4″ unless otherwise noted**
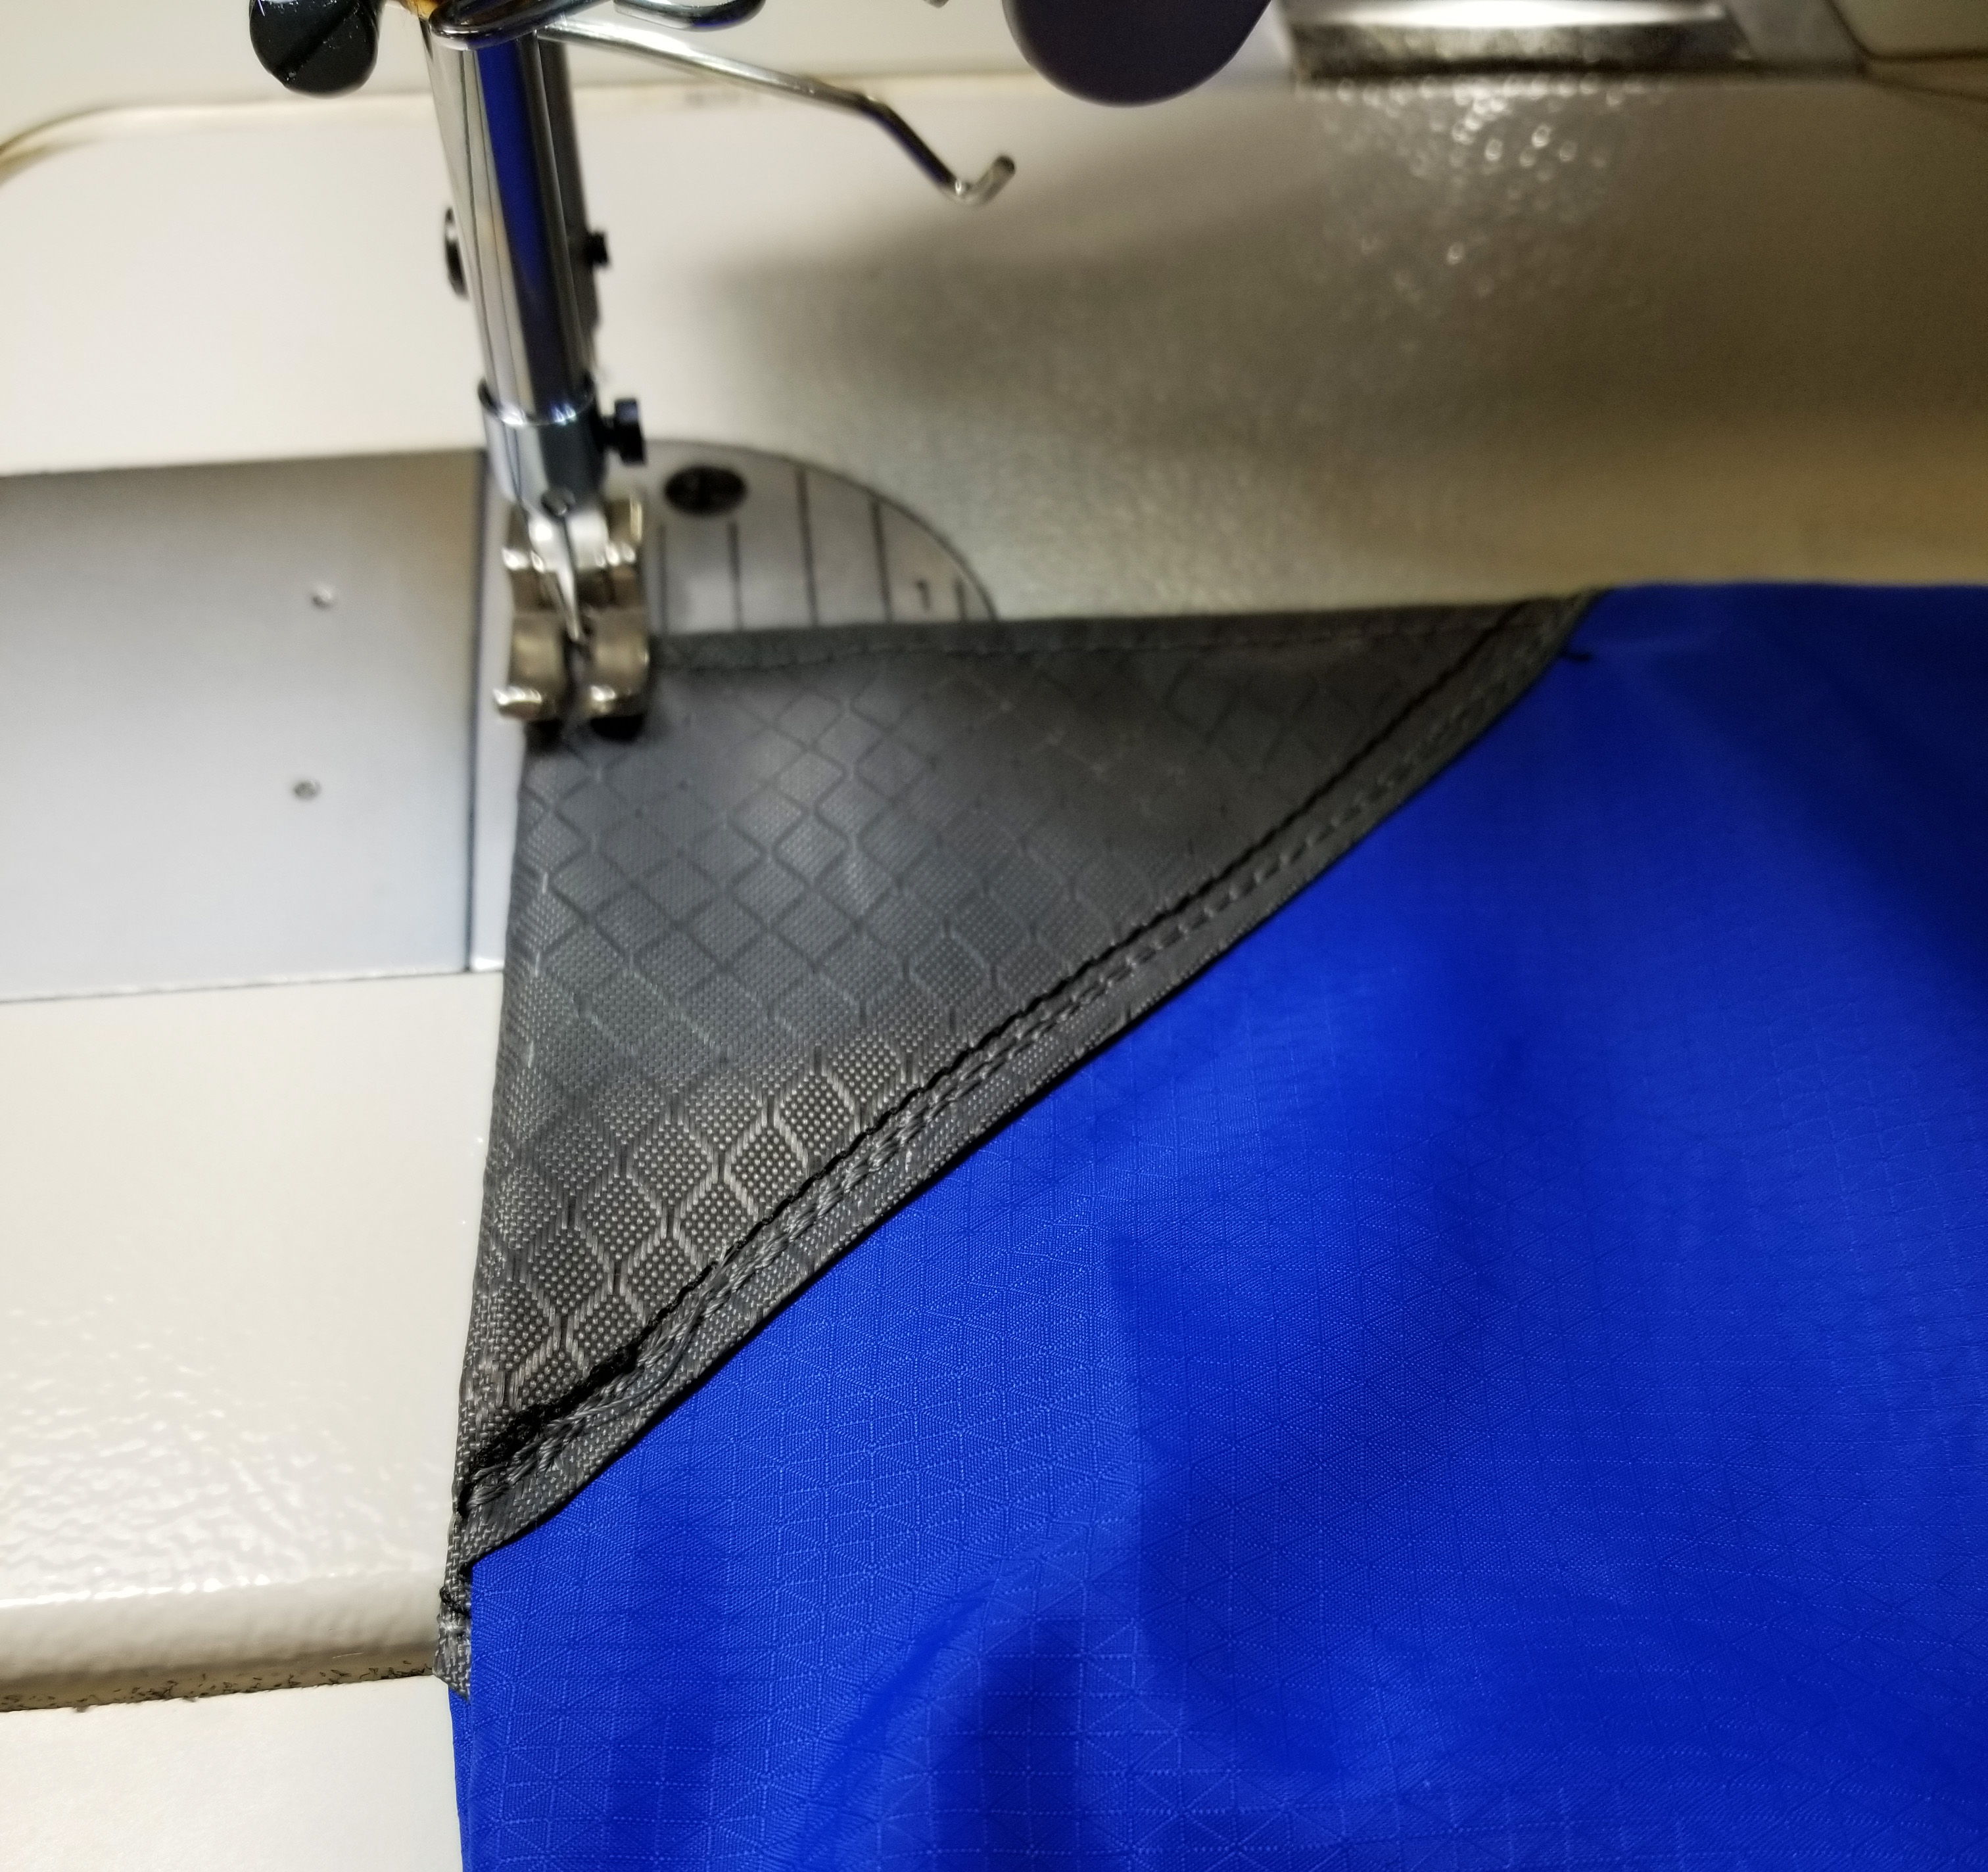
Step 1: Fold over the two shorter edges of the larger reinforcement triangle and stitch them down. Then fold the longer edges of the smaller triangles and stitch the folds down. These folds should be towards the wrong side (shinier side) of the 300D.
Step 2: Measure 15.5” from the edge of the fabric and mark the center of the bag fabric on the top and bottom.
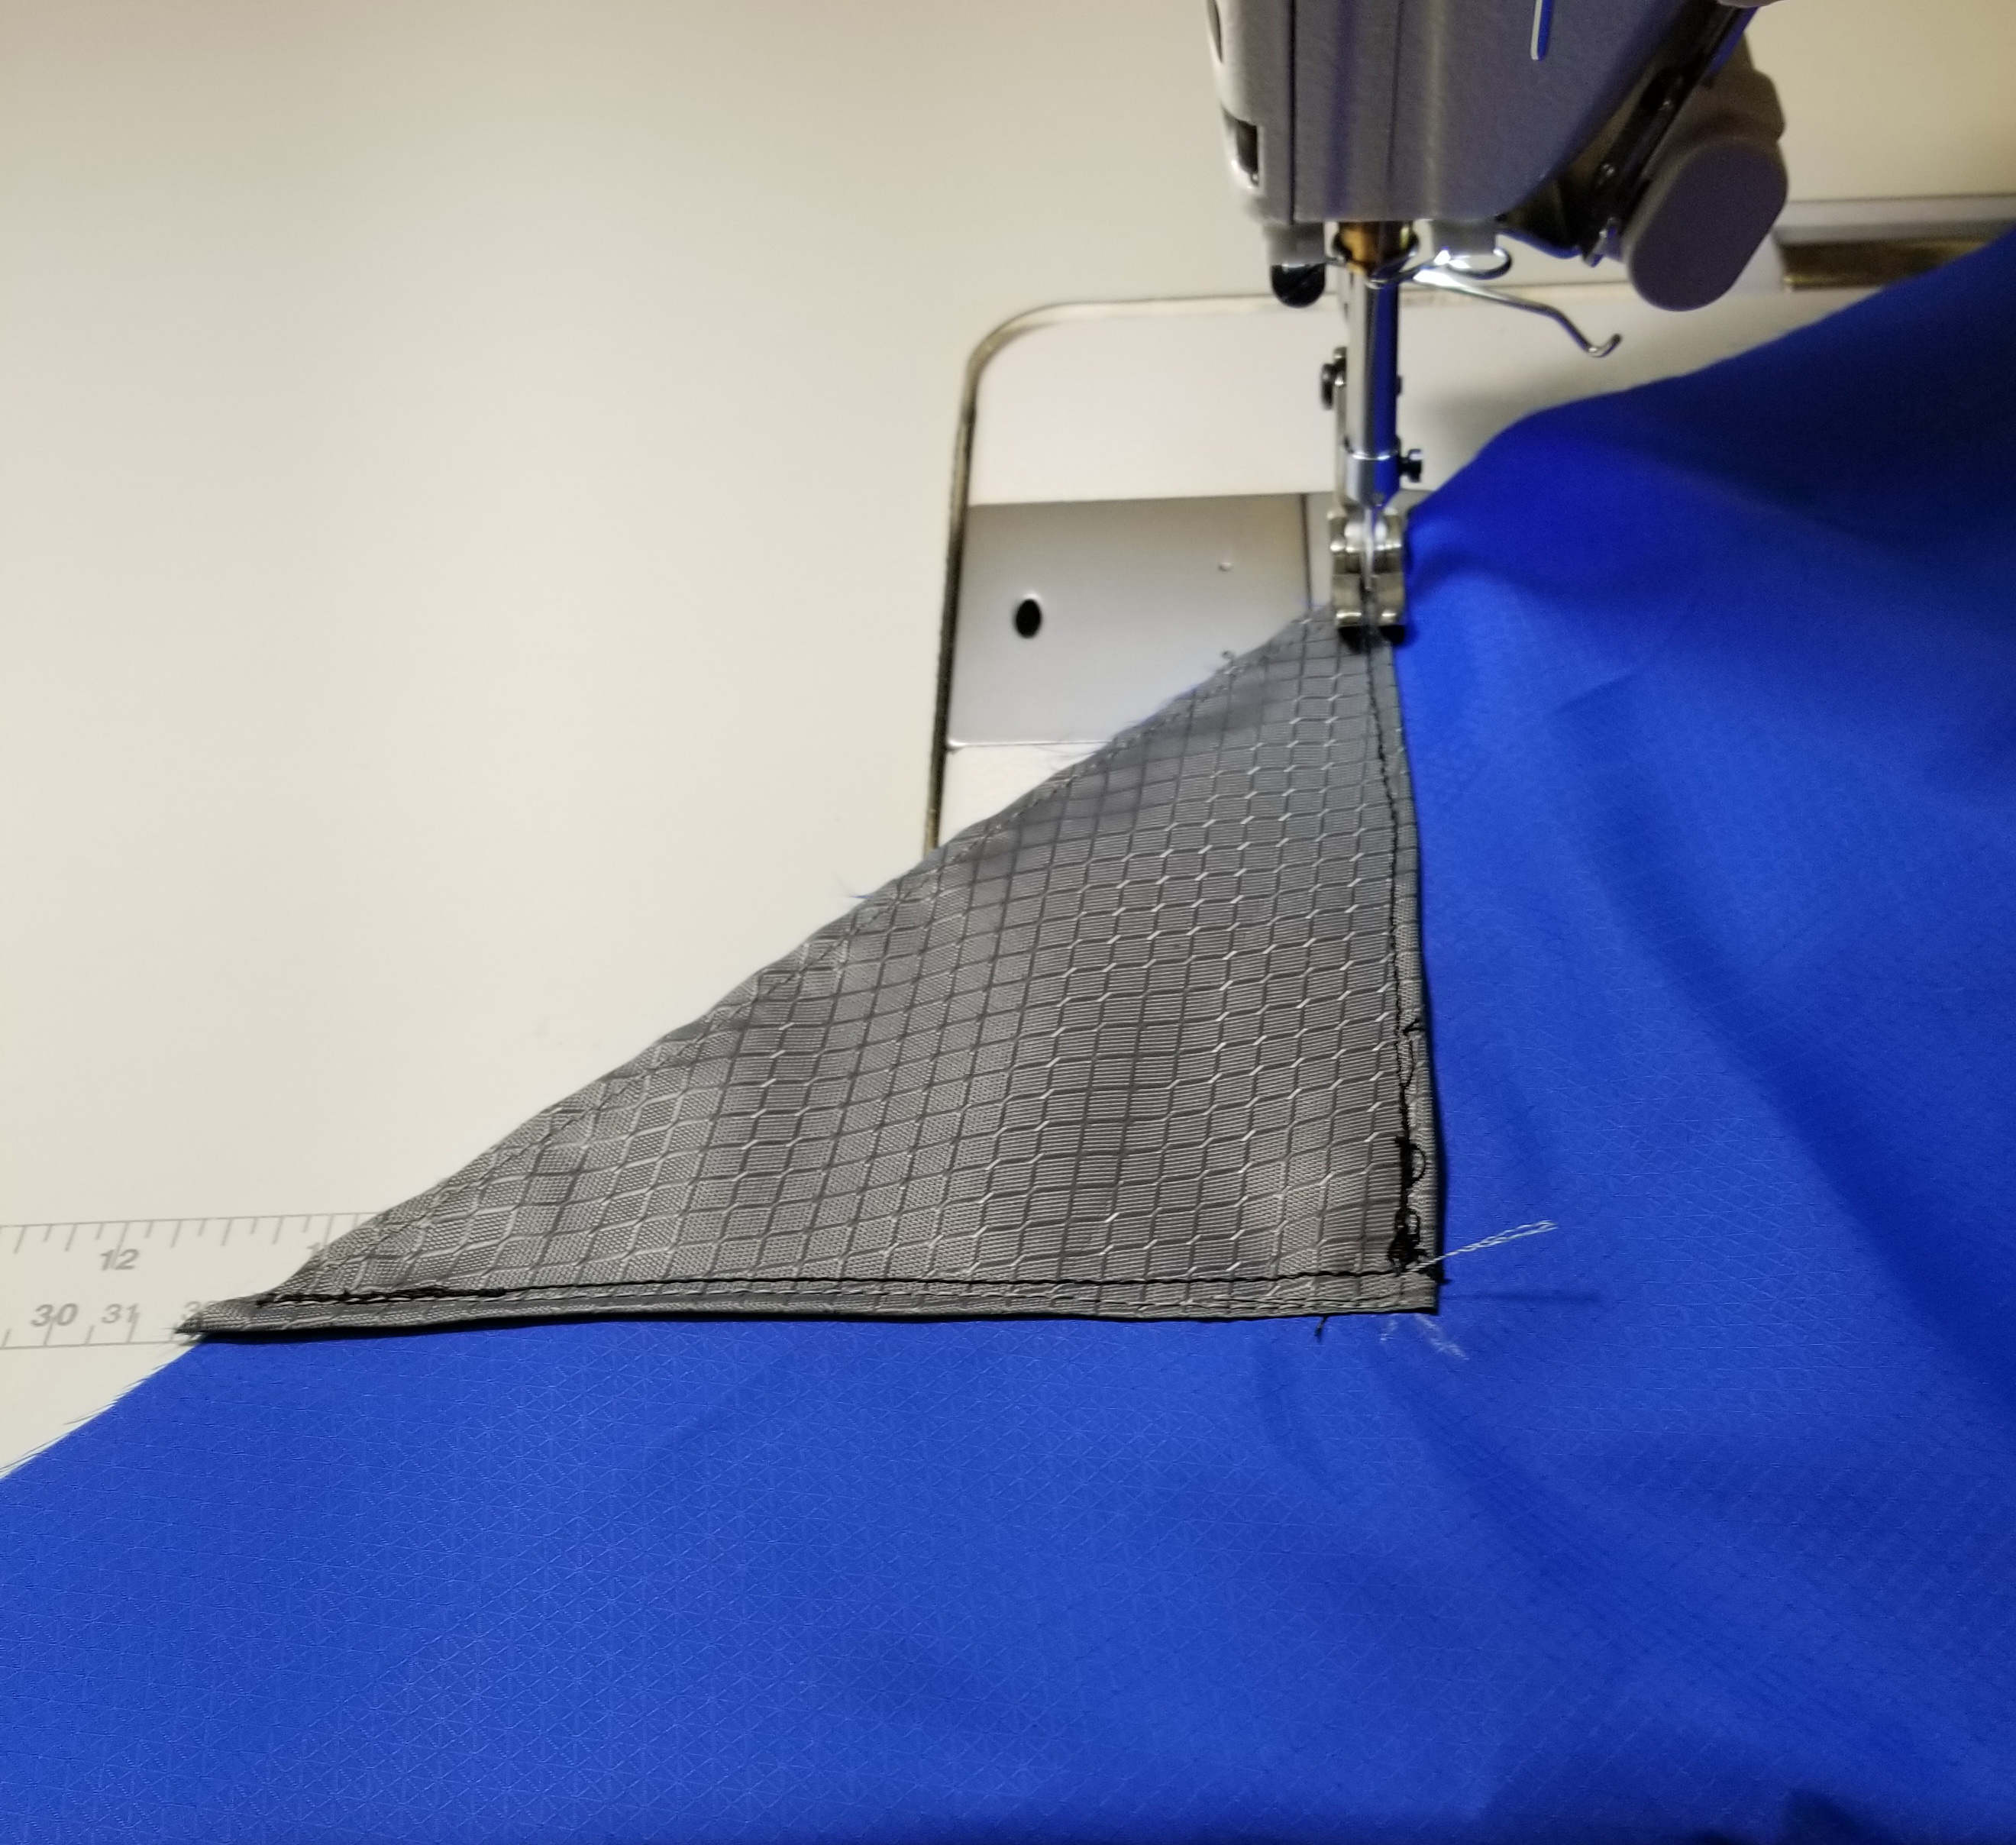
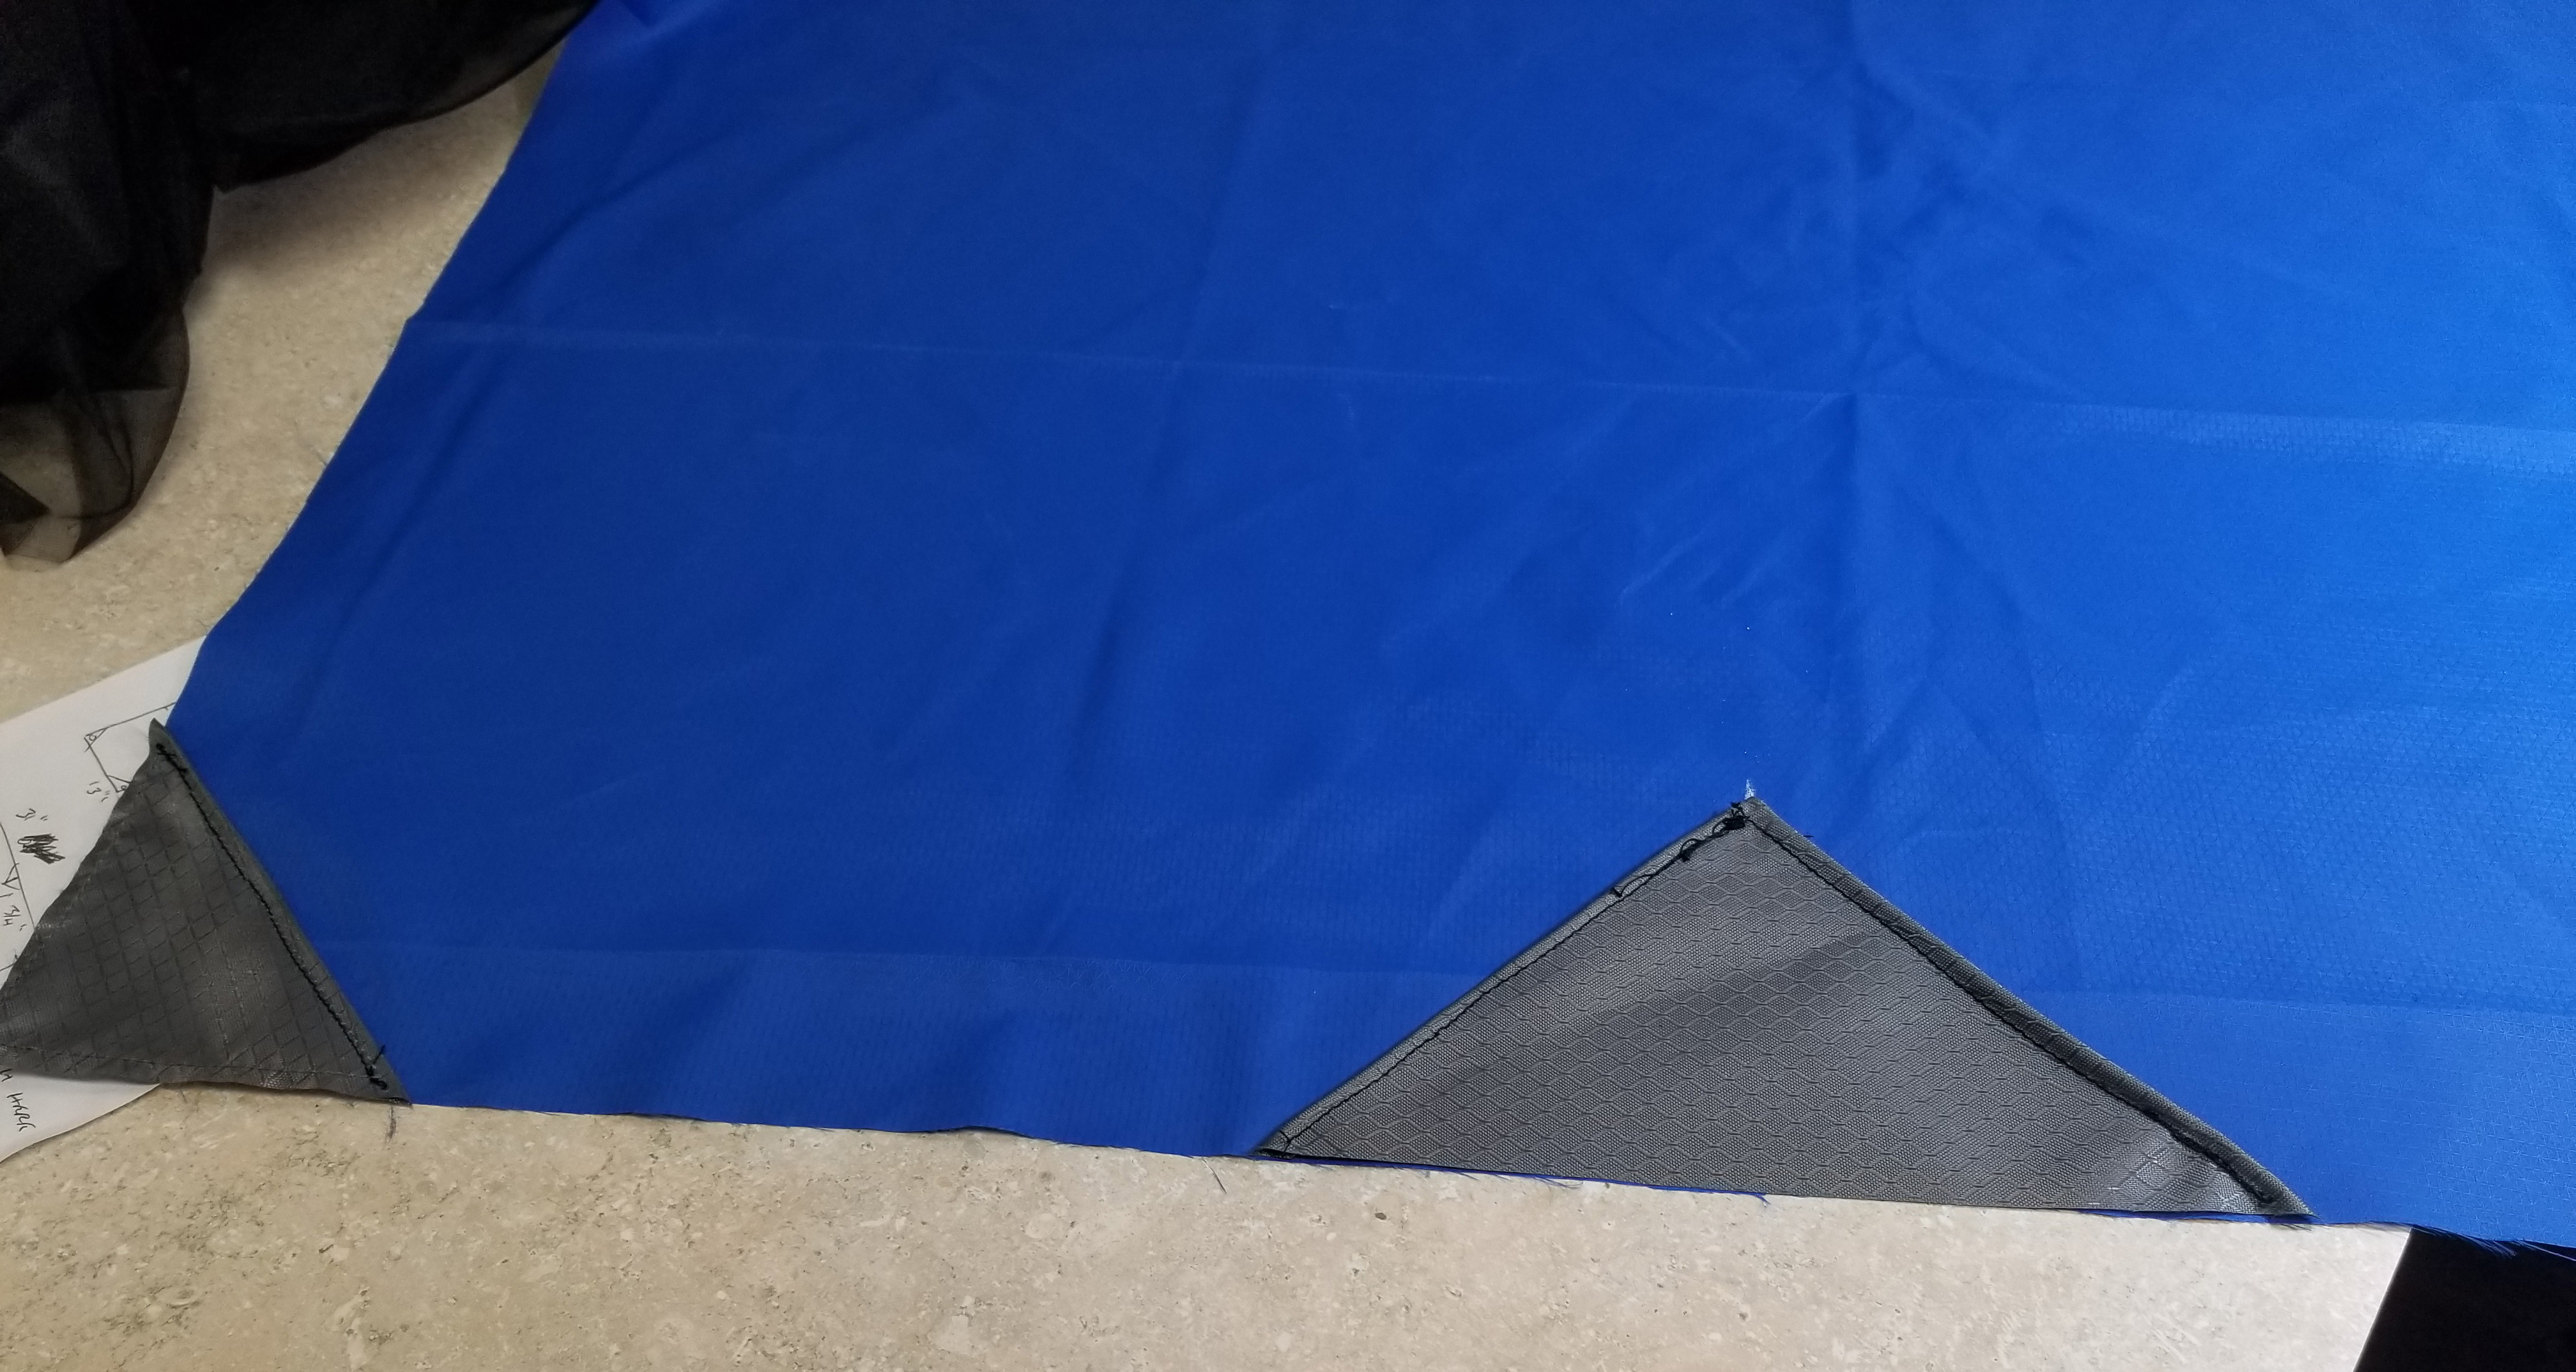
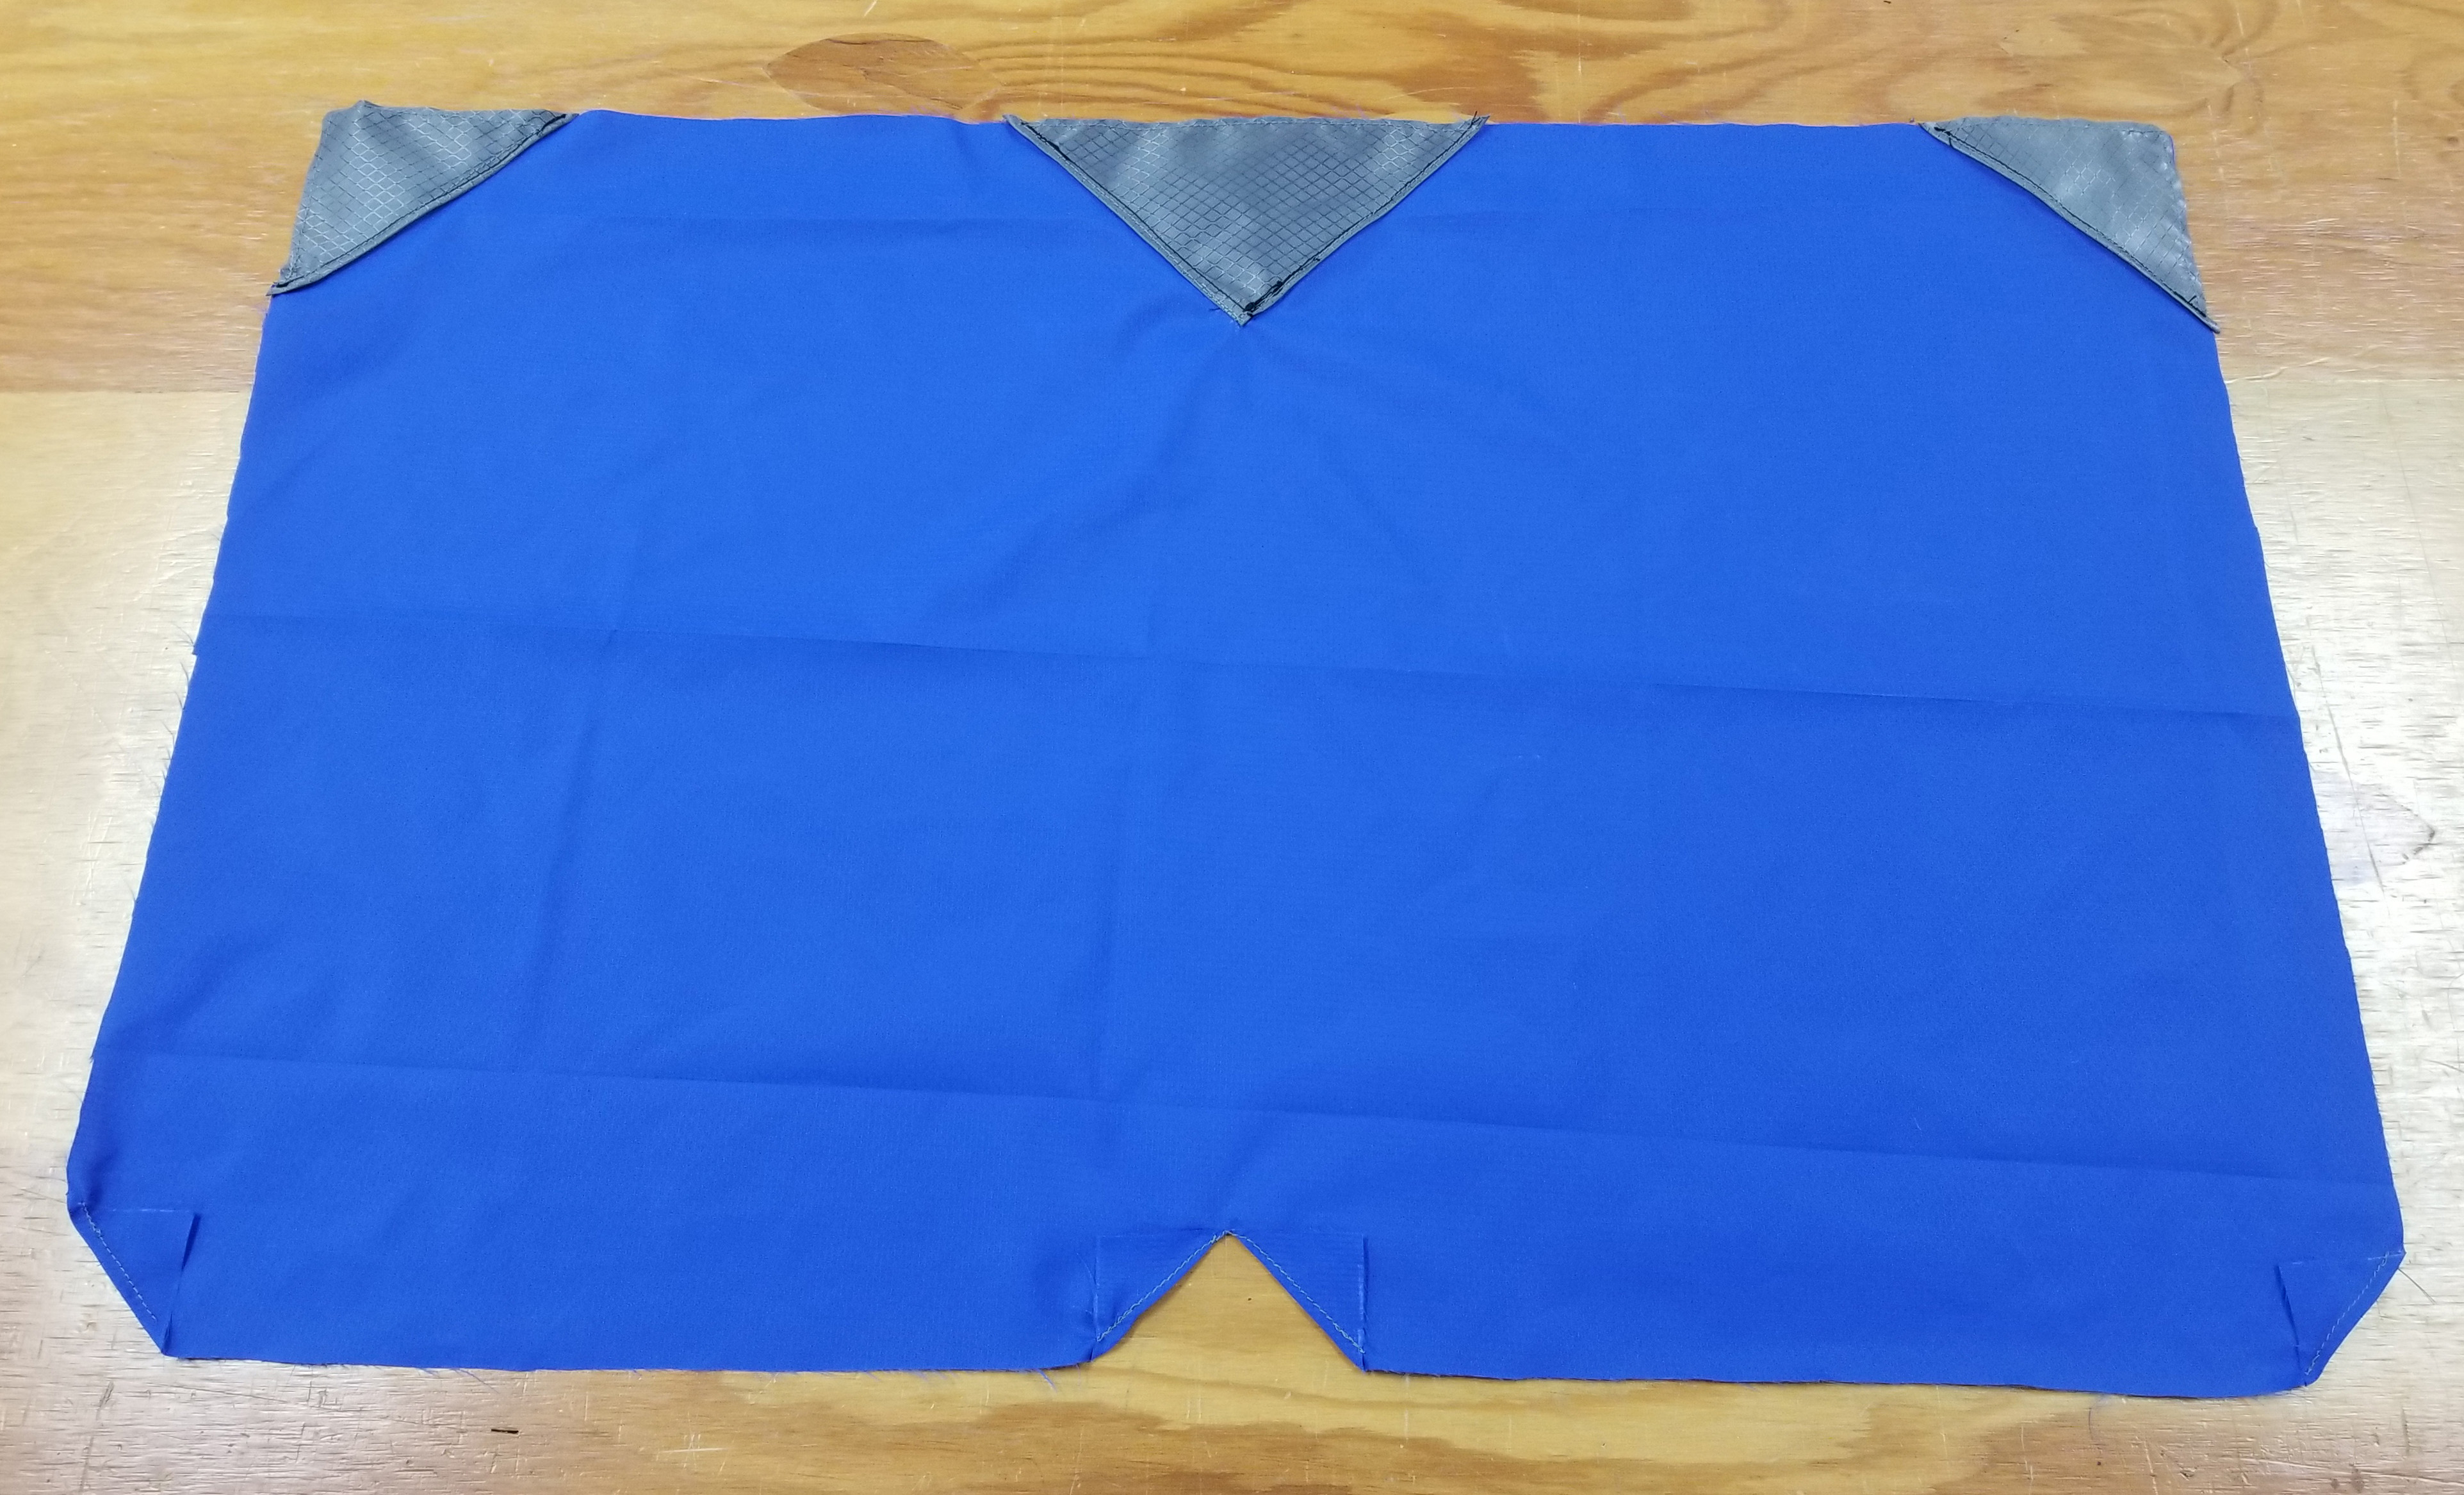
Step 3: Position and topstitch the two smaller reinforcement triangles on the bottom corners of the bag fabric. Position and topstitch the larger reinforcement triangle in the center of the bag.
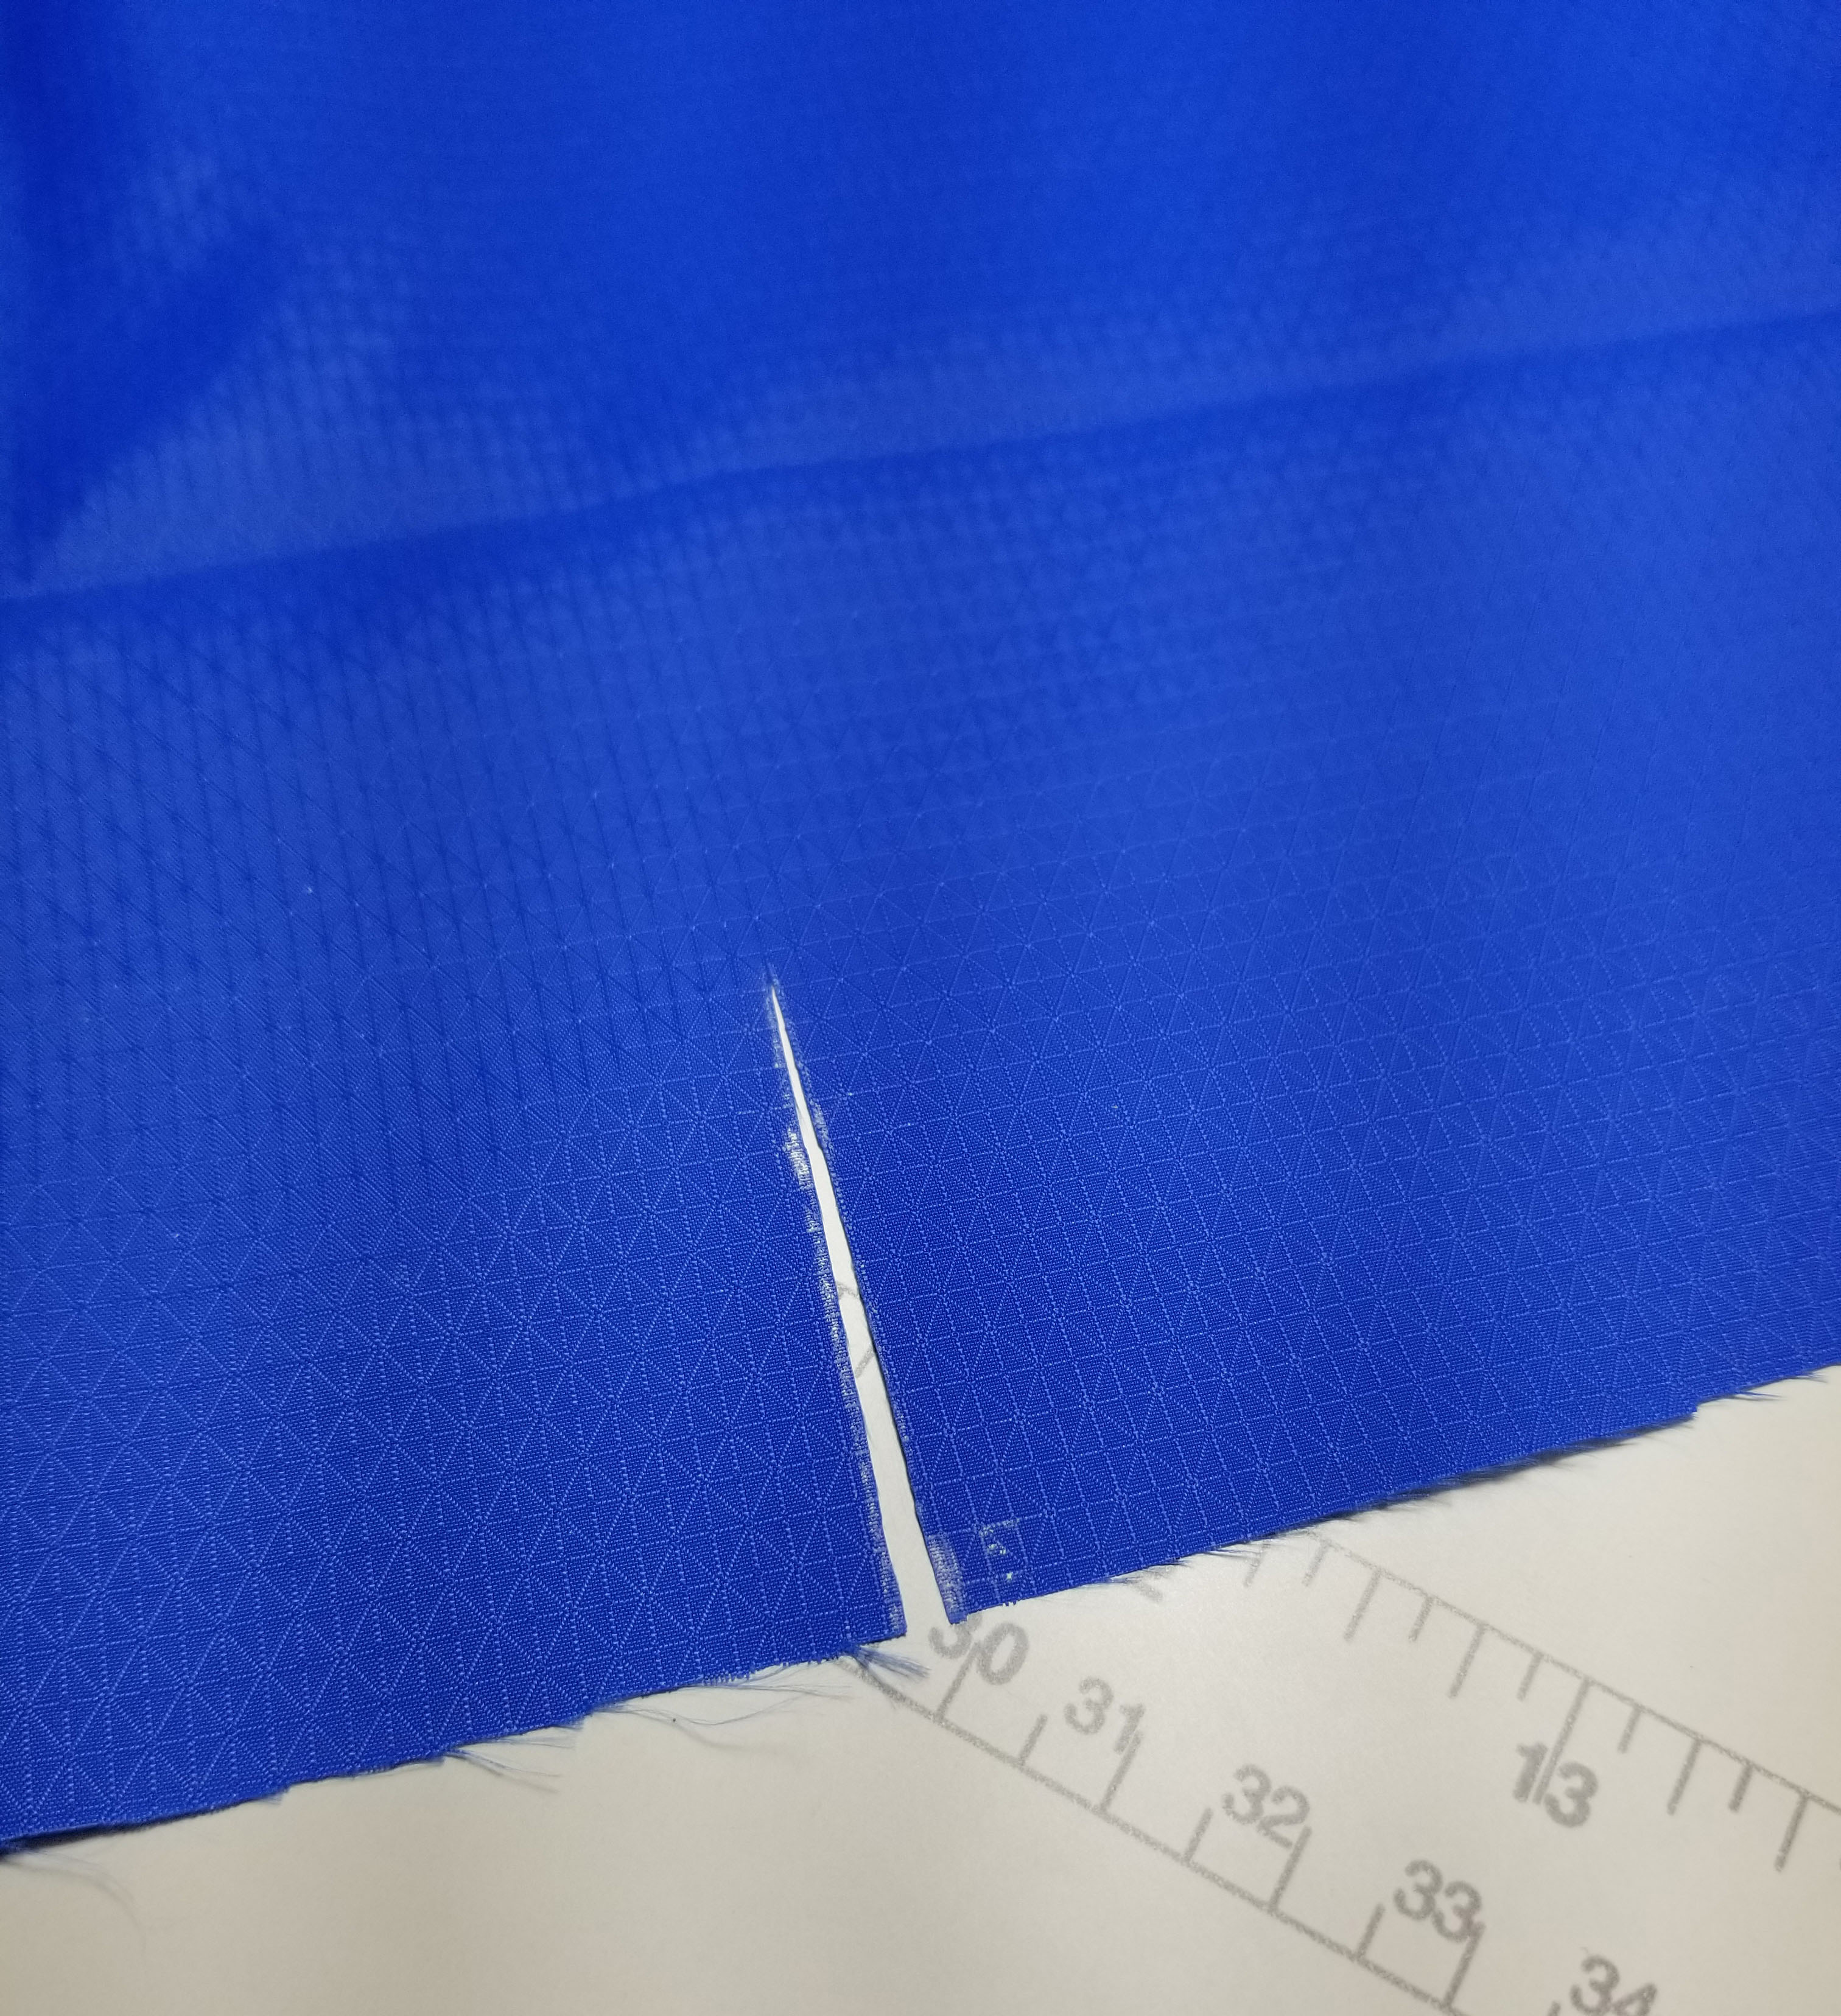
Step 4: Mark a line 1 3/4” Down from the top of the bag. Cut a slit along this mark.
Step 5: Fold the corners along the slit and at the top edges of the bag down to create right triangles. Stitch along these folds.
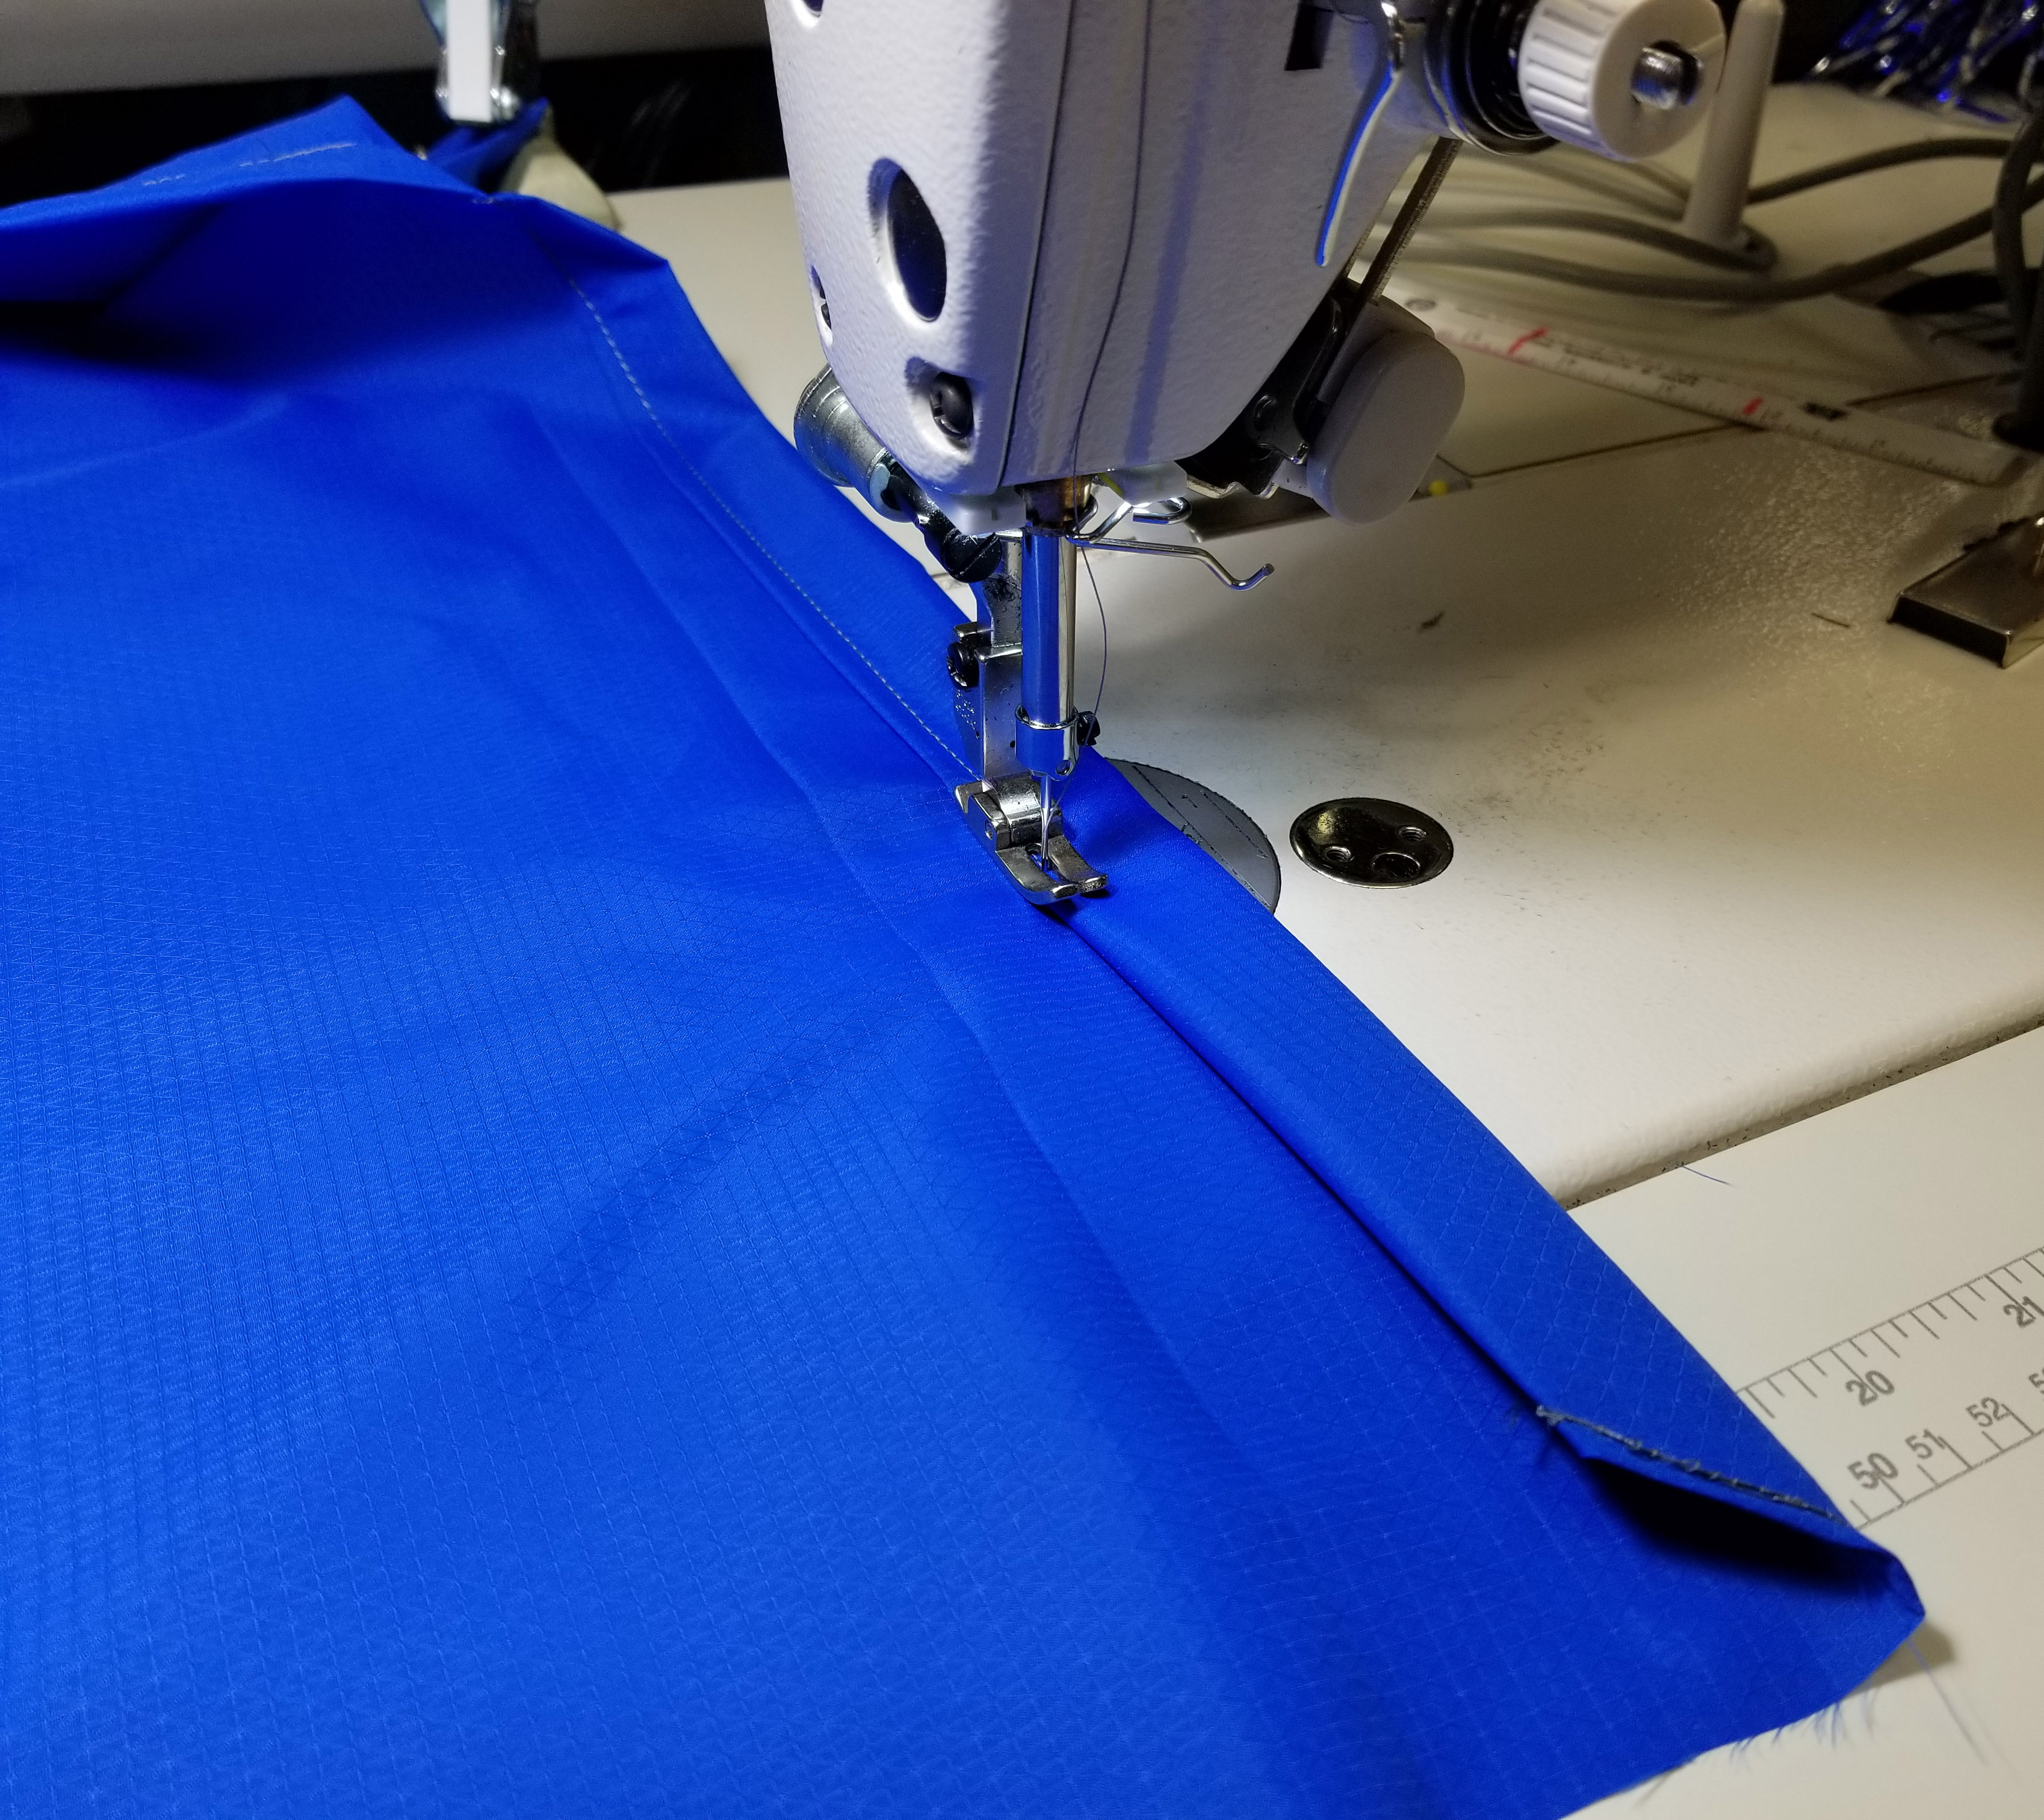
Step 6: Roll hem the chamfered tops that you have just created using a 1” seam allowance. These will eventually be the channels for the drawstrings.
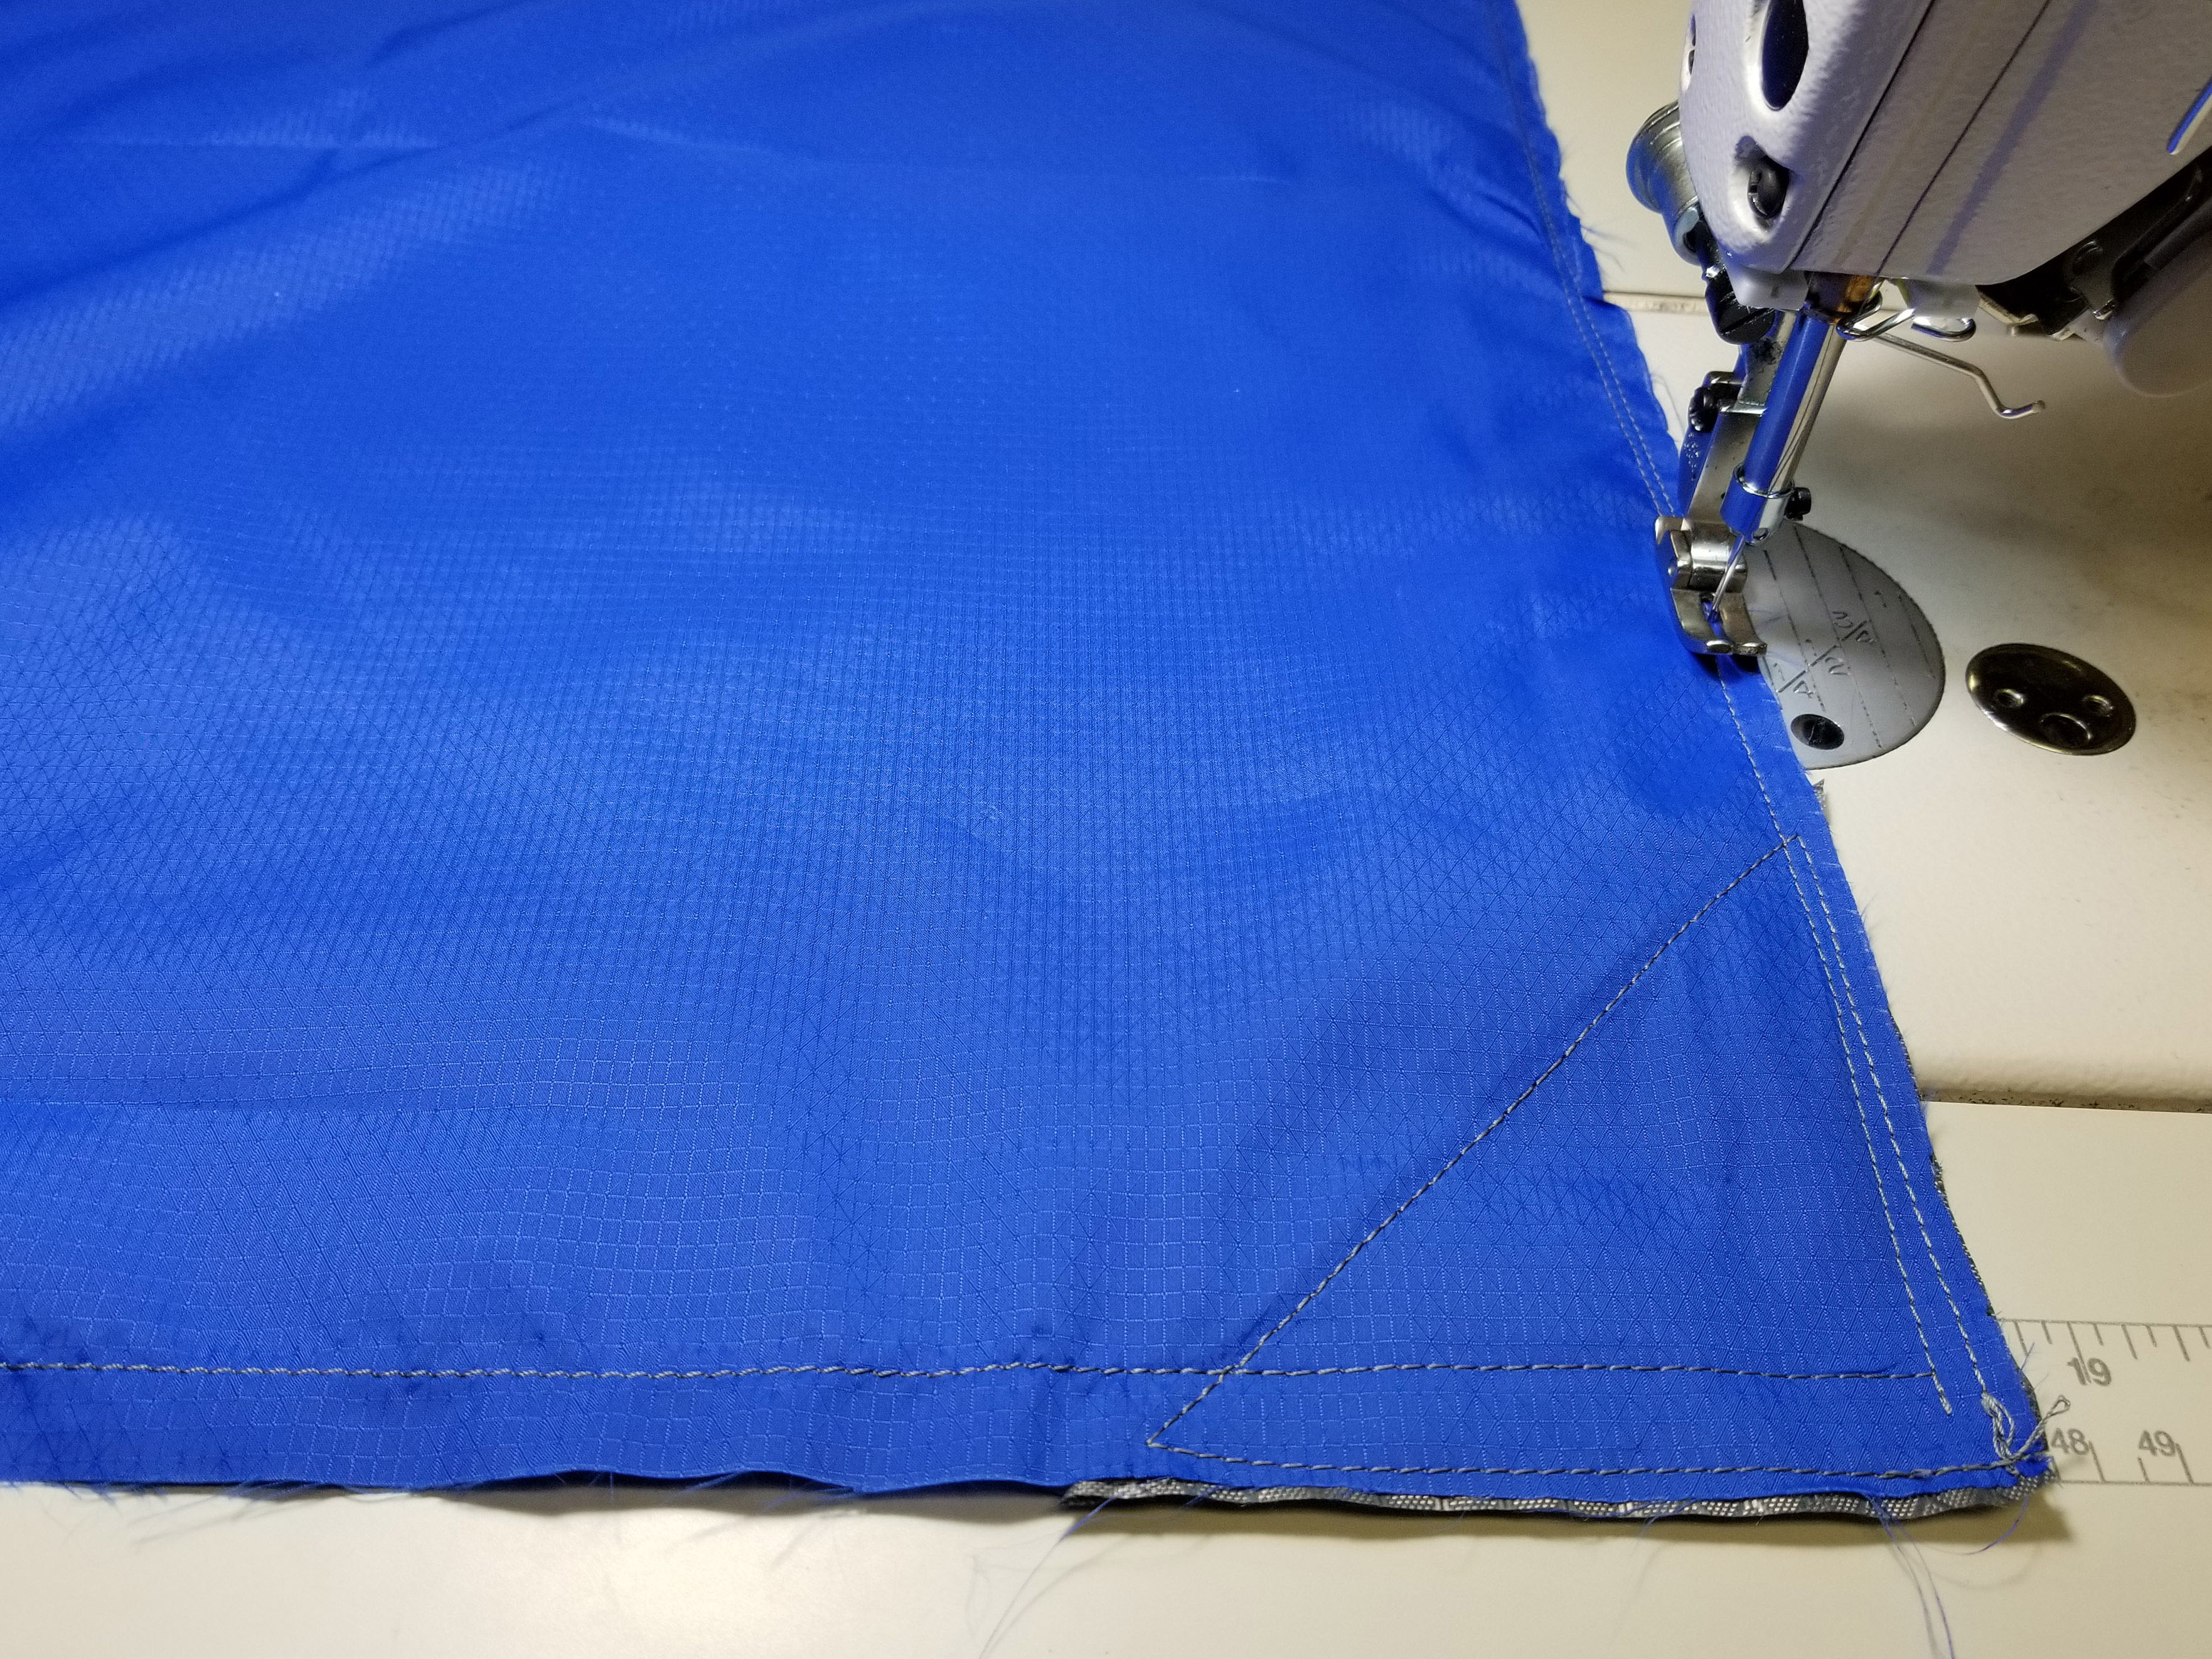
Step 7: Fold the bag along the center. The corner reinforcements should be touching each other. The bag should be inside out. Double stitch along the bottom and side of the bag. I like to keep these two rows of stitching about 1/8” apart.
Step 8: Flip the bag right-side out and topstitch the corner reinforcements to hold the corners of the bag together.
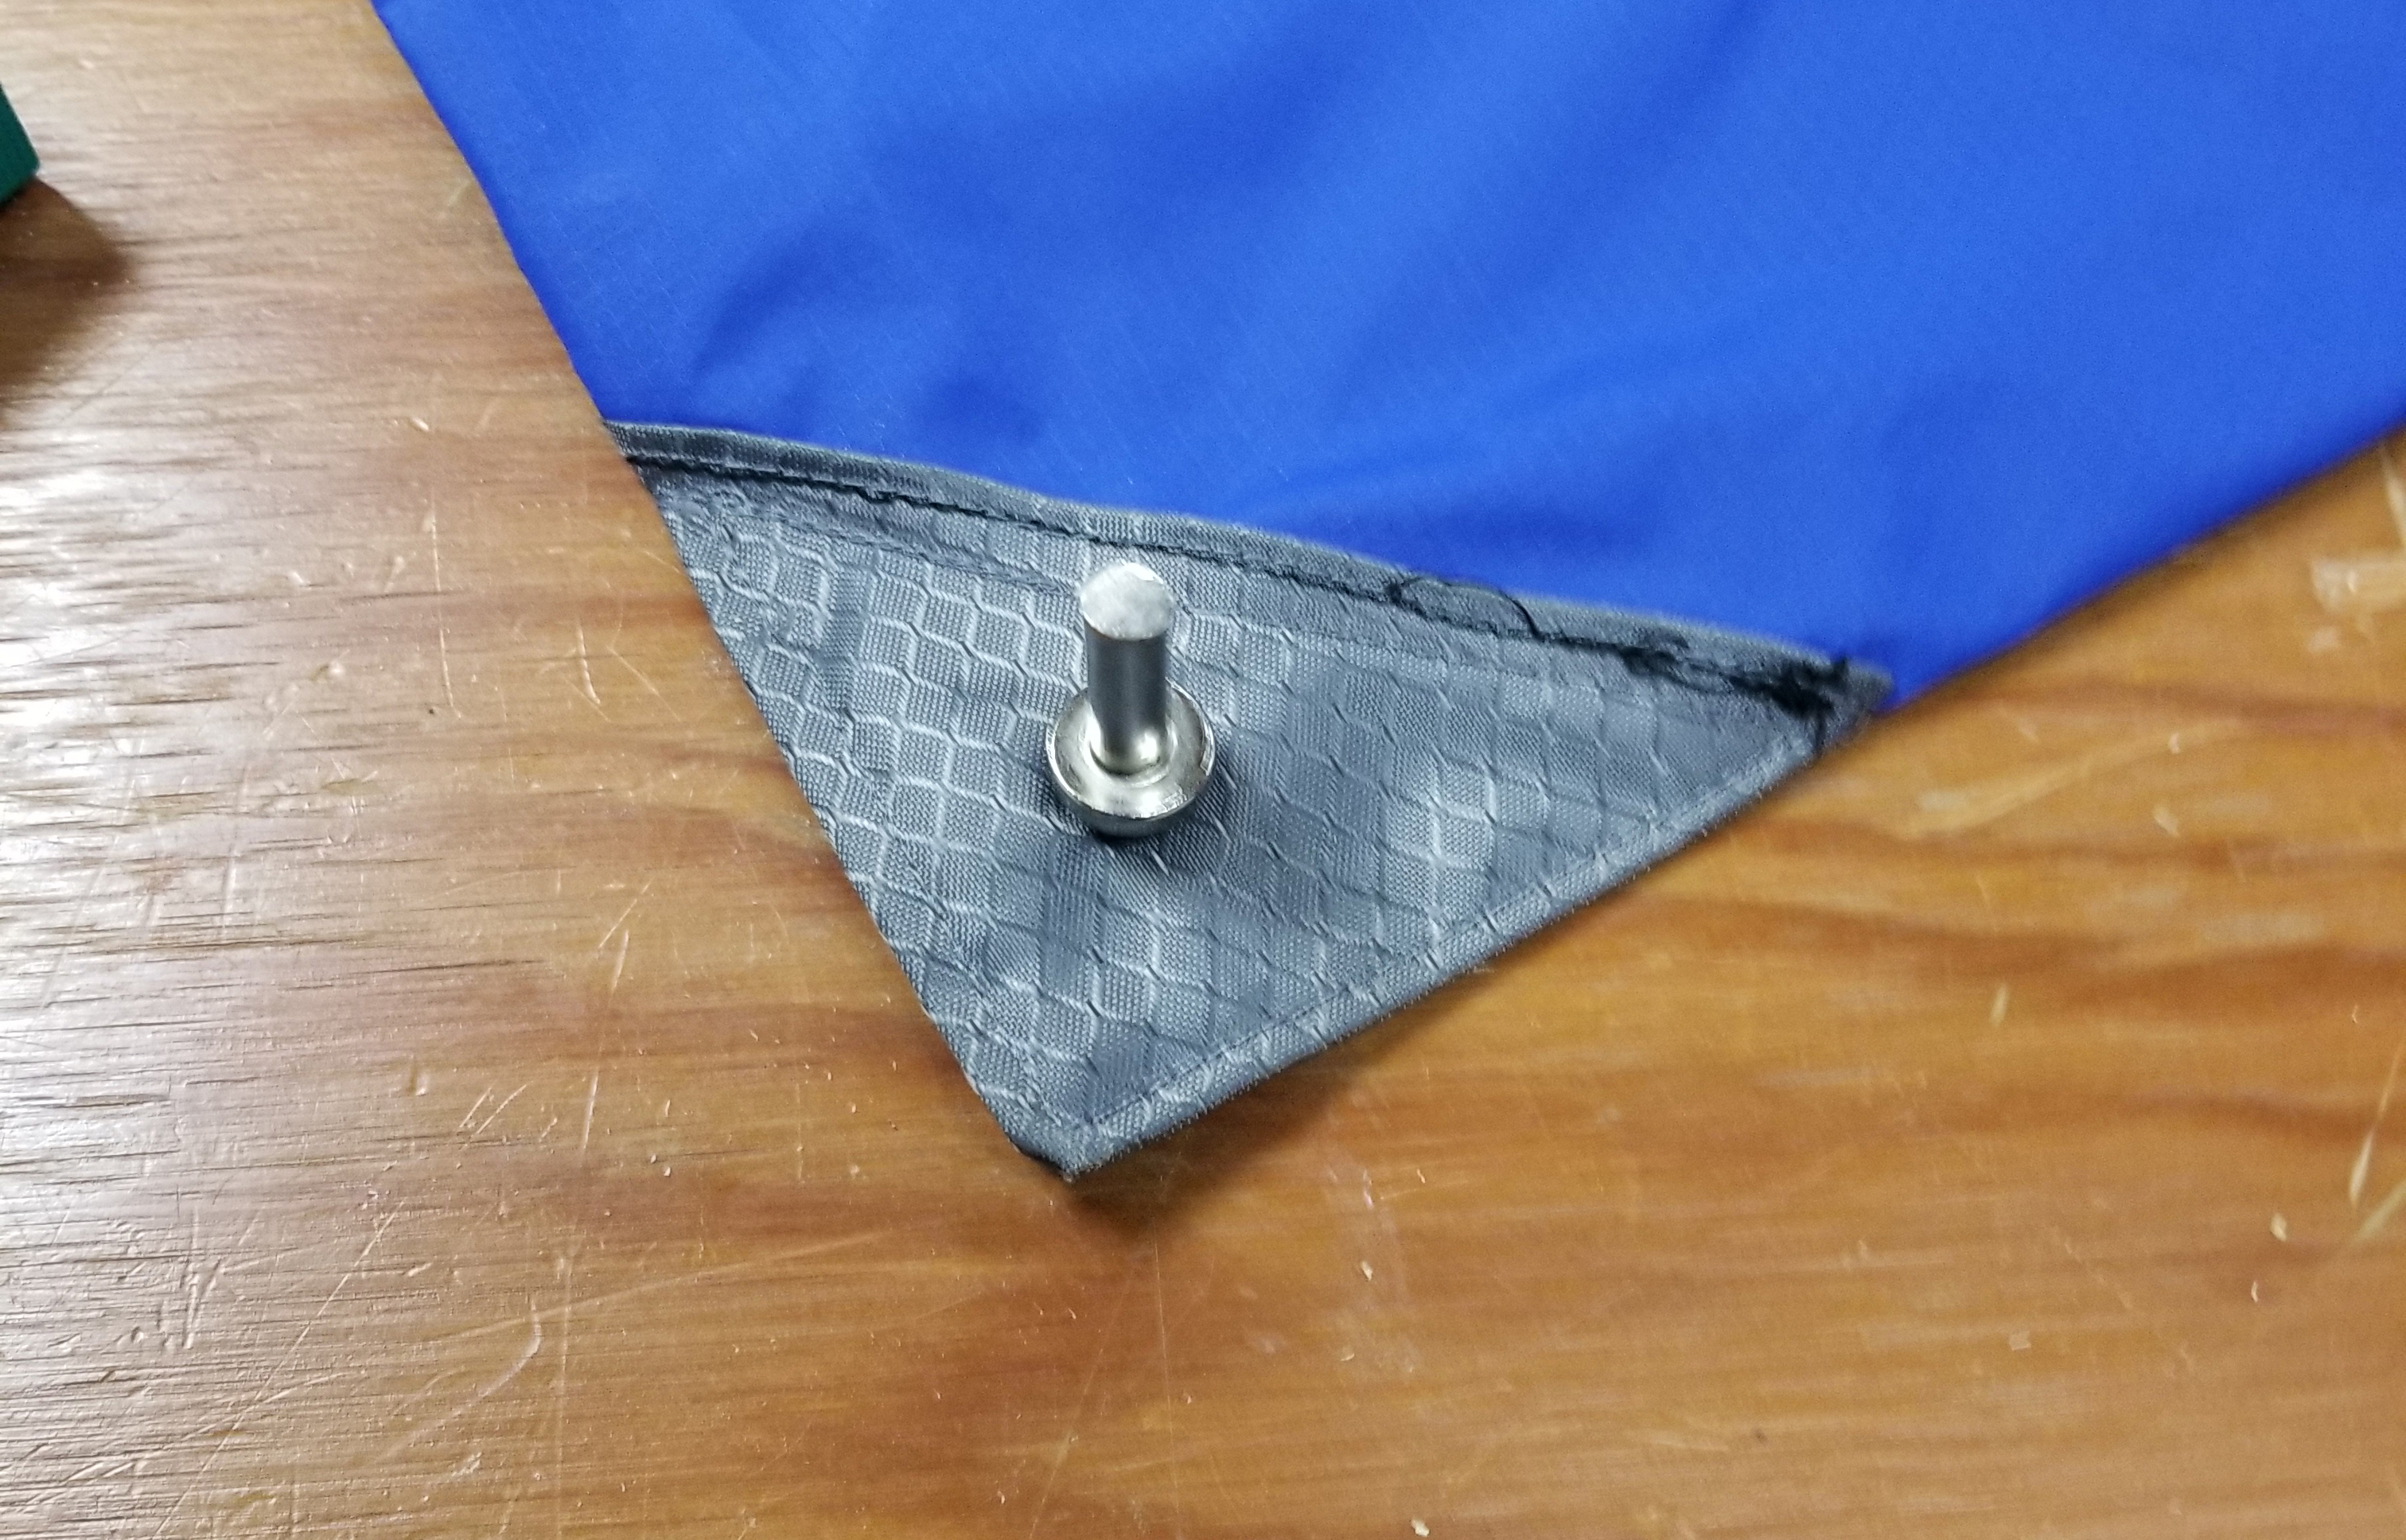
Step 9: Mark the area where you will be installing grommets. I like to position them around 1” up and 1” in from the corners and use the grommet to mark the size of the hole needed. Carefully melt a hole through all layers of fabric using a soldering iron.
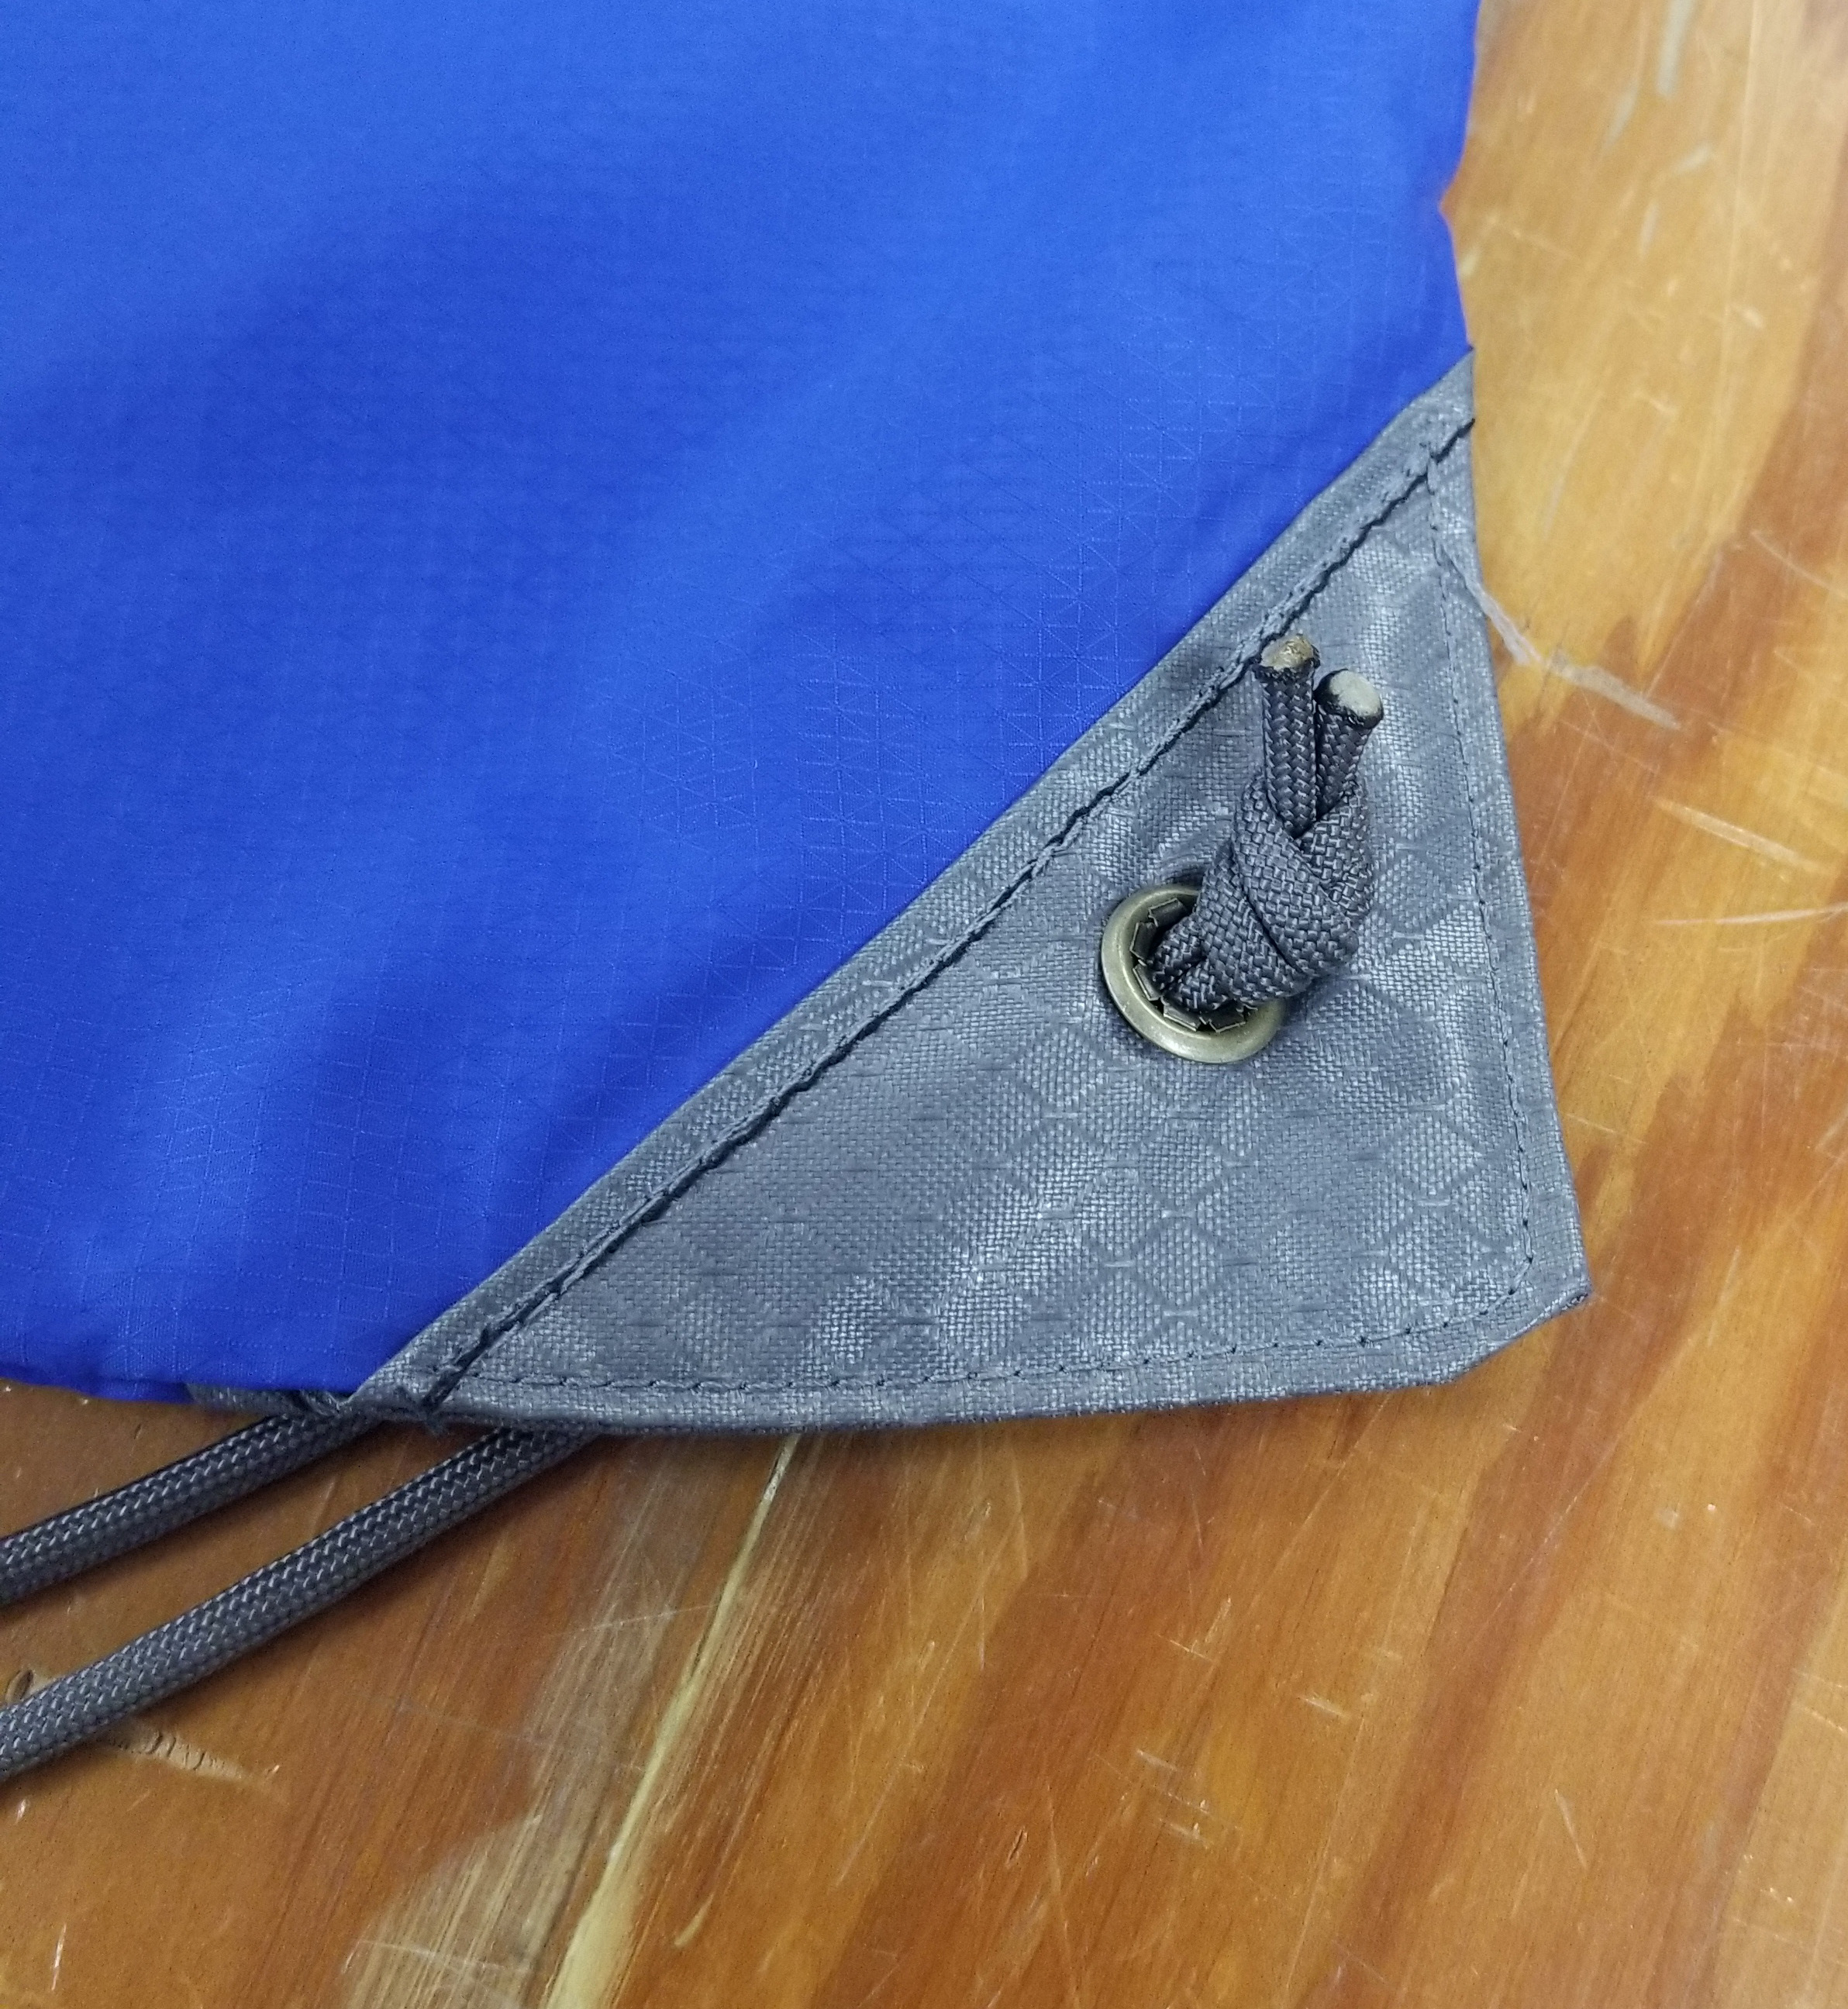
Step 10: Install the grommets in each corner using a ¼” grommet. Follow the instructions on the packaging for whatever punch you are using.
Step 11: Each drawstring will be threaded down through one channel and return through the other on the top of the bag. Then both ends will be inserted through the grommet and tied together in an overhand knot.
Step 12: Enjoy your new gear!


