 Skip to content
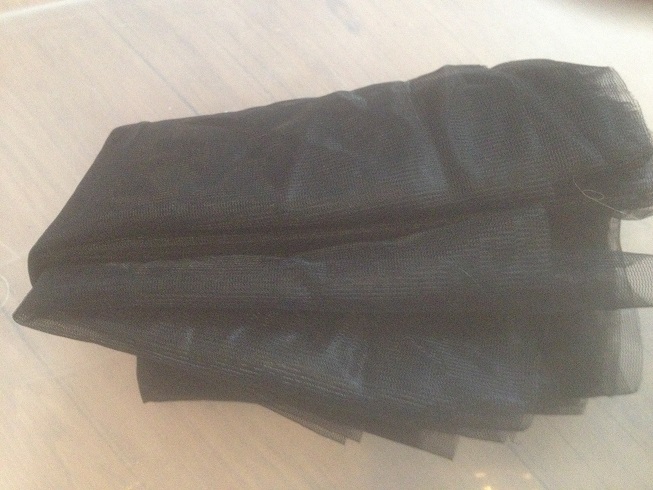
Nano NoSeeUm Tarp Sleeves Kit
$11.45
This is tarp sleeve kit allows you to make a 12ft x 6in tarp sleeve or you can cut it in half and make 2 half sleeves that pull in from either end of your tarp.
Description
This is tarp sleeve kit allows you to make a 12ft x 6in tarp sleeve or you can cut it in half and make 2 half sleeves that pull in from either end of your tarp. We made the raw materials a little long so you can add a pocket to the ends to stuff your guylines. It is made from black .67 ounce per sq yard Nano NoSeeUm. We’ve added in a few feet of grosgrain to make a nice finish on both ends as well as helping with durability. This is a great DIY project for all levels of experience.
| Kit Includes: | ||
|
Additional information
| Weight | 27 g |
|---|---|
| Dimensions | 1 × 1 × 1 in |
| SKU | MYG052 |
|---|
Tarjenk (verified owner) –
Nice kit at a fair priceBought three and had one sewn up just to test. The kit includes all you need really, and enough material. The material could be wider, but it is just wide enough for my use (I have a 9’x12′ tarp). I added a cord lock and some reflect it on the ends, but it is not needed. I had a waterproof tarp sleeve before, but I had issues with condensation so these mesh ones are great. The material glides nicely and is easy to drag on/off the tarp. Now I will make one for a camping buddy and one for my other tarp.
Upvote if this was helpful (1) Downvote if this was not helpful (0) Watch Unwatch Flag for removal
mcclellan.ryan (verified owner) –
I have a WB Superfly tarp that has an 11′ ridge line. The no-see-um fabric sent with this kit was 14′ X 11″. Plenty of fabric to make a single sleeve with pockets on each end to contain the ridge line and hardware. I also sewed channels around the circumference on each end. I used these to route some shock cord through and cord locks, so I can cinch the ends down. I used the grosgrain to give a clean look to each pocket opening, and each channel opening.
The URL left in a previous post for directions on the project is good. However, those plans are for a two skin style that meet and overlap in the middle. This requires a tapered cut in the fabric. According to the measurements in that plan, the fabric within this kit isn’t wide enough. But, I simply did one full length skin, alleviating the taper, and simplifying the project. There was plenty of mesh to do this, and I think it is a better design, regardless.
I more or less followed this guy’s design, (with the addition of the pockets I added on each end); https://youtu.be/_sSGmrzcWO8.
The most challenging part was running a 12′ seam. But if you take your time, and your machine is humming, you’ll be fine.
This is one project that pays off exponentially in simplifying the set up and take down of your tarp! It really makes things so much easier, and efficient. Plus, you made it yourself! The real beauty is, it’s a functional piece of gear, it doesn’t matter how it looks! It’s either packed away with your tarp inside, or slid off to the side once your tarp is pitched. So if you don’t have sweat shop sewing skills, no problem. As long as you can make a tube, you’re good.
Well worth it! Good luck!
Upvote if this was helpful (3) Downvote if this was not helpful (0) Watch Unwatch Flag for removal
Question
JohnPennell –
Do you have instructions on how to complete this project? Thanks.
Upvote if this was helpful (0) Downvote if this was not helpful (0) Watch Unwatch Flag for removal
admin –
I would use this link: https://www.hammockforums.net/forum/showthread.php/1408-NoSeeUm-Tarp-Skins-With-Guy-Line-Storage
Upvote if this was helpful (1) Downvote if this was not helpful (0) Flag for removal
jaybugle888 (verified owner) –
I measured my tarp and made an estimate of how long I would need to make my sleeve. Somehow I missed by about 30 inches. But at least I have plenty of room to store my suspension and tie downs. this material is very light so I recommend using hem clips when sewing the hem. I sat under my tarp for an hour in a down pour to test it and the seam seal. This sleeve also sat out in the rain for that time. It did become wet but dried quickly when the test was over. This may seem like a big project but it was not difficult at all to plan and sew together. I used elastic cord to make drawstrings for the ends. My lash it suspension stays on the tie outs and easily slides into the sleeve when I draw it over the tarp. This is the best idea for tarp storage I could possibly imagine.
Upvote if this was helpful (0) Downvote if this was not helpful (0) Watch Unwatch Flag for removal