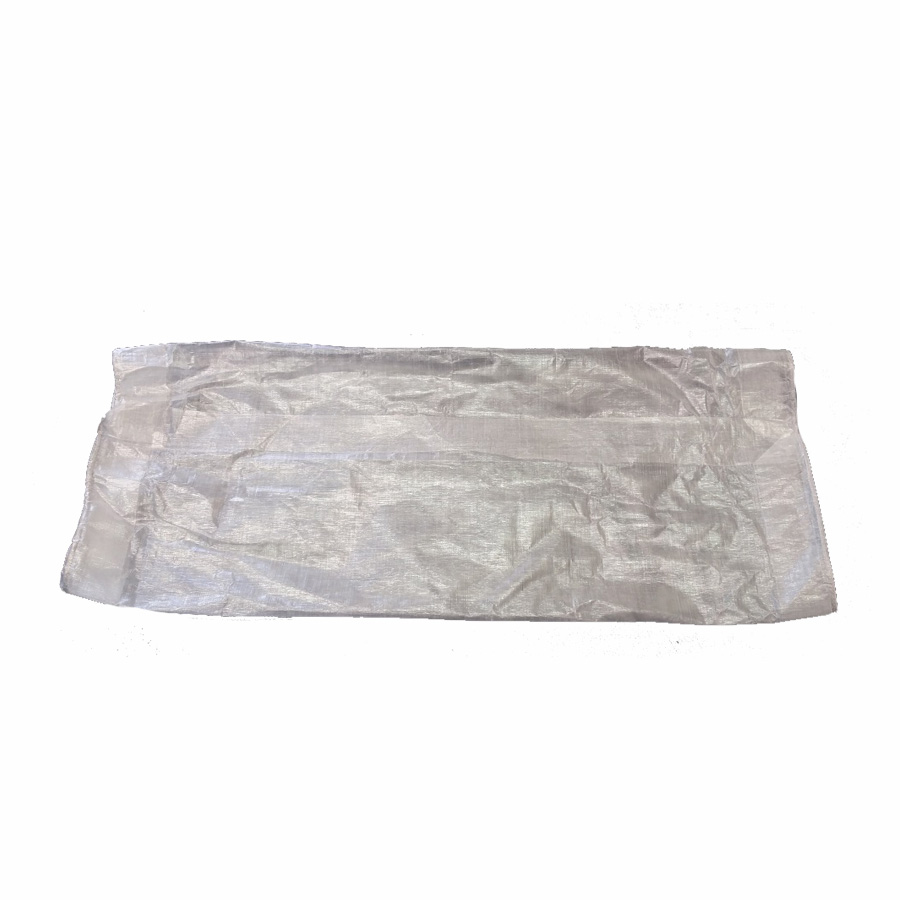
Double Ended Stuff Sack Kit with Dyneema® Composite Fabric
$17.17
Dyneema® Composite Fabruc double ended stuff sack kit makes a 15-inch x 7-inch NO SEW stuff sack.
Description
Dyneema® Composite Fabric double ended stuff sack kit makes a 15-inch x 7-inch NO SEW stuff sack.
Instructions to make this kit are here.
| Kit Includes: | ||
|
Additional information
| Weight | 24.49 g |
|---|---|
| Dimensions | 1 × 1 × 1 in |
| SKU | MYG051 |
|---|


Question
phillipdavison –
How many liters?
Upvote if this was helpful (0) Downvote if this was not helpful (0) Watch Unwatch Flag for removal
DutchWare Gear –
We have the measurements of each stuff sack listed on the site for you. They are not listed out in liters, just height and width.
Upvote if this was helpful (0) Downvote if this was not helpful (0) Flag for removal
Question
empty empty –
The instructions are not on line here. Are they shipped with the kit?
Upvote if this was helpful (0) Downvote if this was not helpful (0) Watch Unwatch Flag for removal
DutchWare Gear –
The link is fixed on the site and the instructions are not sent with the kit.
Upvote if this was helpful (0) Downvote if this was not helpful (0) Flag for removal
Question
andykissler –
Looks like the DIY link is dead again. Any other place to view the instructions?
Upvote if this was helpful (0) Downvote if this was not helpful (0) Watch Unwatch Flag for removal
Carolyn –
Both links go to the same tutorial page. If you have any further problems please email us at sales@dutchwaregear.com
Upvote if this was helpful (0) Downvote if this was not helpful (0) Flag for removal
Jeremy Lloyd (verified owner) –
While I didn’t NEED a Dyneema double ended stuff sack, I did want to try a no-sew Dyneema project. I’m new to the MYOG scene, and this looked like a great first time project. It was. The instructions were perfectly adequate and the only minor hiccup was figuring out the tape. For those of you who haven’t played with it before, you peel off the paper backing and place it. Then, you peel off the white plastic. This seems intuitive, but the backing is more like a tacky gel than a tape. You are trying to separate that gel from the plastic, leaving it on the Dyneema. Go slow, because it likes to stick to the edges of the plastic, even when you have pressed it down. It’s clear, and not the easiest to see. (Especially if you are in denial of needing reading glasses like me) Once I had the tape sorted out, and it really wasn’t that bad, the bag came together quickly. The drawstring channel is small but adequate. Take your time when you get to the far end with the drawstring, or you might push it behind the fold of Dyneema instead of through the channel. Easy to fix, easier if you don’t do it in the first place..The only change I made from the instructions was with the Dyneema tape used for reenforcement. The instructions say to use a 4 inch piece to reinforce where the drawstring exits the channel. They included a 12 inch piece, so I cut it into 4 3 inch pieces and reinforced that area inside and out. In the end, it took me about 45 minutes to complete. I’m sure if I did another one, I would be done in less than 30. If you’ve been wanting to try a no-sew Dyneema project, I think this is an excellent one to begin with.
Upvote if this was helpful (0) Downvote if this was not helpful (0) Watch Unwatch Flag for removal