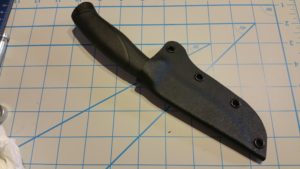
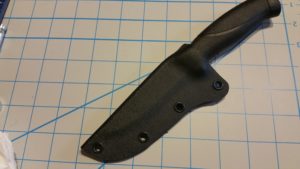
Basic Kydex Knife Sheath How-To

June 20, 2016

 posted in:

In this tutorial article we are going to show you how to make your own Kydex knife sheath.

Project Overview

Skill Level Estimated Time Estimated Cost
Beginner 30-45 Minutes $

Materials and Tools

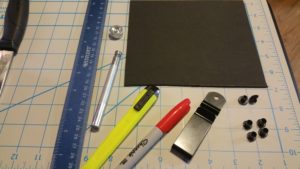
Materials Needed: Tools Needed:
Kydex Oven or heat source
Eyelets Heavy duty snips or scissors
Hand Setter Kit
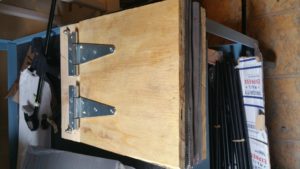
Kydex Press (Check this video for more details)
Gloves
Sander or sand paper
Sharp knife or utility blade
Ruler or tape measure
Drill and drill bit

For a ready to go kit check out our MYG shop.

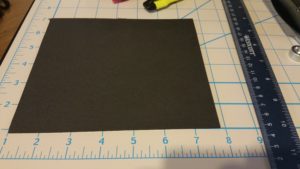
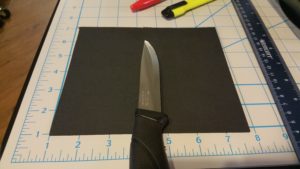
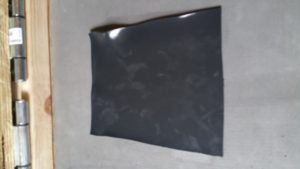
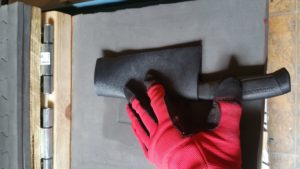
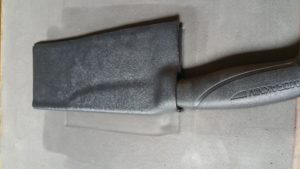
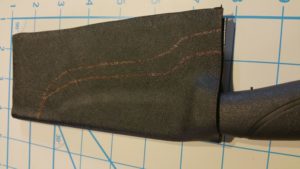
STEP 1: Layout Kydex sheet and figure out the size piece you need for your knife. Add a little extra just in case. You can always cut the excess off but you can’t add extra to it if you make it to small. The pictures below show the Kydex already cut to size.

20160217_125249       20160217_125013       20160217_125110

STEP 2: Set oven to 300-350 degrees. While your oven is preheating be sure to get your press and everything setup and ready to go. Once your oven is ready place your sheet of Kydex in the oven on a pan or aluminum foil and let it heat up for a few minutes. Time will depend on oven and size of Kydex. Your Kydex will be ready when it’s pliable and feels like rubber. Be careful it will be very hot!

20160217_125349       20160217_125601       20160217_125609

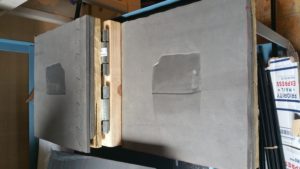
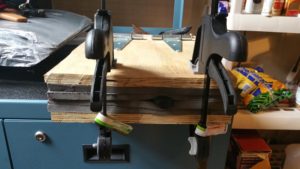
STEP 3: Once your Kydex is nice a pliable pull it out of the oven and place it on your press, lay your knife in the position you want, close your press and clamp it down tight. Use your gloves during this step since the kydex will be really hot.

20160217_125946       20160217_130024       20160217_130334

STEP 4: After letting your Kydex pressed for a few minutes go ahead and open it up to see how everything turned out. If you’re happy with the way it formed around your knife you can move on to the next step. If something went wrong or got crooked you can reheat your Kydex and try it again. You can either put it back in the oven and start over or use a heat gun to do small adjustments.

20160217_131851

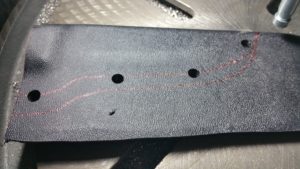
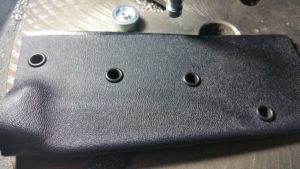
STEP 5: Now it’s time to start designing the shape of your sheath. You can do this however you would like but as you can see in the pictures we did a basic design. However you do it be sure to leave room for your eyelets to fit in to secure the sheath together. You can lay the eyelets out on your sheath to see how much room they will take. Use a sharpie to draw your design and mark where your eyelets will go.

20160217_133240       20160217_133334

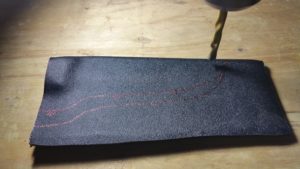
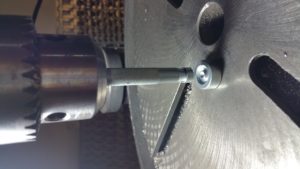
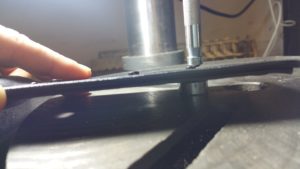
STEP 6: Before we cut the excess Kydex off lets drill the wholes and press our eyelets in. We used a drill press but you can use a regular drill and drill bit too. Remove the knife from the sheath so you don’t accidentally drill into your knife.

20160217_134952       20160217_135254

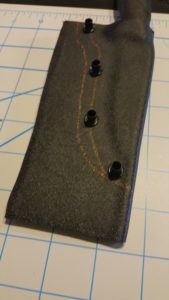
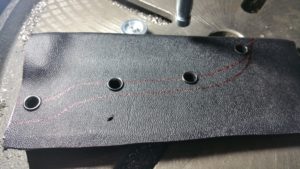
STEP 7: Now lets get the eyelets tapped in. If you have a drill press you can use that with your hand setter kit to get a nice even press on your eyelets. If you don’t have a press that’s ok, just use a hammer and be sure to tap them evenly so they don’t split. Insert your eyelets into the holes and start setting.

20160217_135308       20160217_135358       20160217_135511       20160217_135516

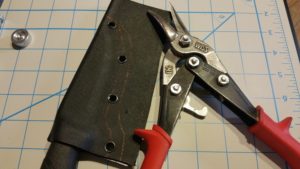
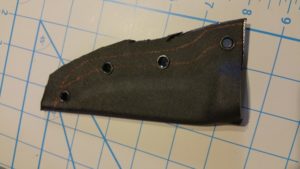
STEP 8: Use your snips or scissors to cut along your design lines you made to start forming your sheath. The more you cut off now the less you will have to sand later.

20160217_135643       20160217_135930

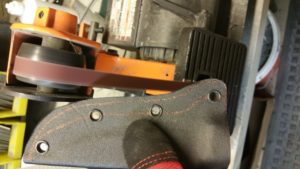
STEP 9: Now that you have the rough shape cut out you need to fine tune it and get all the edges looking nice. Use your sander or sand paper to start evening everything out.

20160217_140615

STEP 10: Congrats! Your sheath should be all done now. Check to make sure your knife fits well and ENJOY!

20160217_141622       20160217_141629

Dutch

Dutch

Reviewed By: Dutch (Thom Ressler) - Dutch started Dutchware after thru-hiking the entire 2,200-miles of the Appalachian Trail with a hammock. During his journey, Dutch learned that there wasn’t high-quality hammocking gear available on the market so he began to create his own.

He began manufacturing the Dutch Clip, which he invented to connect the webbing suspension around the tree. Next was the Chameleon Hammock which offers superior flexibility for hammockers. Today Dutchware sells over 1,000 outdoor gear products to provide backpackers with high-quality equipment that allows them to enjoy the outdoors with a minimalist approach.

Dutch is passionate about providing the hammocking community with the highest quality gear along with the highest quality information to ensure they have the best outdoor experience possible.

Sign up for news & events

Something went wrong. Please check your entries and try again.

Leave a Comment

You must be logged in to post a comment.