May 10, 2016
posted in: Tutorials
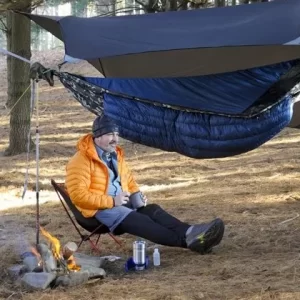
In this tutorial article we will show you how to make your own winter tarp!
Project Overview
| Skill Level | Estimated Time | Estimated Cost |
| Advanced | 5-6 hours | $$$$ |
Materials and Tools
| Materials Needed: | Tools Needed: |
| 10 Yards Fabric | Sewing Machine |
| 1/2 Yard Reinforcement | Scissors |
| 14 D-Rings | Ruler/Tape Measure |
| 8 Feet Grosgrain | Marker |
| Pattern Material (Optional) | |
Step 1
First decide what length ridgeline you want your tarp to have. If you want an 11 ft ridgeline (plus doors) you will only need 9 yards of fabric so you can cut off the extra yard and set aside for your stuff sack and other projects. If you want a 12 ft ridgeline you will need 9 1/2 yards of fabric so you can cut off the extra half yard and save for your stuff sack and other projects.
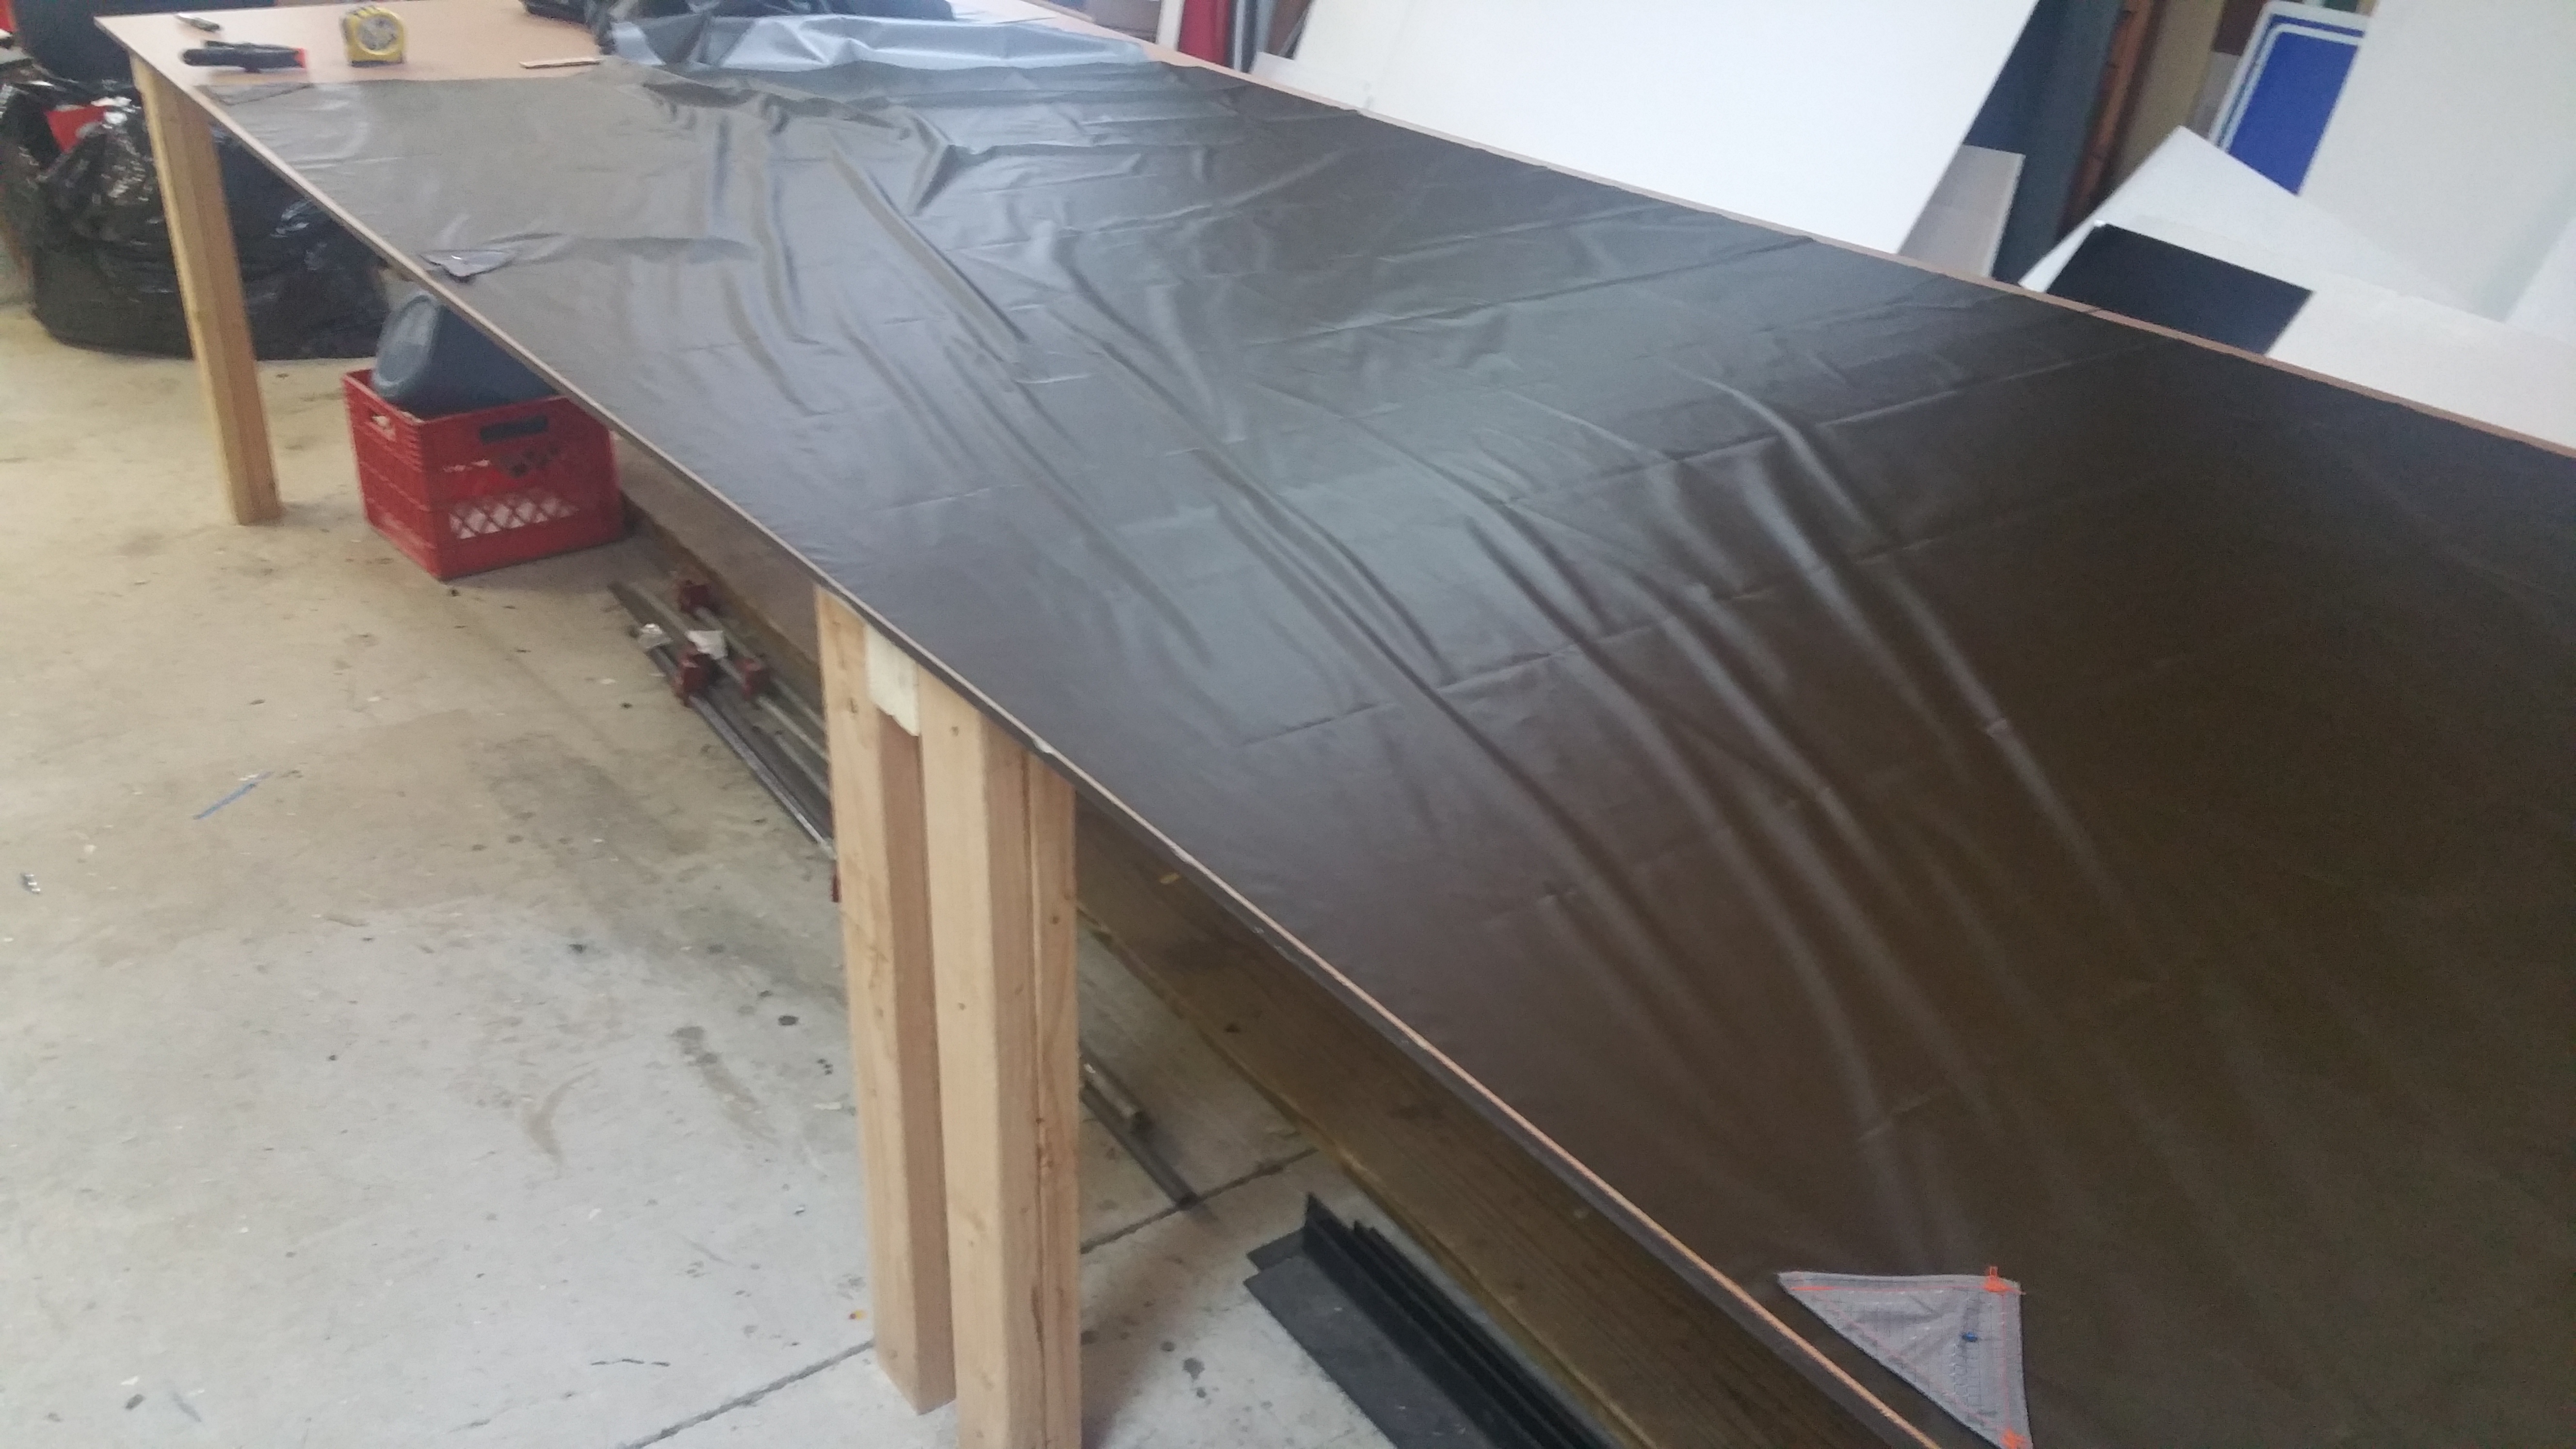
Step 2
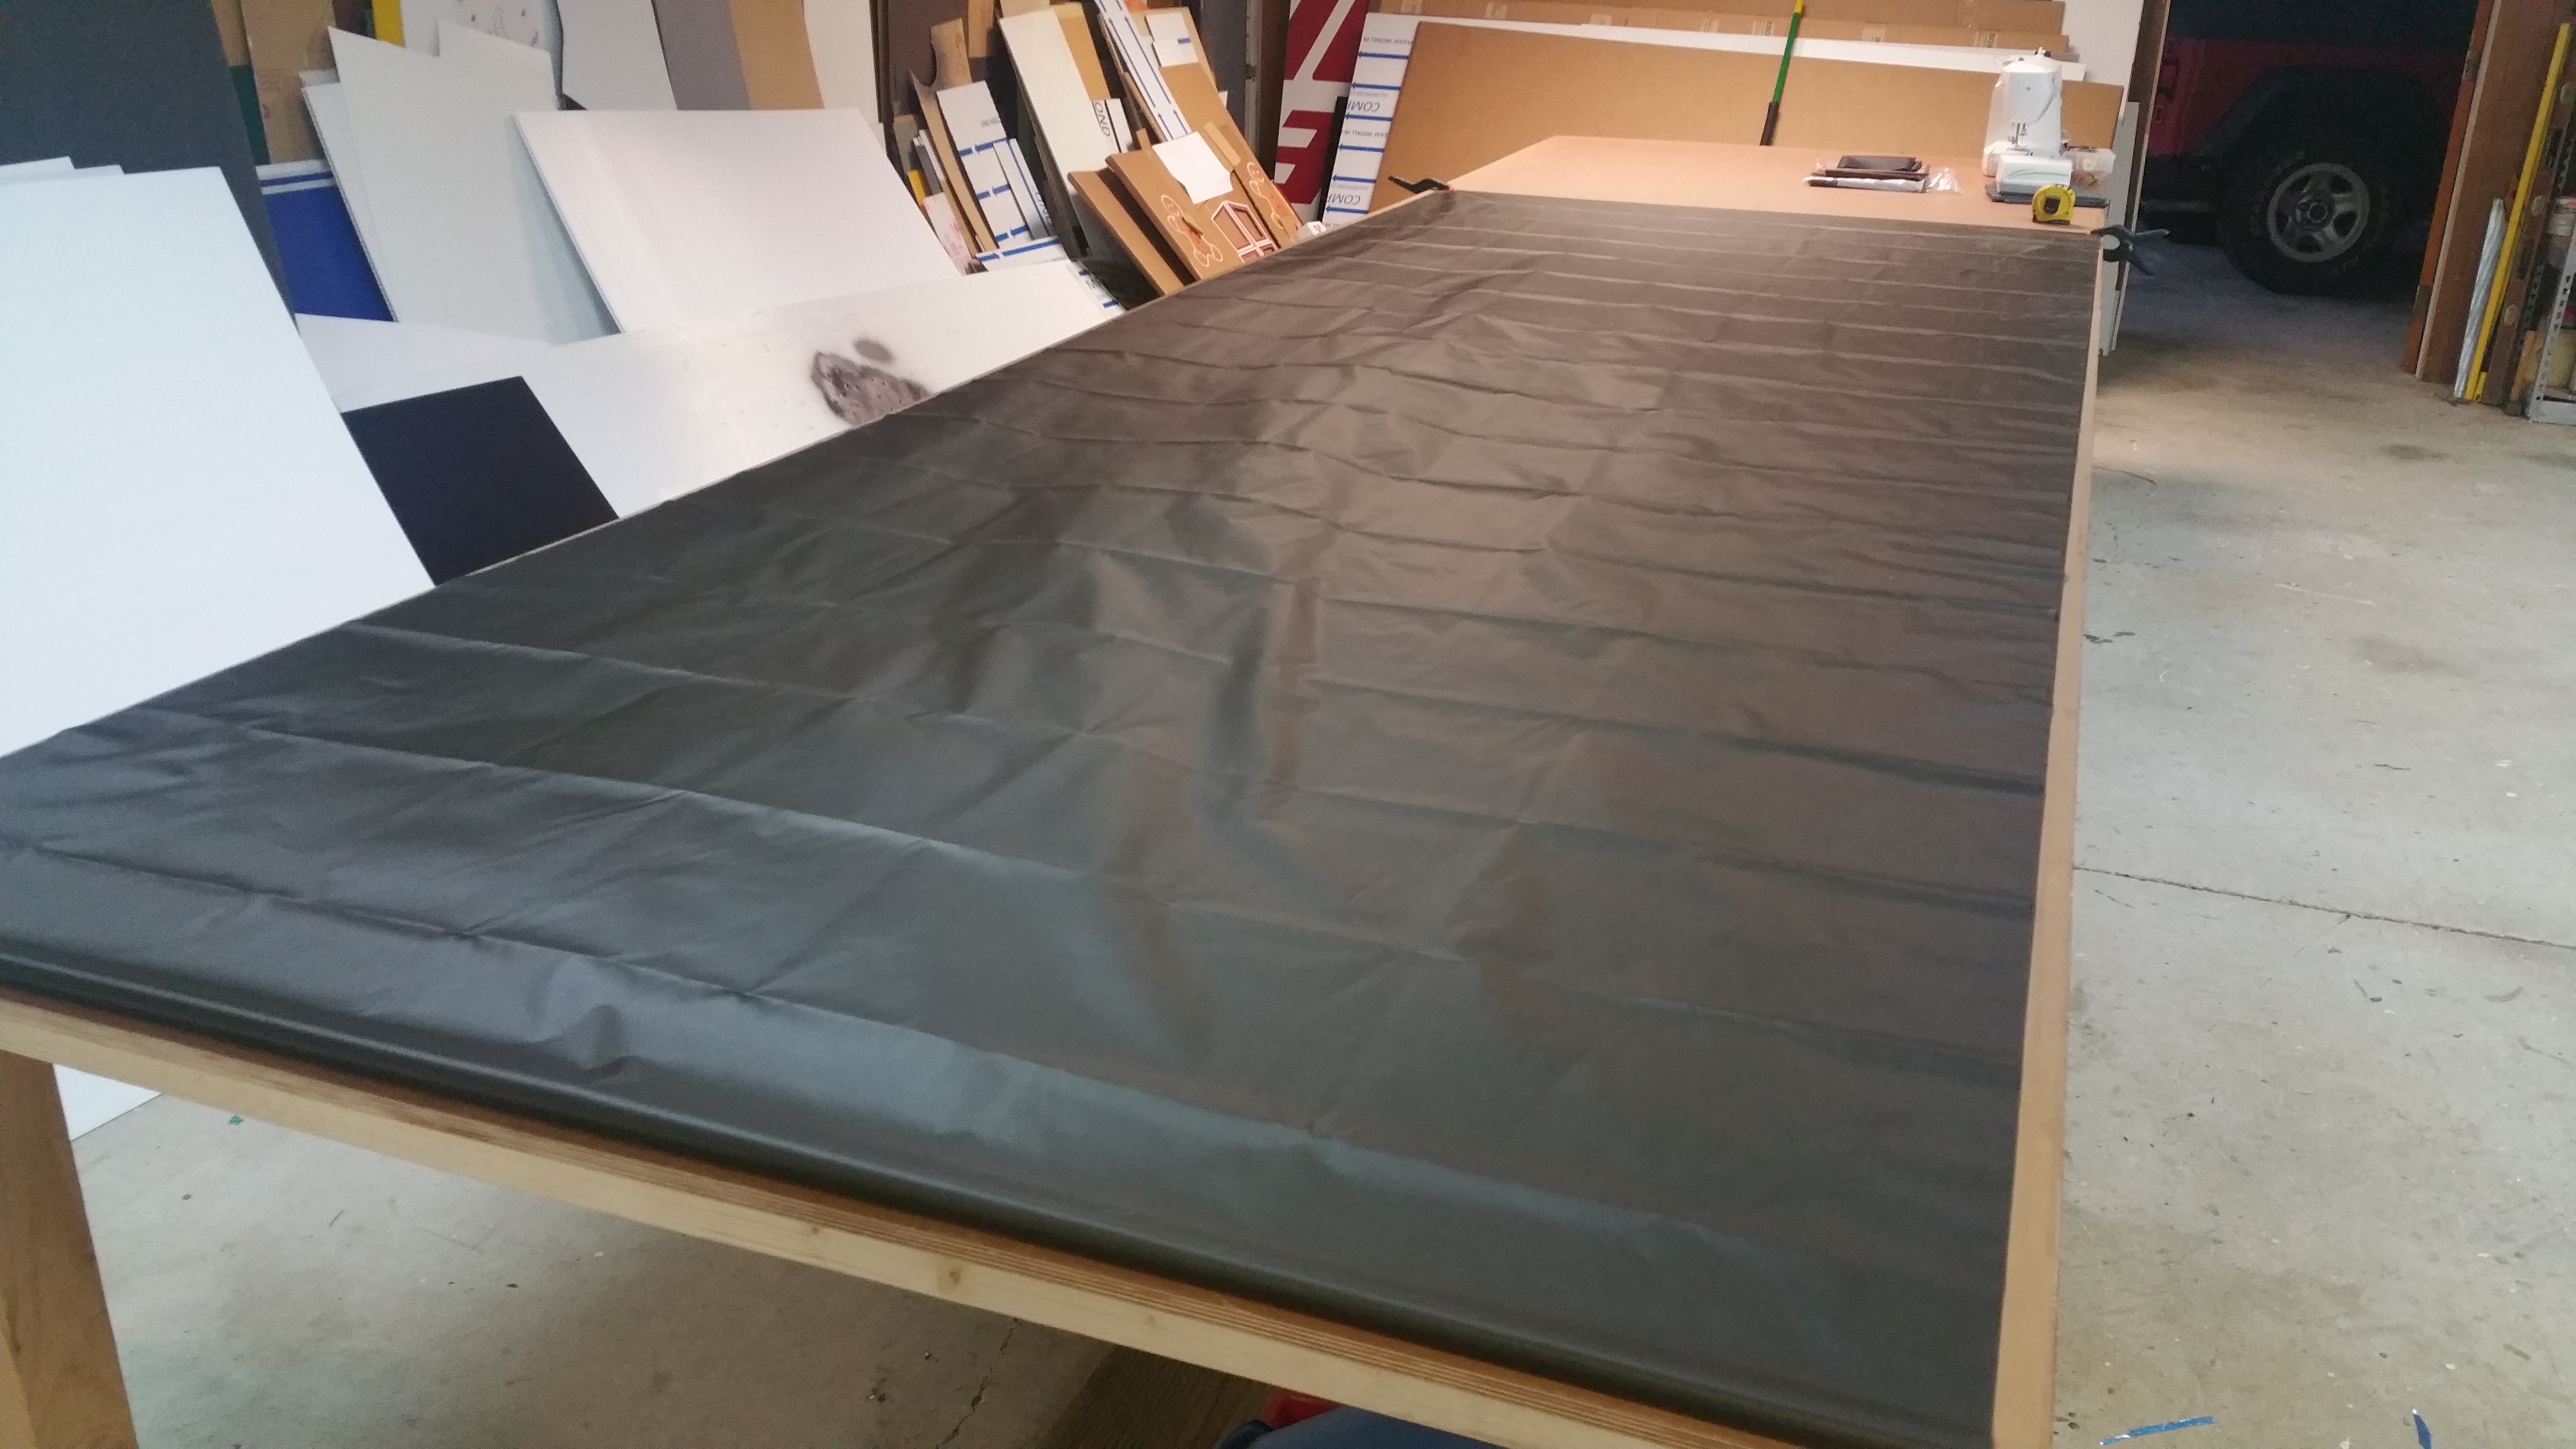
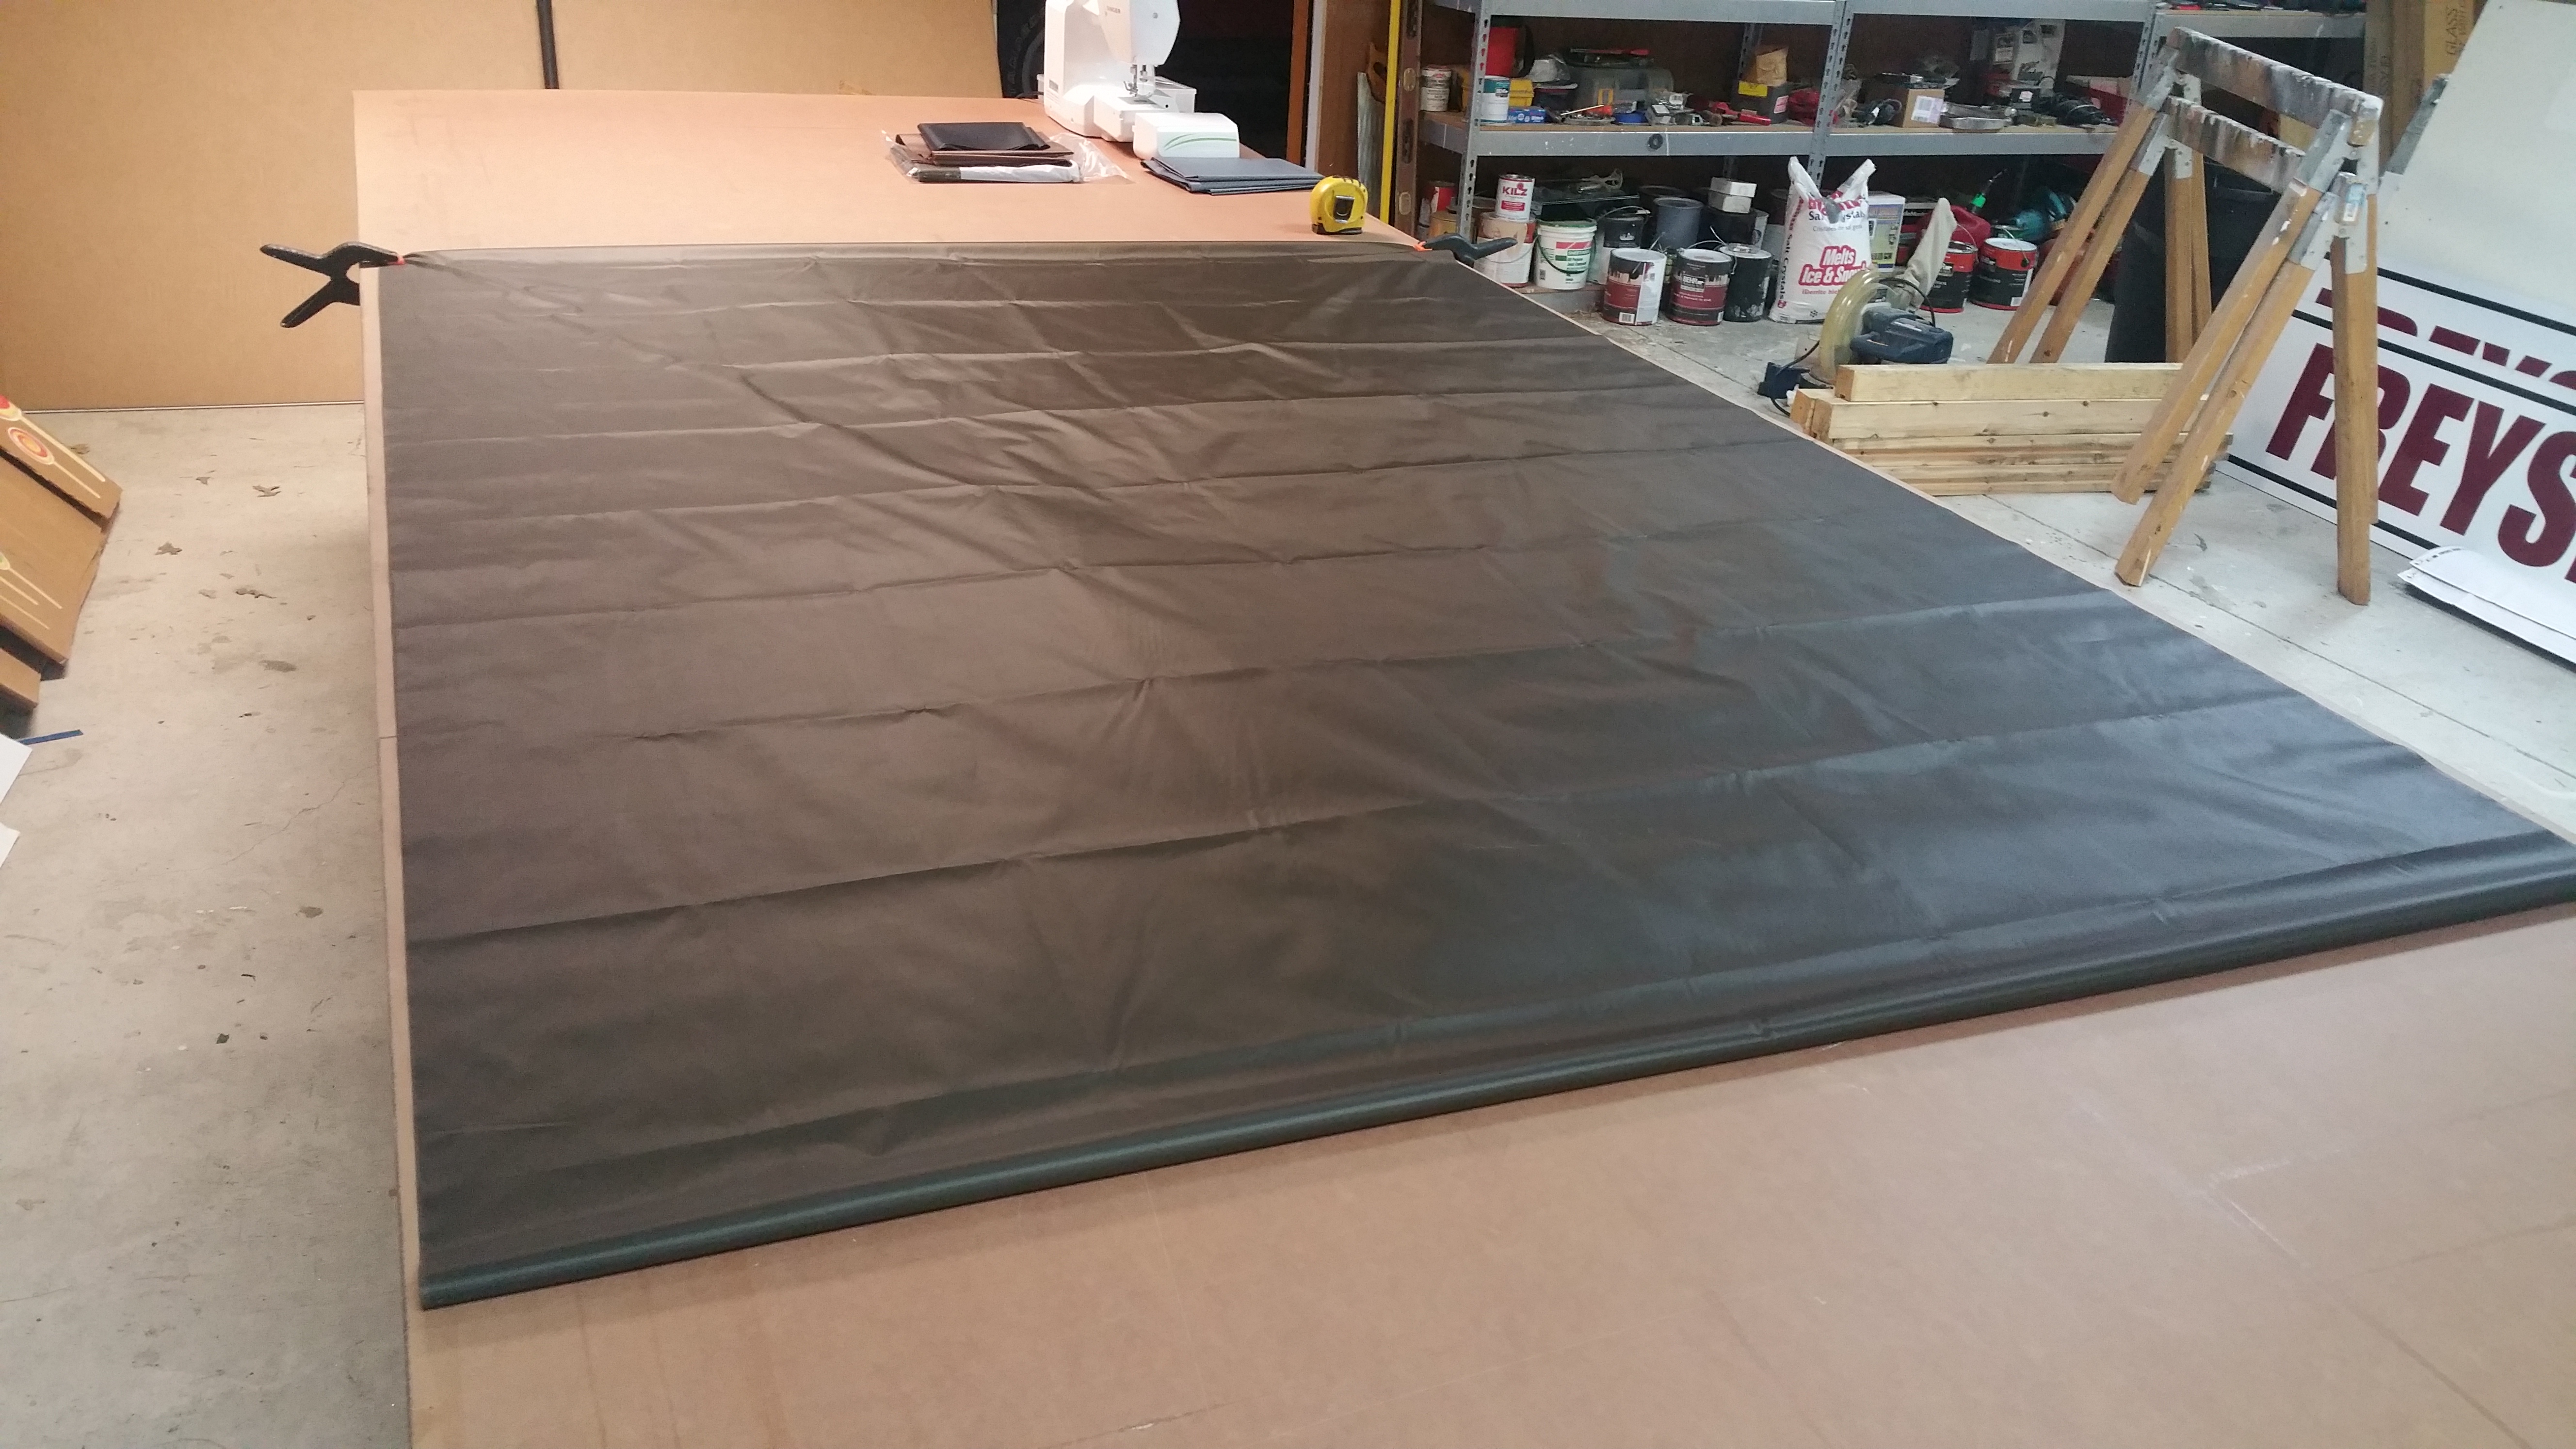
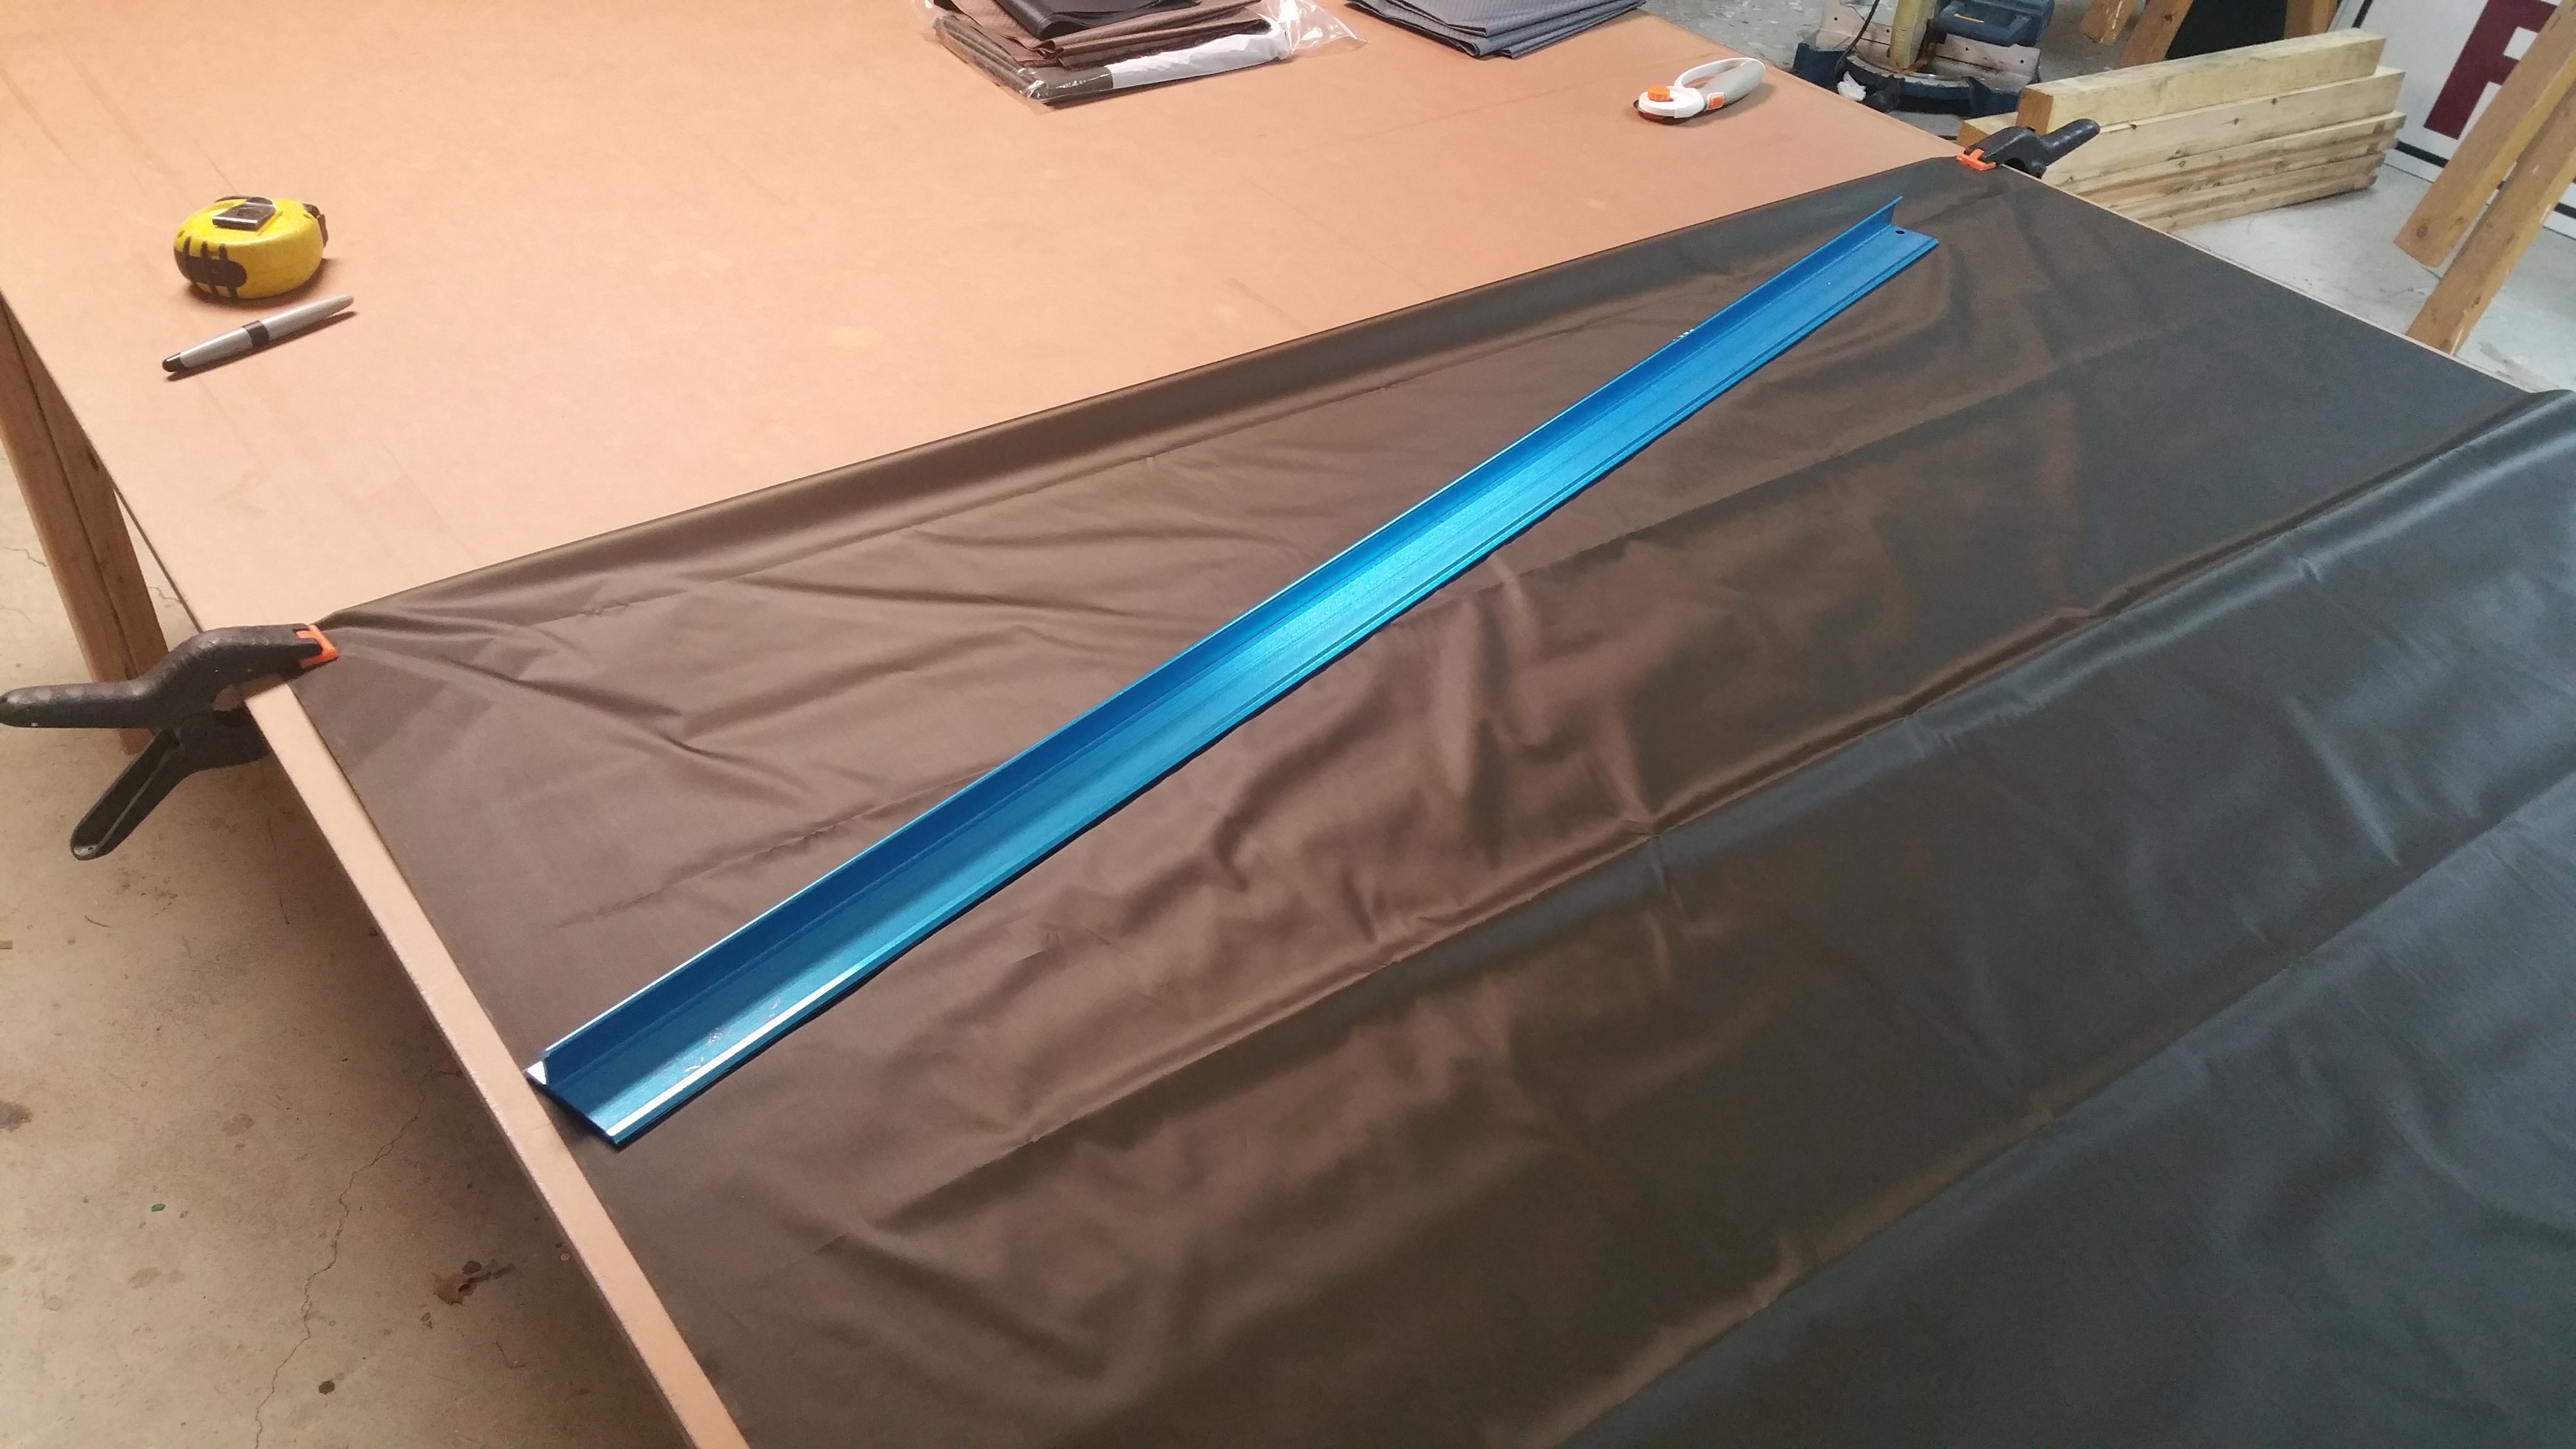
Spread out your fabric on a large flat surface. To save room and make things a little easier fold your fabric in half lengthwise once. Be sure that the fabric is nice and even then fold in half lengthwise again. Make sure the fabric is squared up all around so that when we cut it everything comes out as even as possible. Once you have it squared I suggest using clamps, pins, or something else to keep the fabric in place.
Step 3
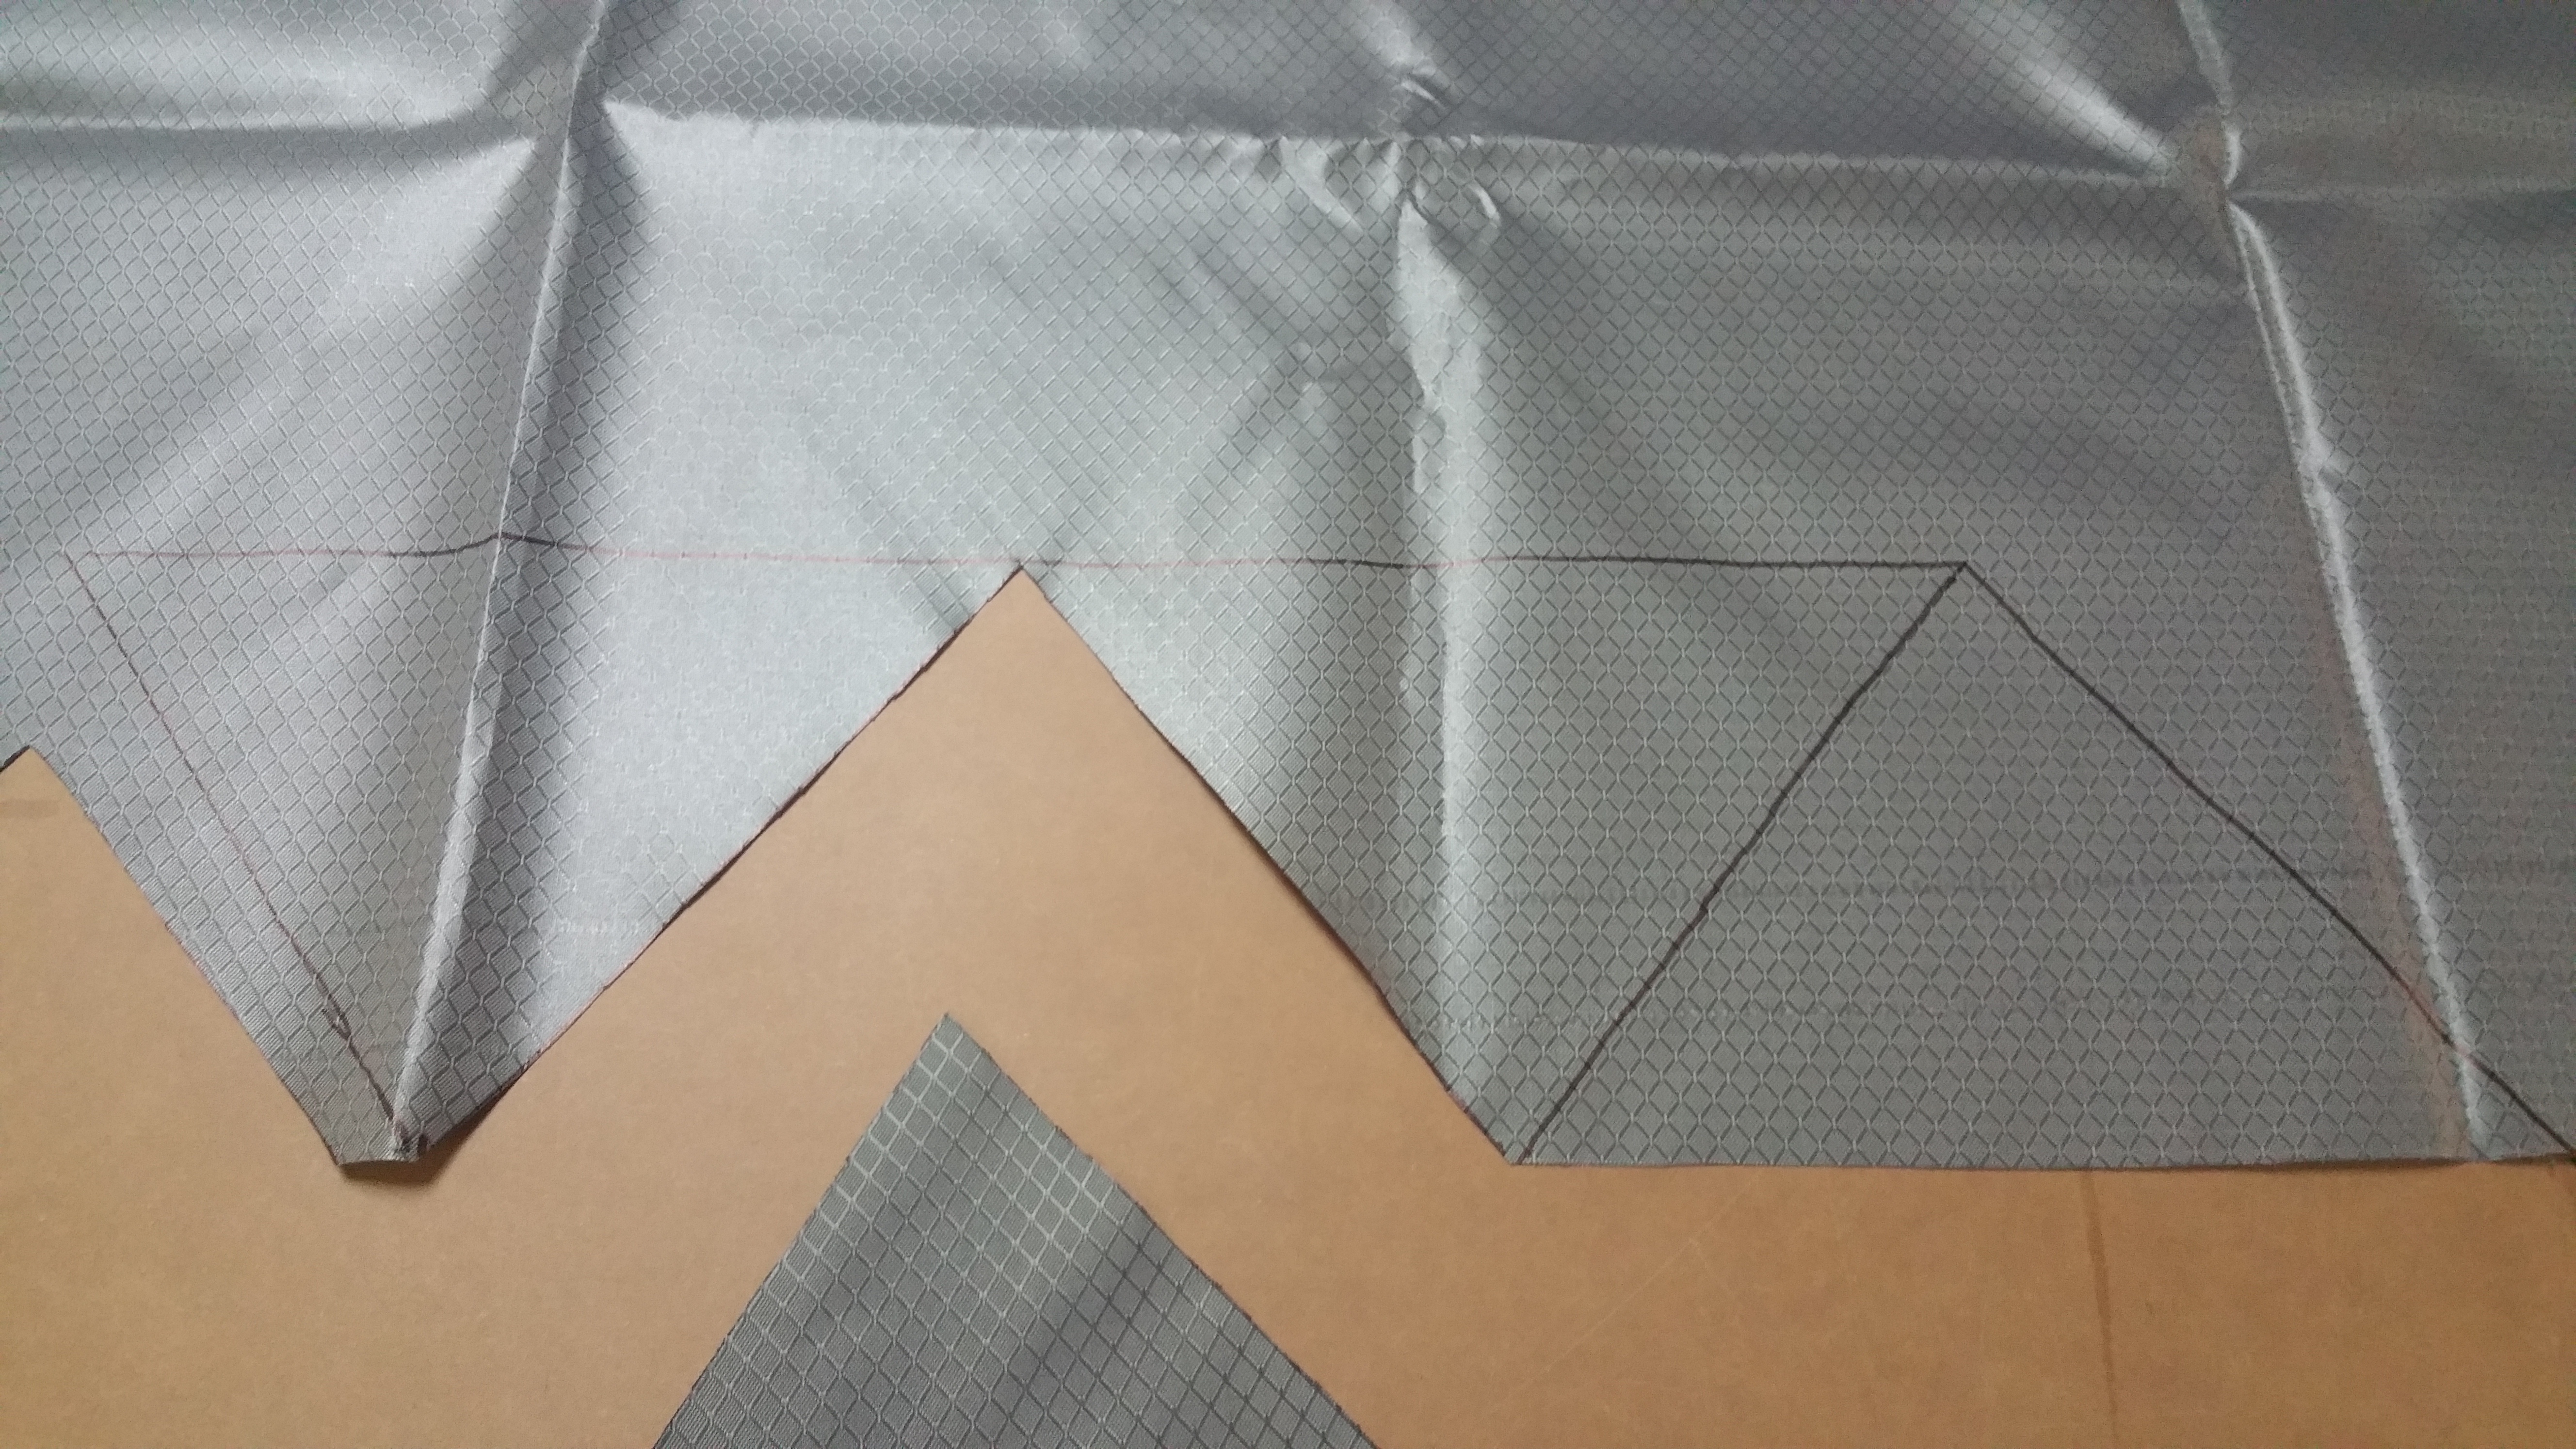
If you want cat cuts on your tarp this is the time to cut them. For this build we did not use cat cuts since we were using Xenon Sil .9 which is a low stretch polyester fabric that doesn’t require them. If you’re using SilNylon cat cuts needed to get a nice tight pitch to your tarp.
Below is a recommended drawing of what your cat cuts should look like. Keep in mind this is a recommendation. You may make your cat cuts deeper or more shallow to fit your needs.
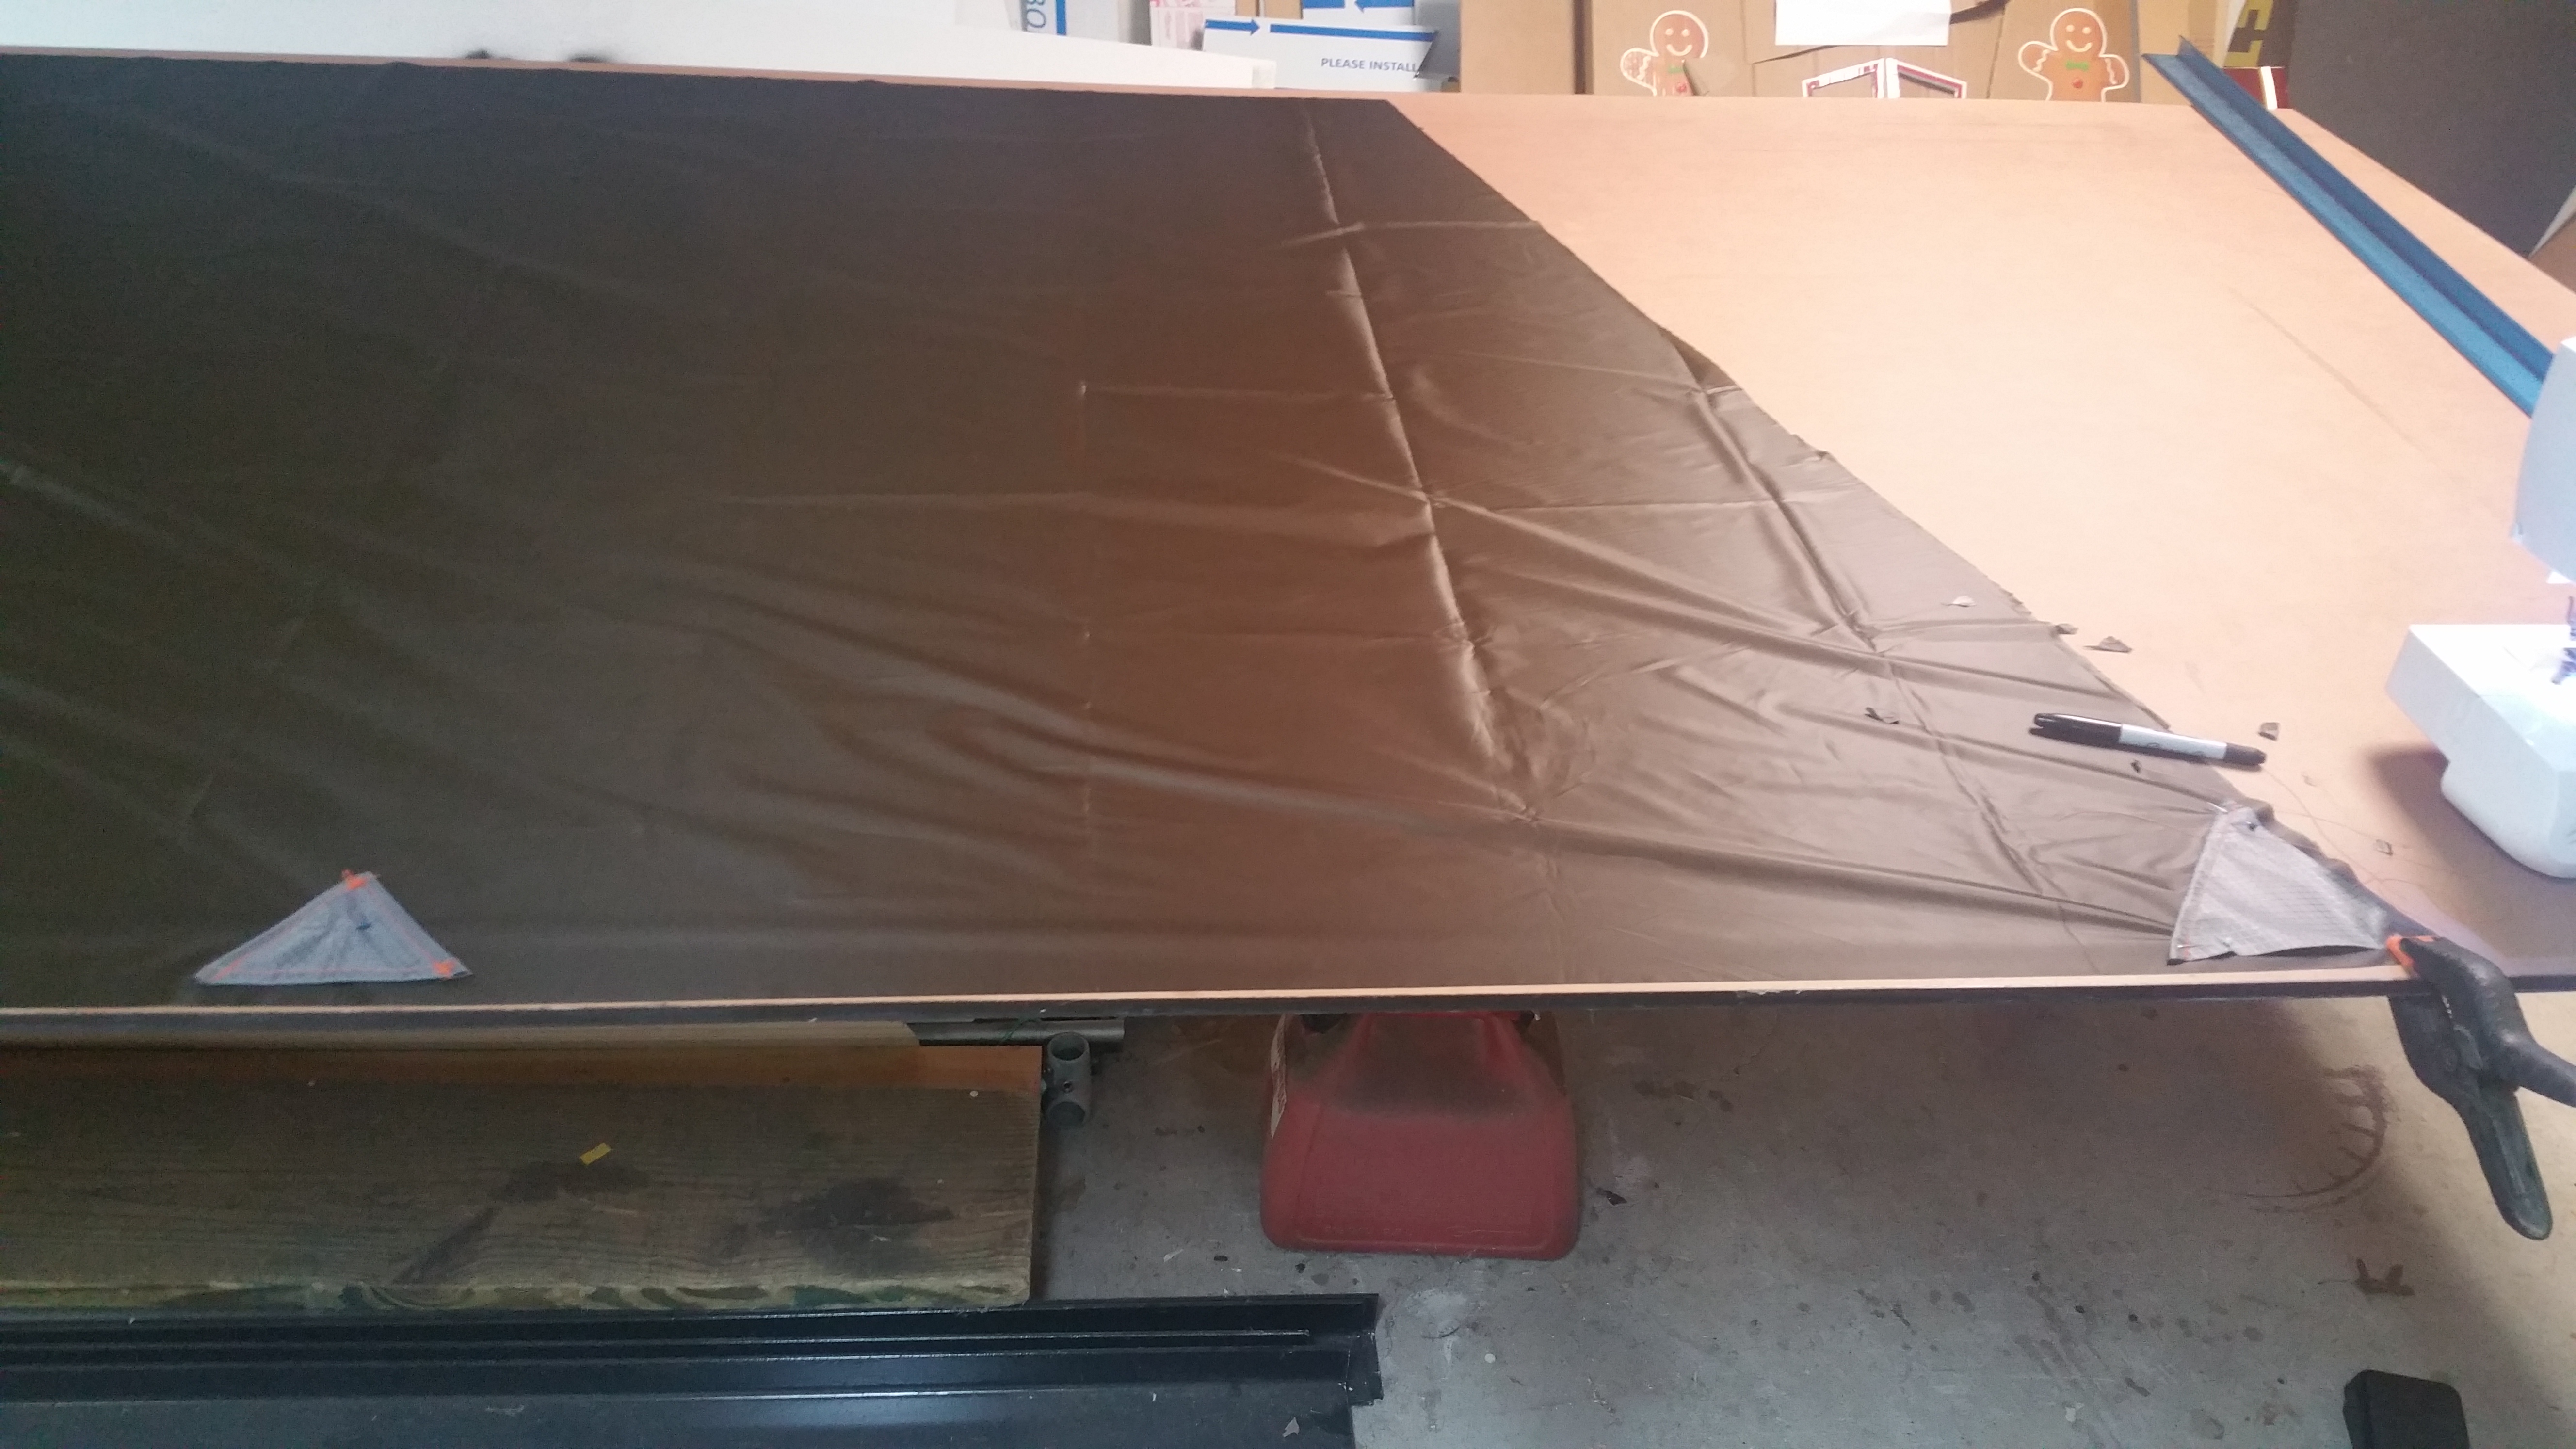
Step 4
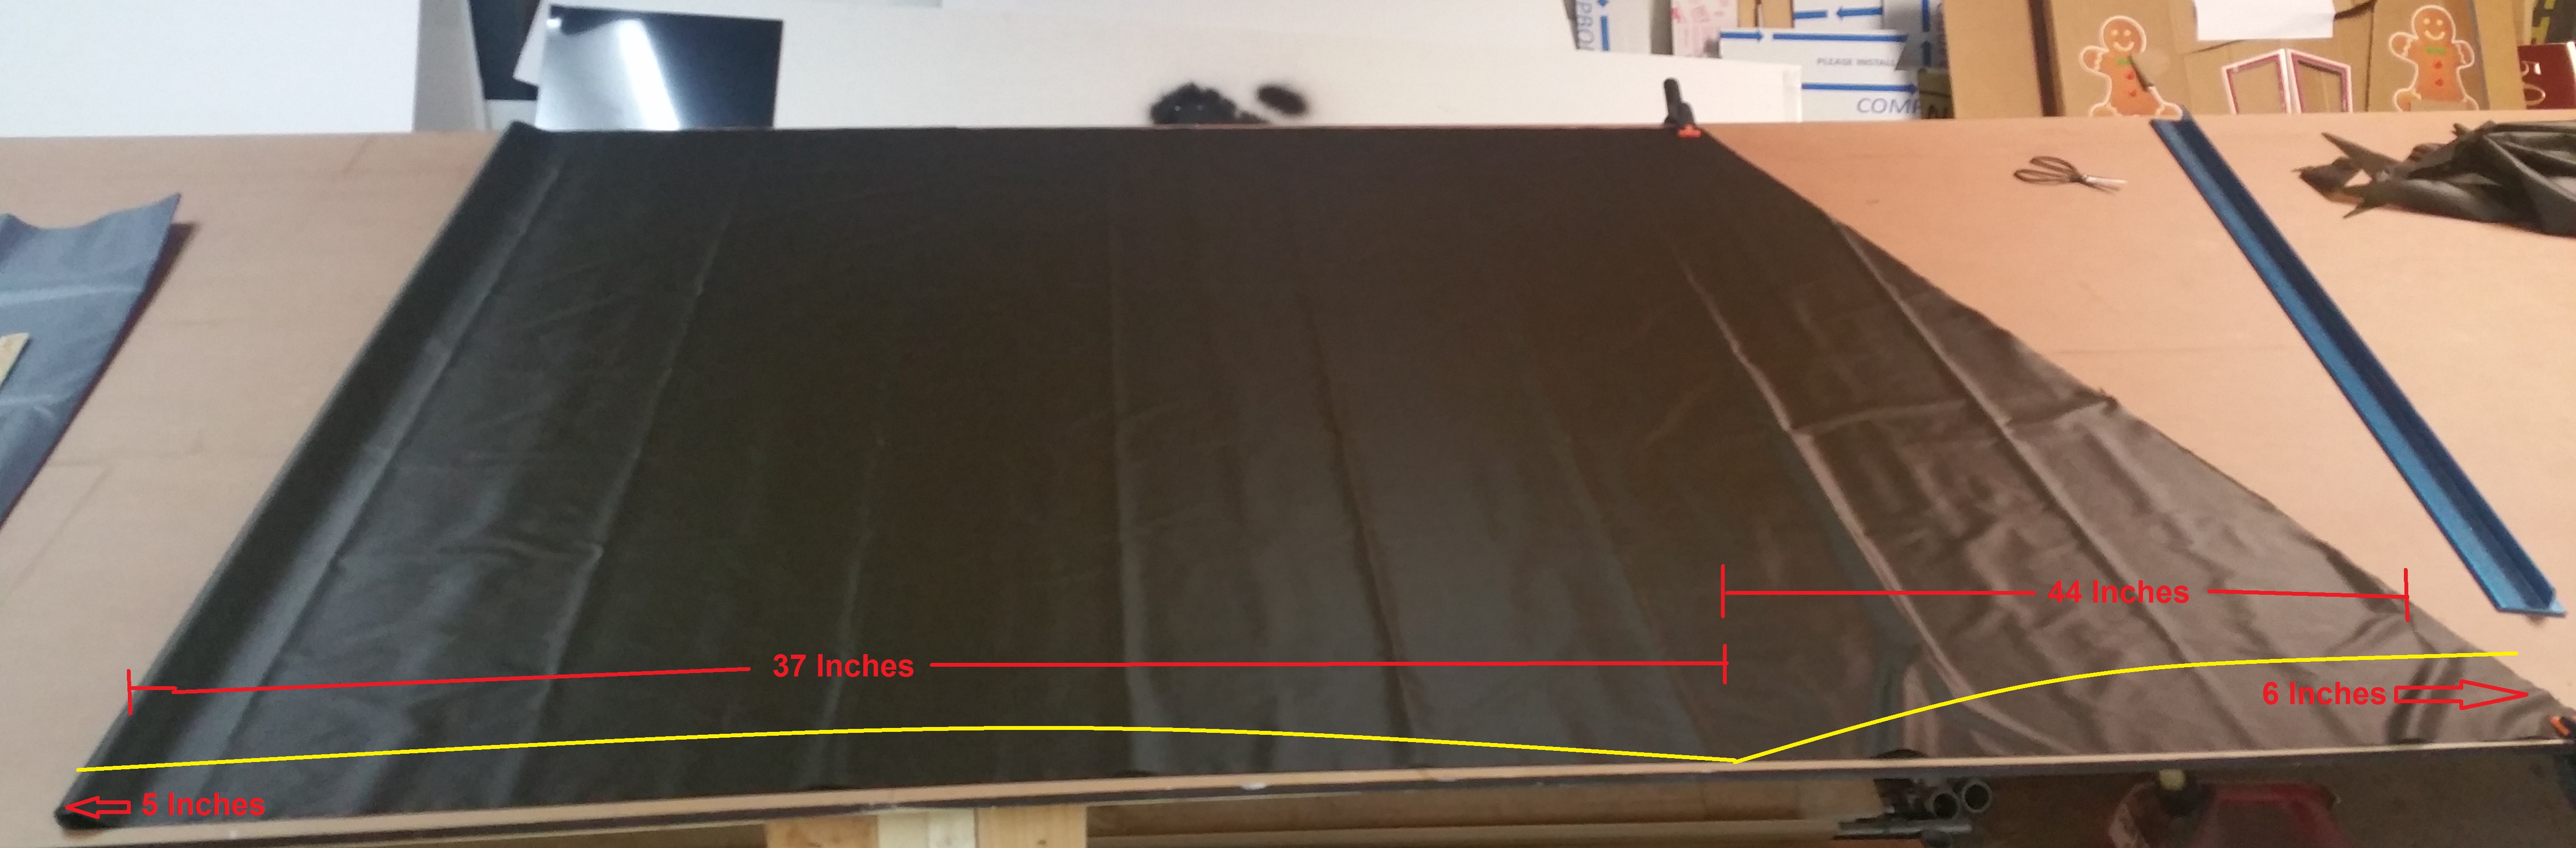
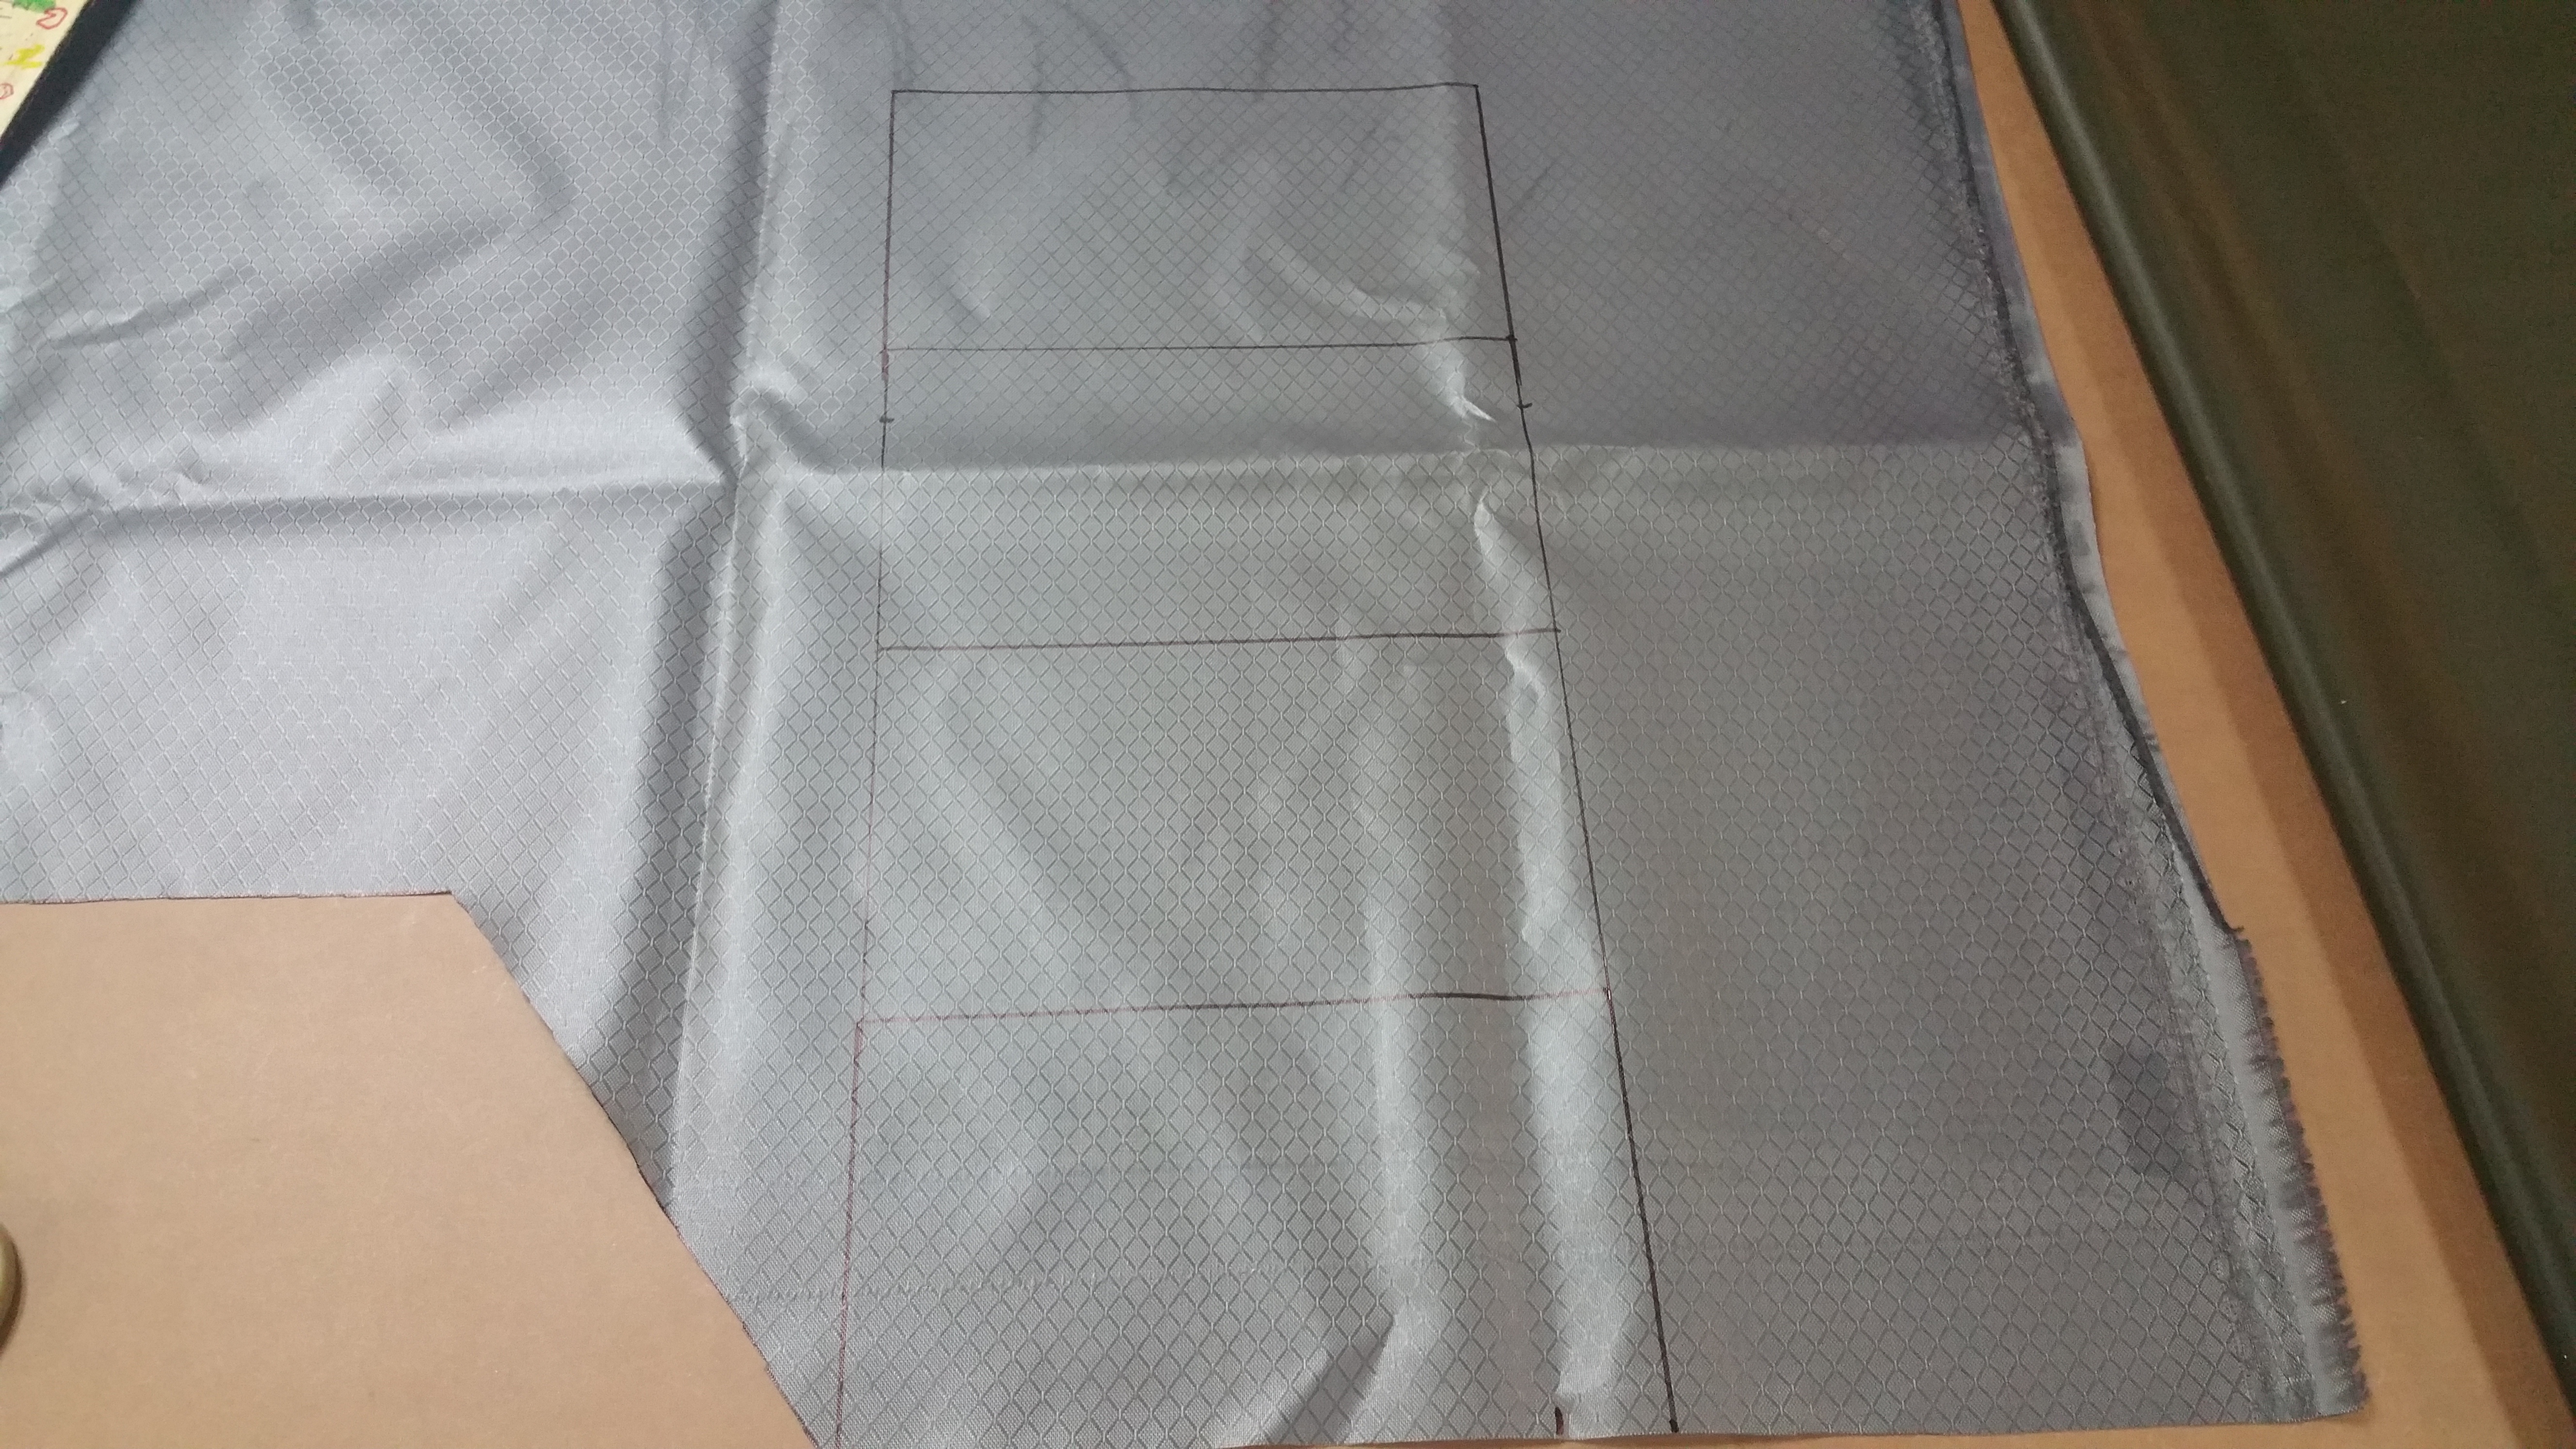
This is where we cut out the extra material needed to create the doors of the tarp. At the top of your tarp measure in 14 inches from the open end of your tarp. Be sure to measure in from the side that doesn’t have the big fold or you will end up with a bunch of small pieces of fabric after we cut into it.
Make a mark at 14 inches and draw a straight line from that point to the bottom corner of the tarp (The pictures should help with this). After you have your line drawn we’re going to cut on that line and you will now have your 2 pieces of fabric for your winter tarp.

Step 5
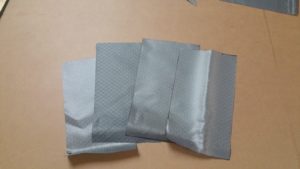
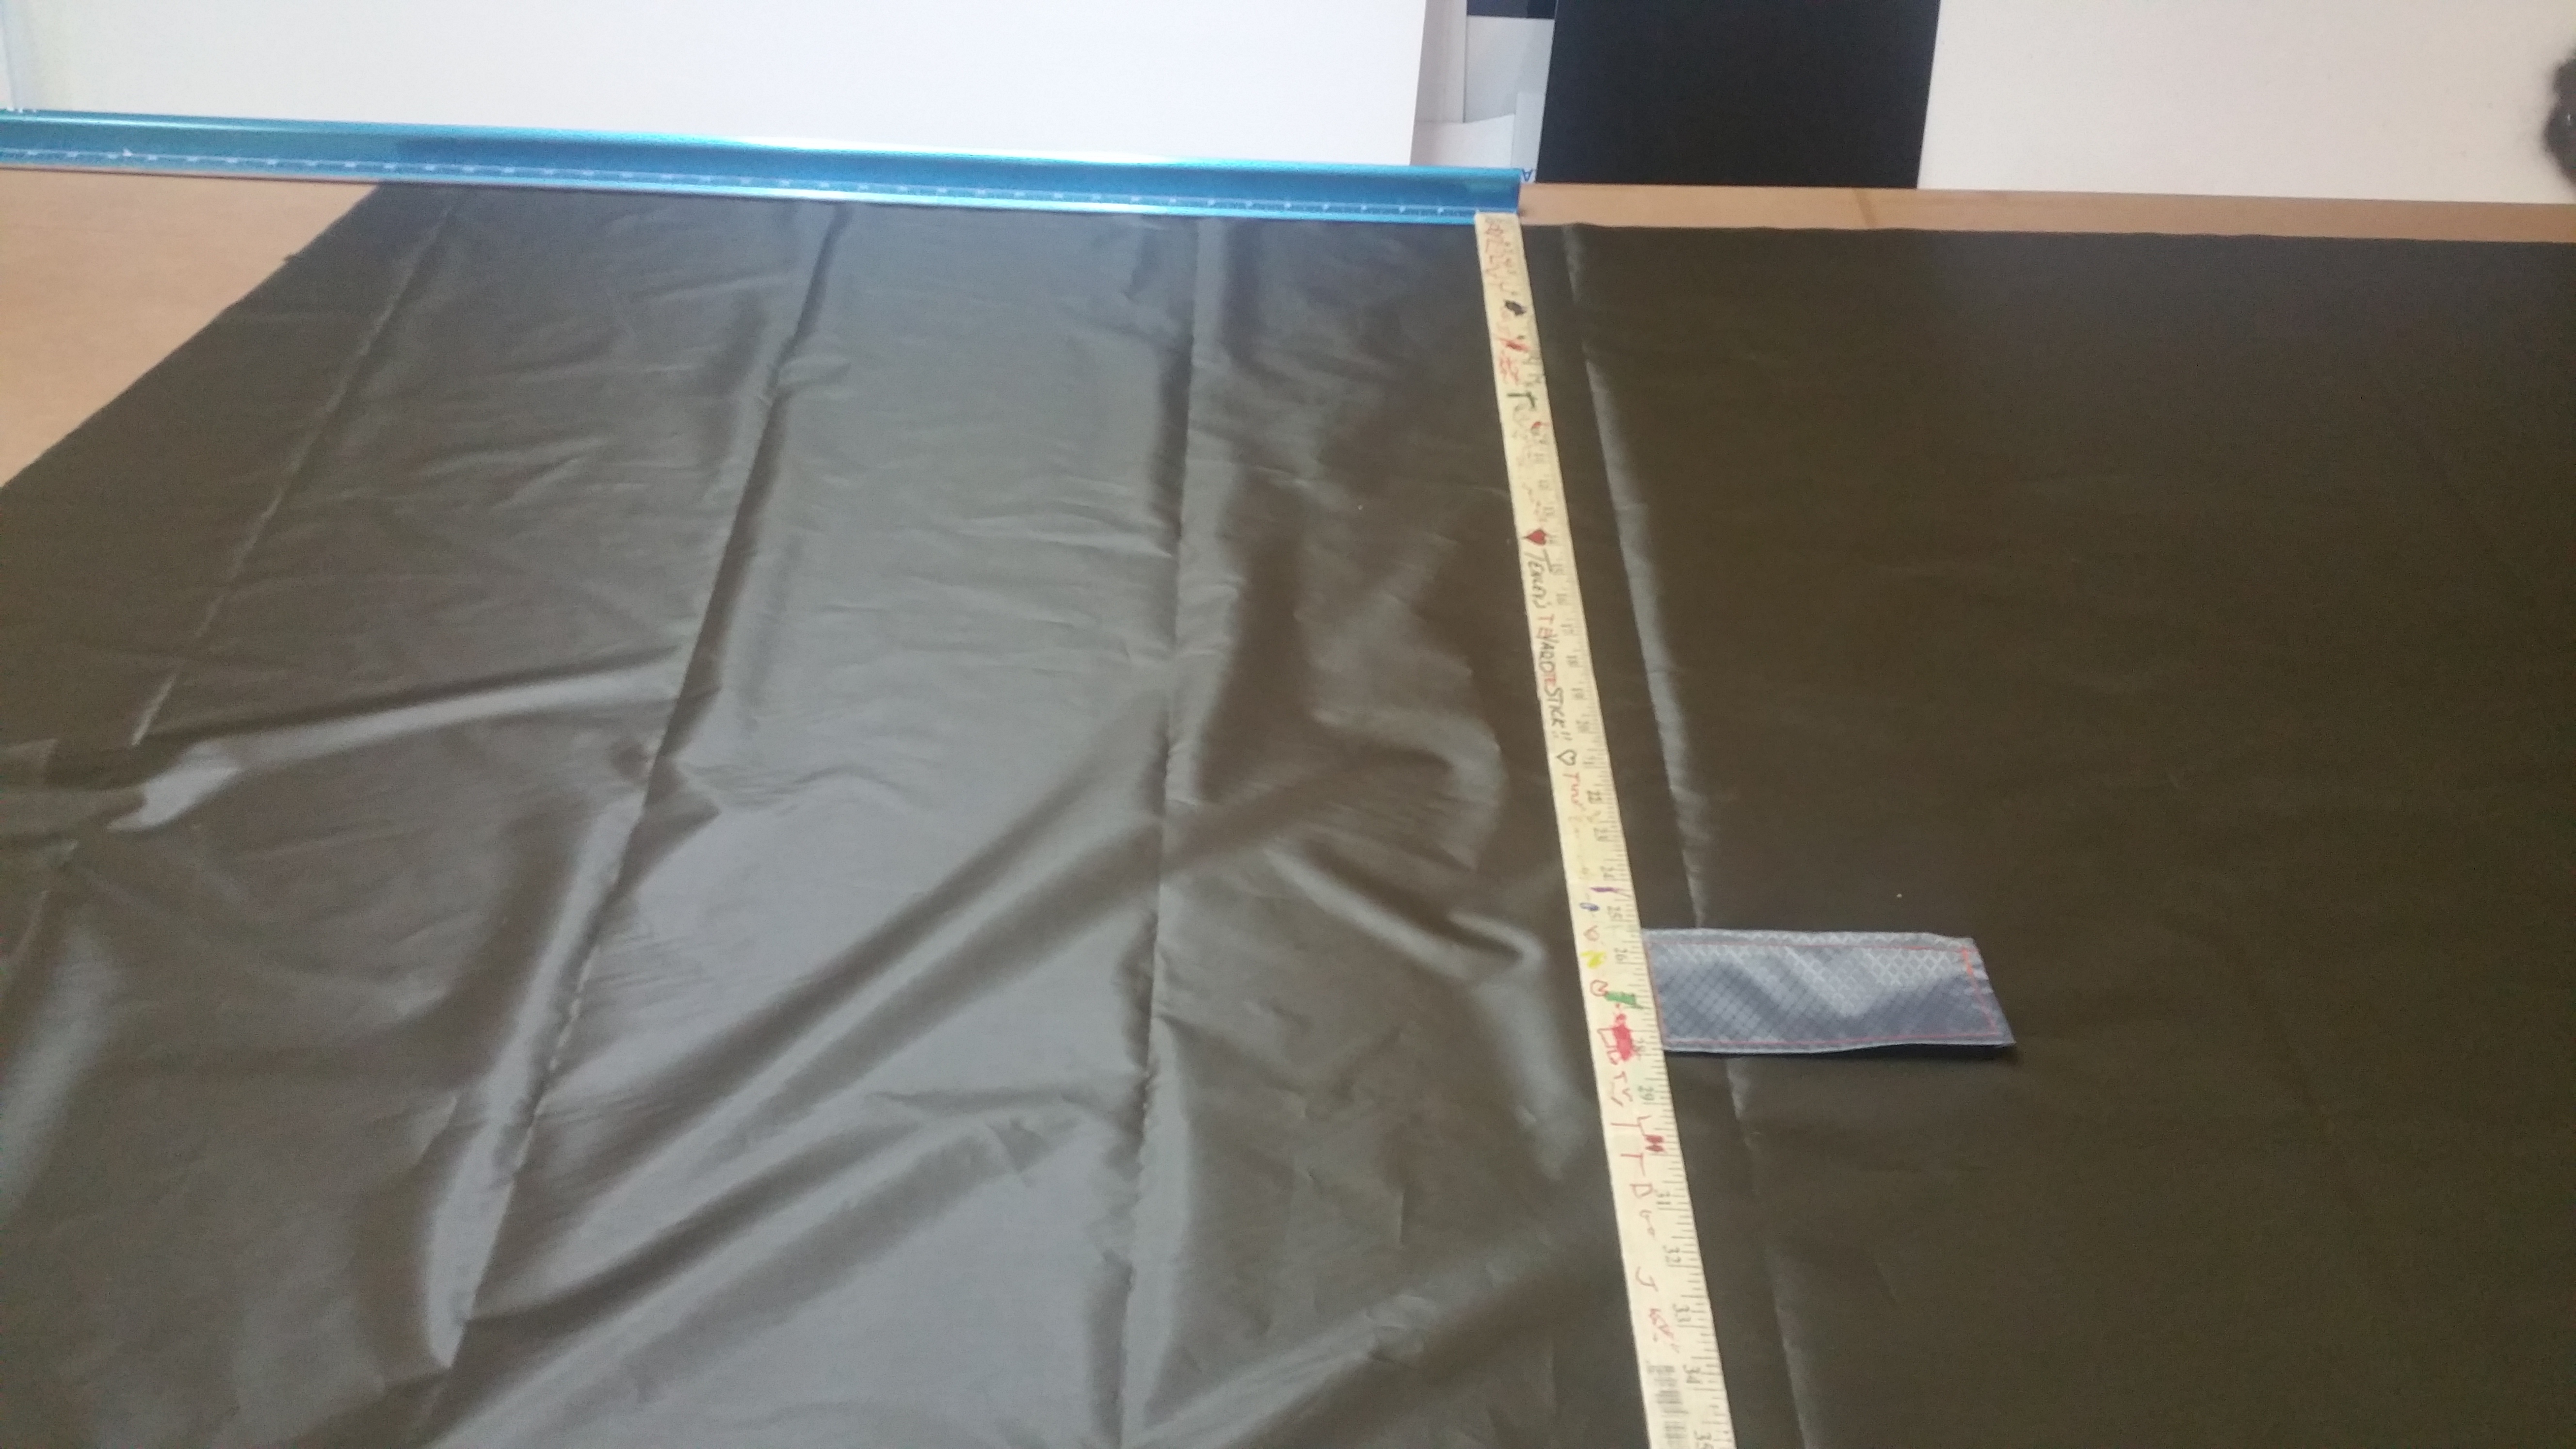
Now we’re going to cut out reinforcement materials. We will need 10 triangles for tieouts and 4 rectangles for side panel tieouts. We need to cut them a little bigger so we have room to hem the edges. (NOTE: If you made cat cuts your triangle shapes may be a little different. Adjust accordingly)
Triangle size should be 8 inches across the bottom and 6 1/2 inches for the 2 sides. The rectangles should be 4 inches by 7 inches. To save on fabric you can align the triangles and squares so you don’t have a ton of waste (see pictures below).

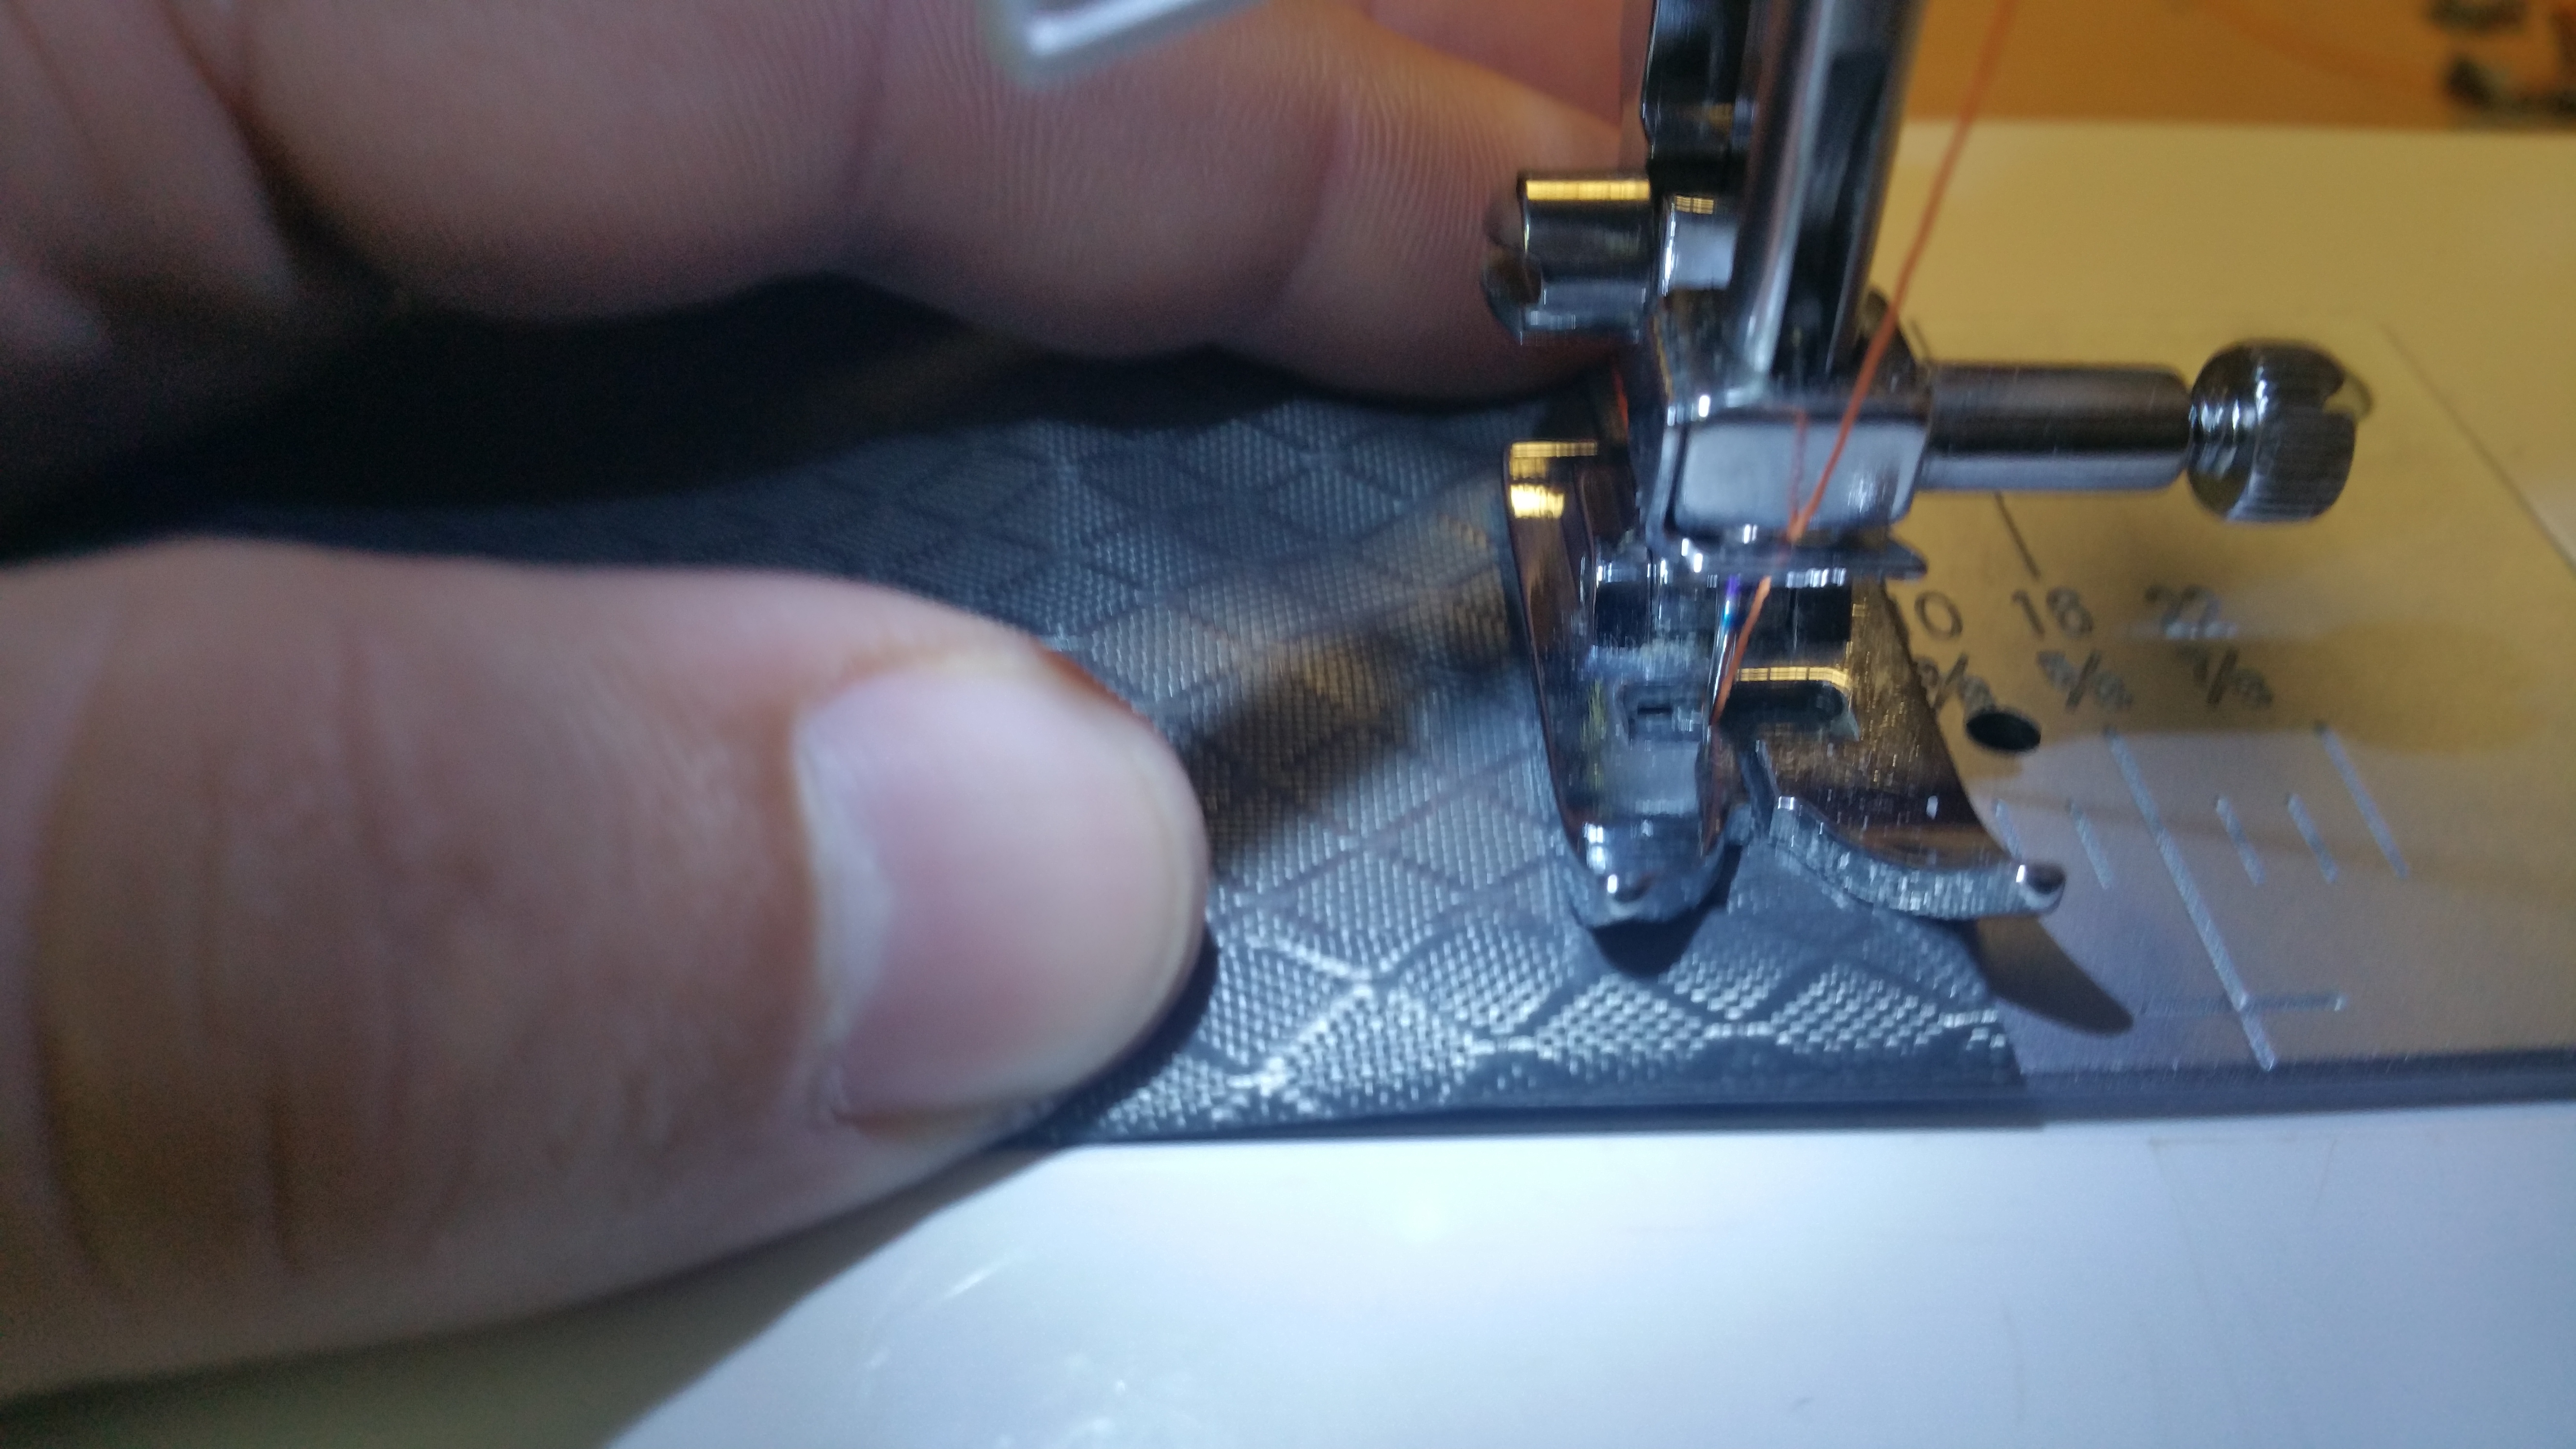
Step 6
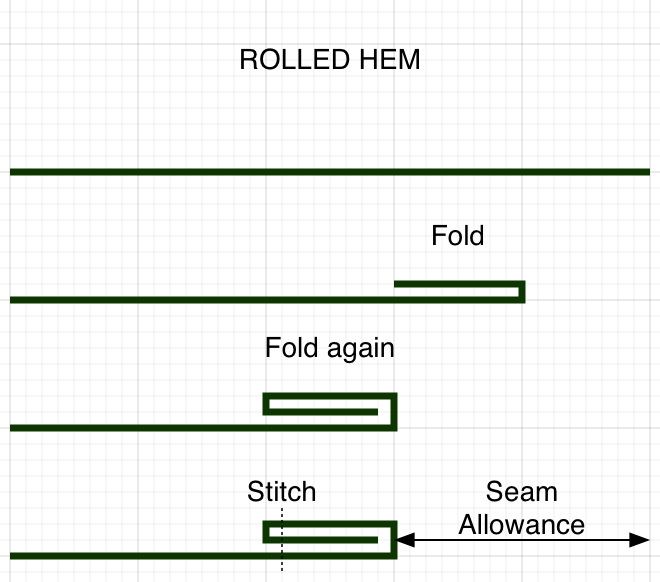
Now we can finally move on to the sewing machine. We’re going to do a rolled hem around the edges of the triangles and rectangles. If you need assistance with a rolled hem, refer to the picture below.
For the 4 of the triangles, you want to do a rolled hem on the bottom edge (8 inch side) only. For the other 6 you need a rolled hem on the 2 short sides (6 1/2 inch sides) only. The 4 with the rolled hem on the bottom edge will be for 4 corners and the other 6 will be for the ridgeline and pull outs.

Step 7
Now we’re going to pin the reinforcement pieces to the tarp. Start with the bottom edge triangles. Remember, the ones you hemmed along the 8 inch side only will go in the corners the others will be pinned at other points.
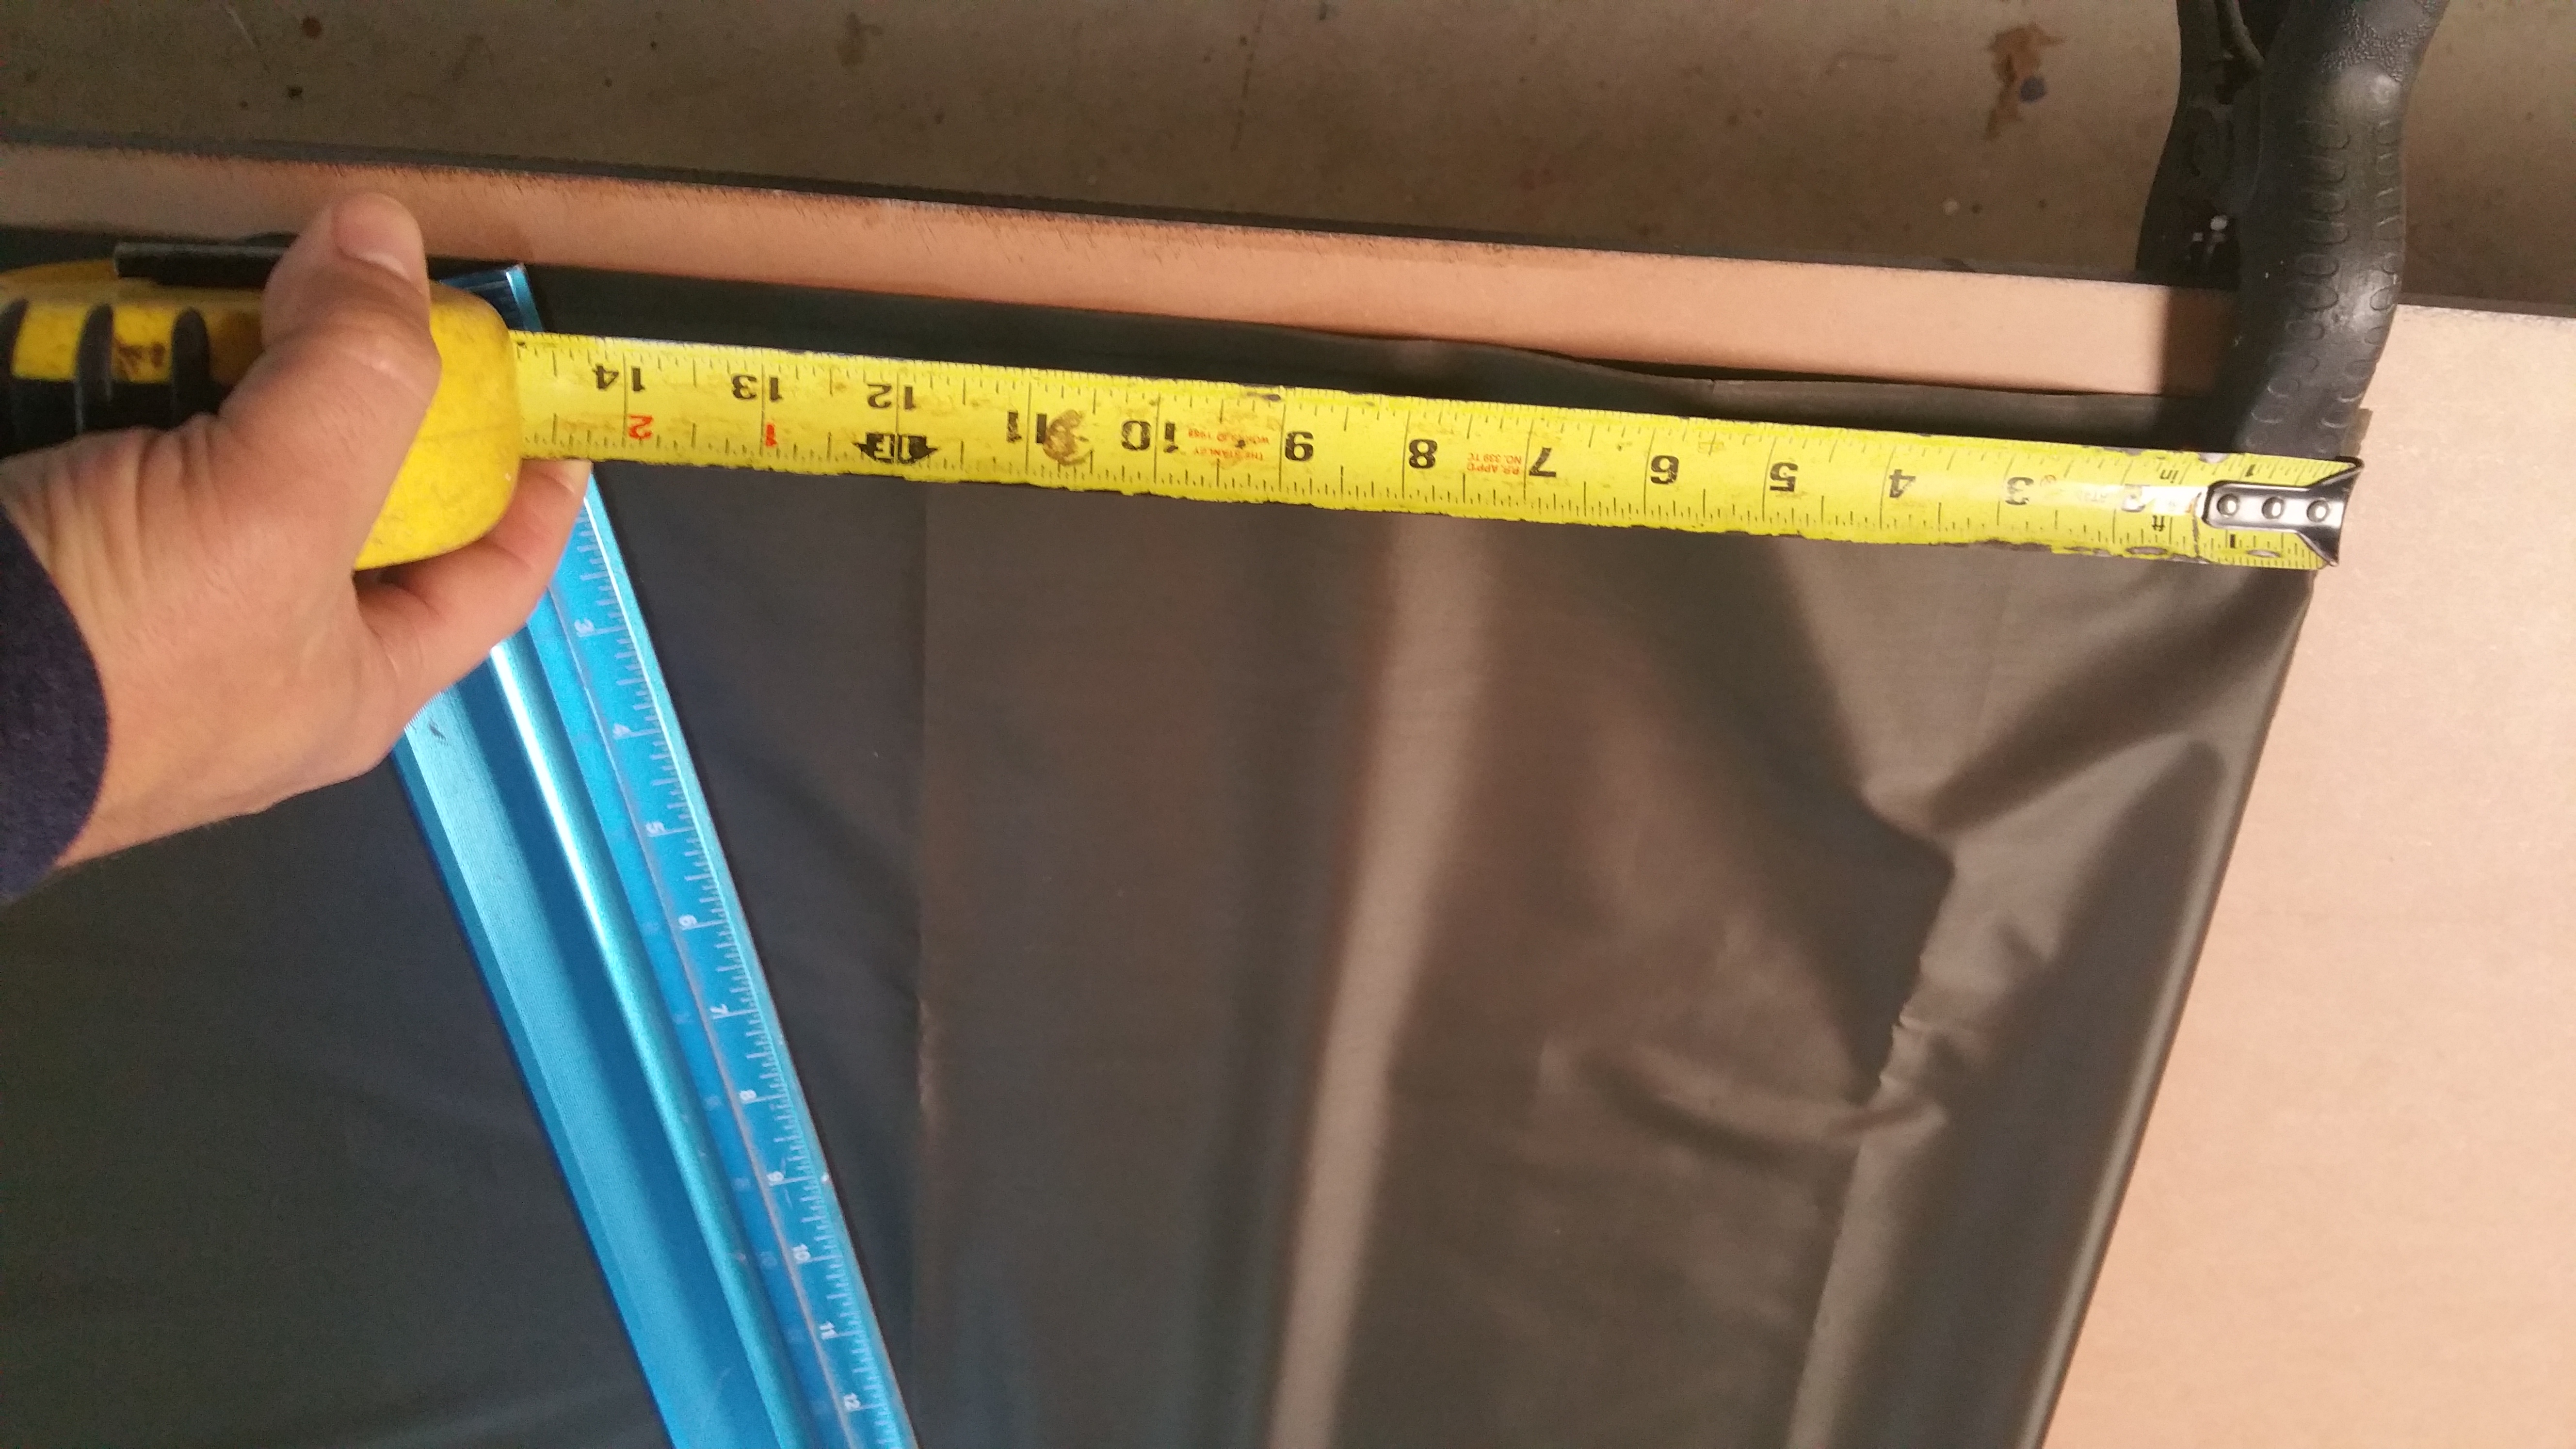
Start with pinning on the corners and be sure to pin them back away from the edges to give yourself room for your rolled hem. Next, measure in from the bottom corner 44 inches. Your triangles you hemmed along the short side will go at these points. Continue to do this step around on both pieces of fabric.
(NOTE: If you made cat cuts you will place the triangles where those cat cuts meet and make a point.)

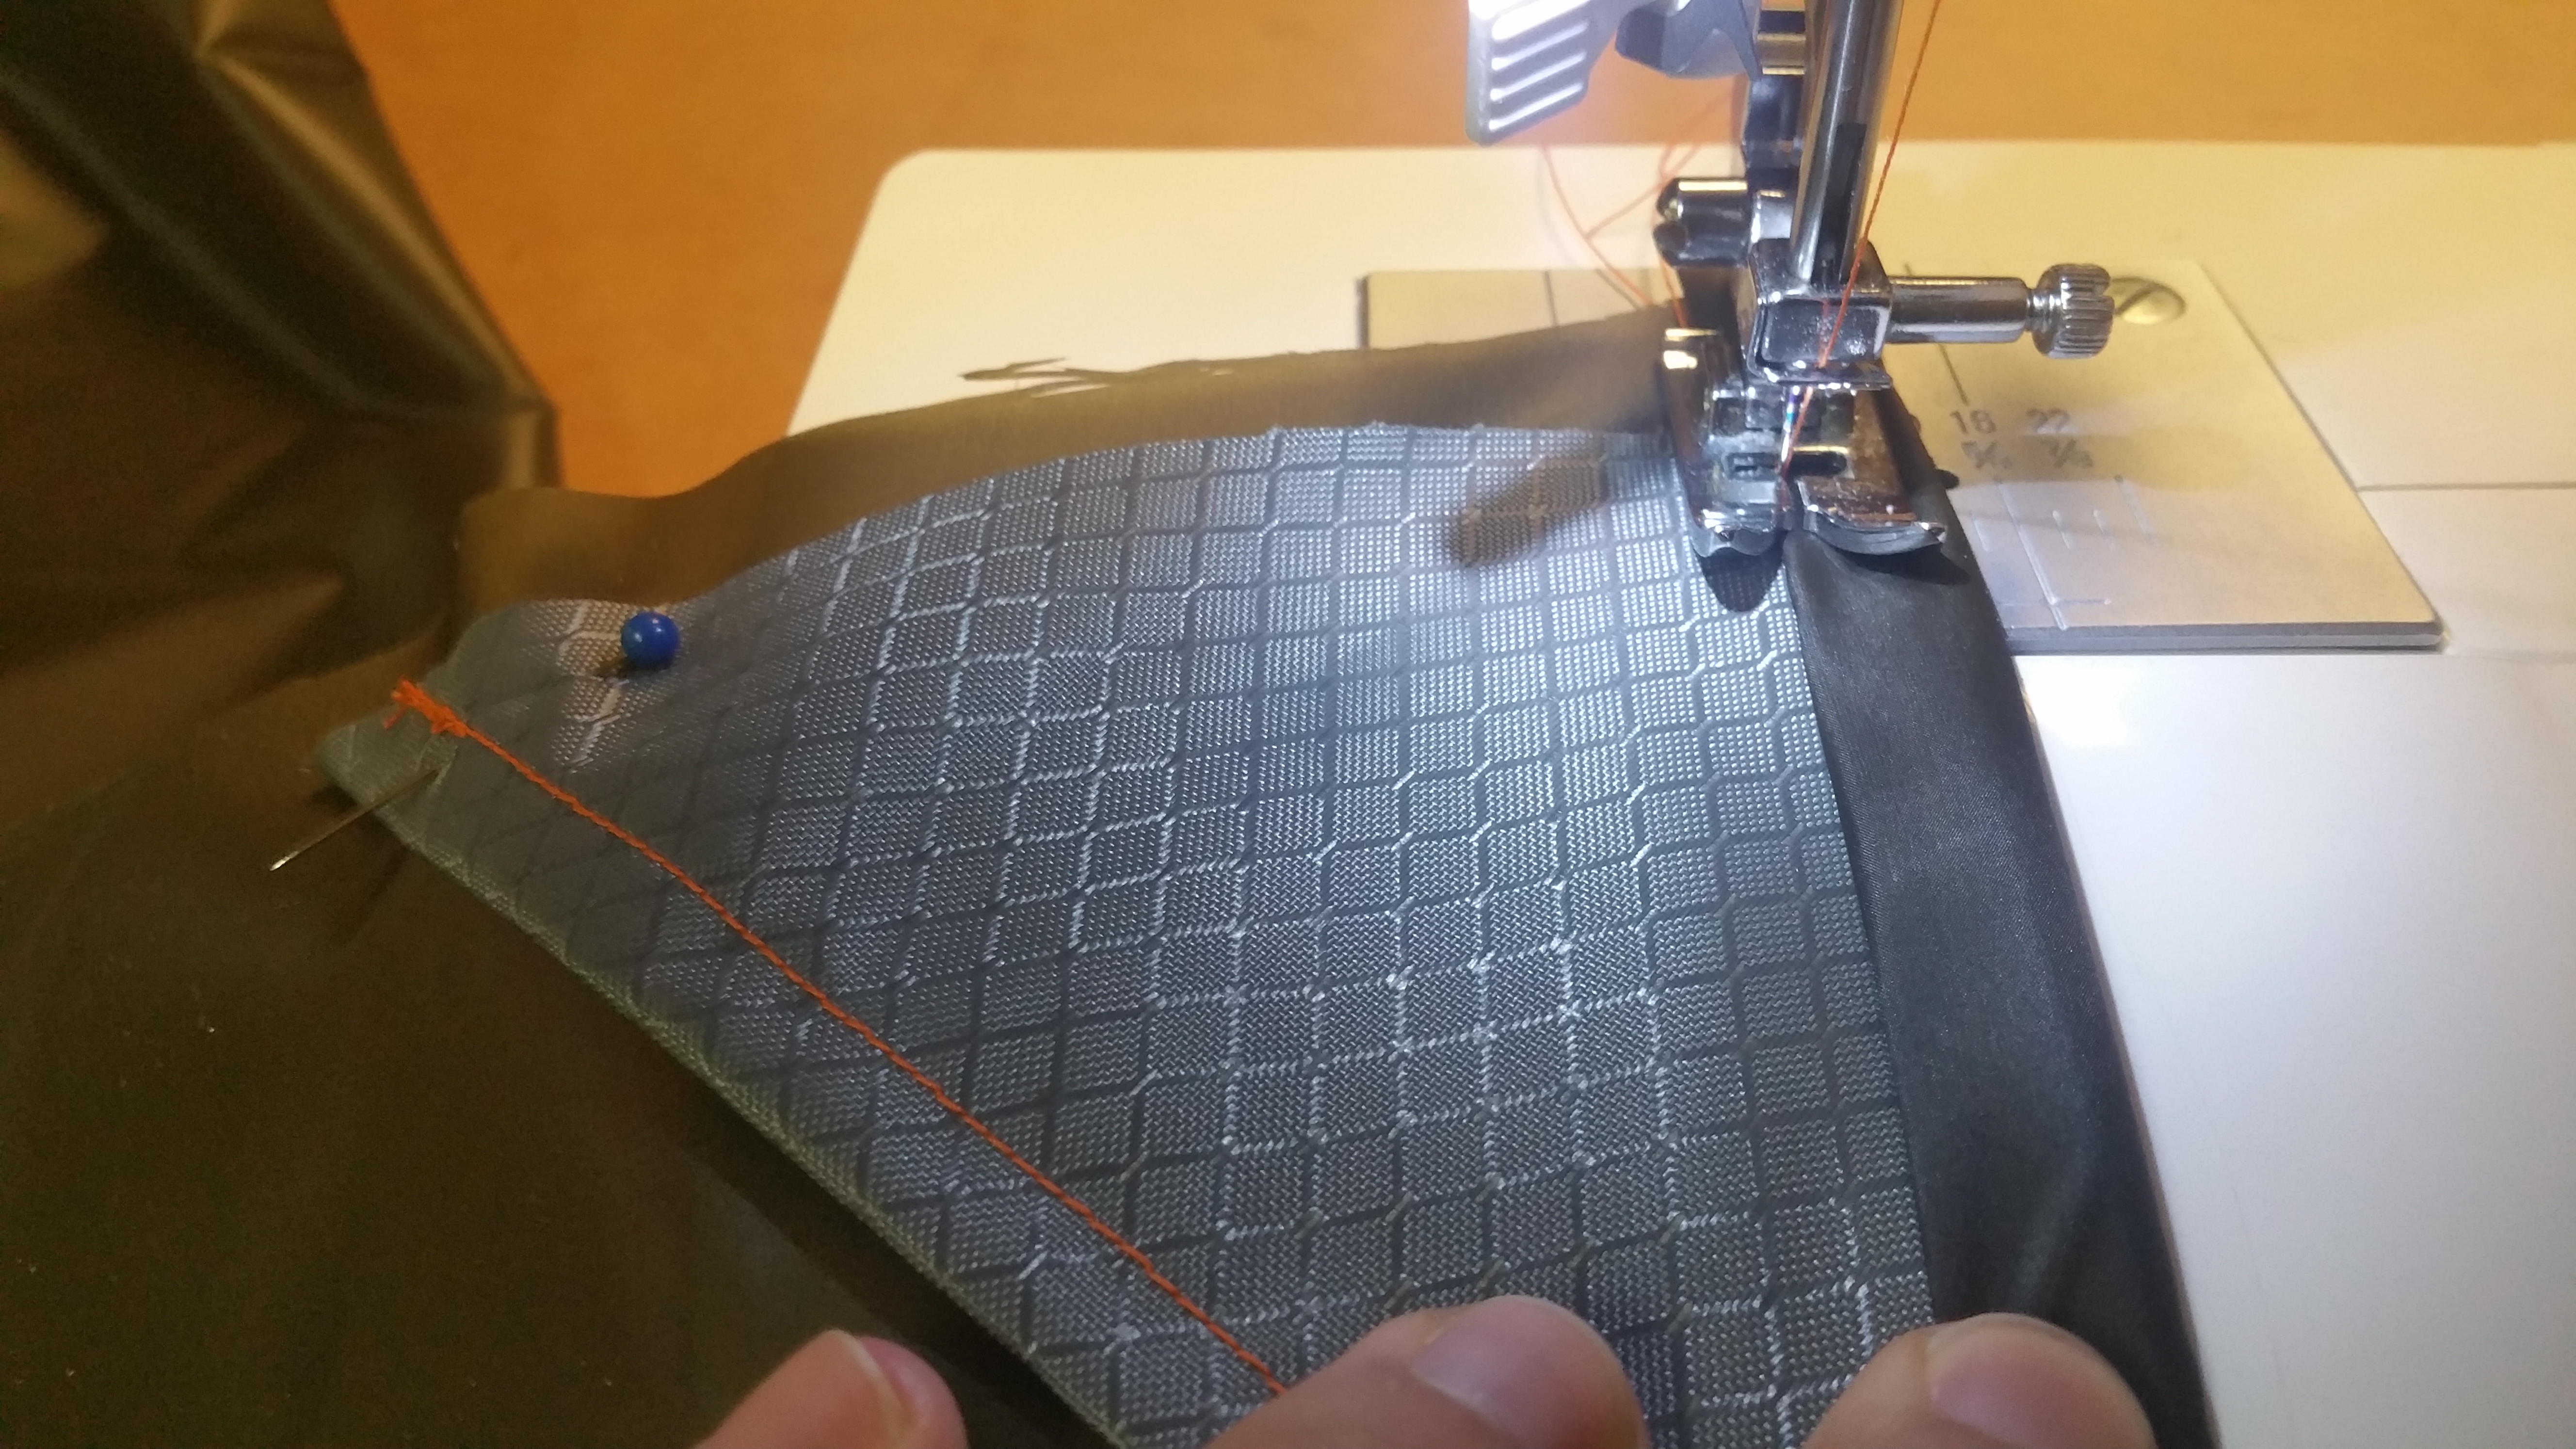
Step 8
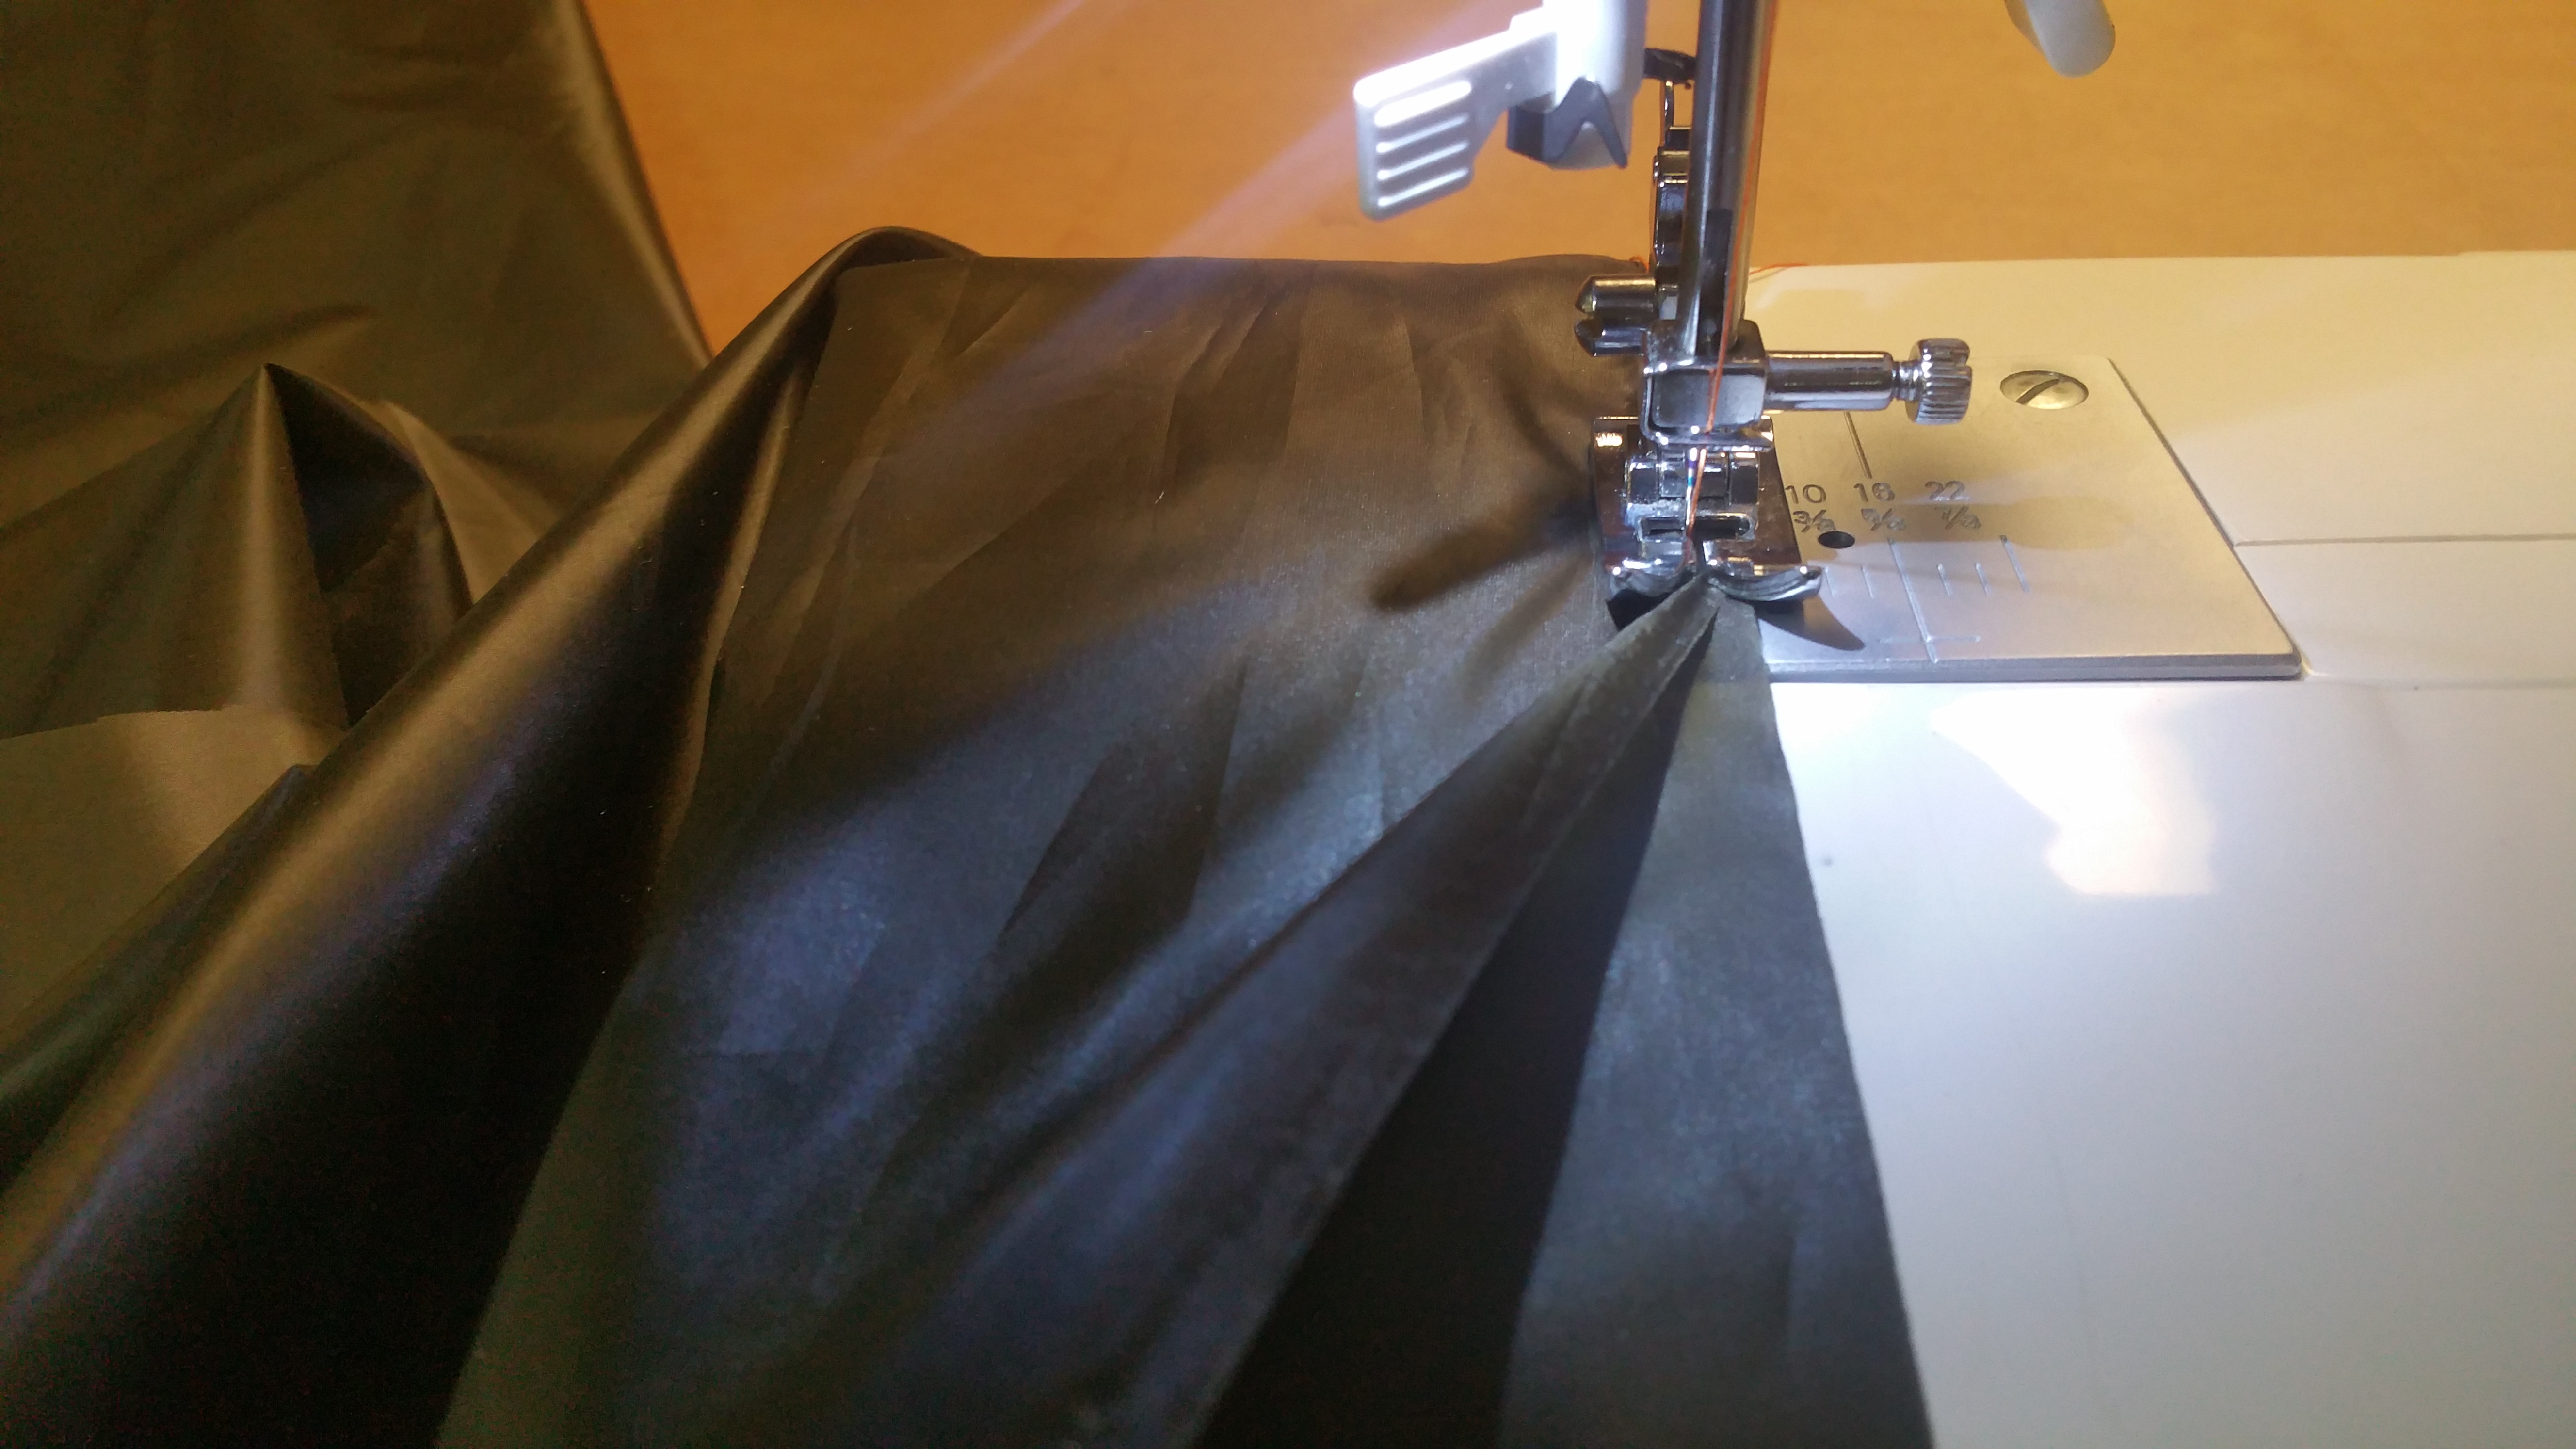
Take one piece of your tarp and we’re going to do a rolled hem along the whole bottom edge. Make sure that you roll in your triangles at the same time while going along.
(NOTE: If you have cat cuts, take your time on the curves. It can be a little tricky to get a solid rolled hem but it is doable. Slow and steady).
The rolled hem doesn’t have to be any specific size but try to keep it fairly small otherwise your tarp will be a little shorter on the sides. Do this step to both pieces of your tarp.
Step 9
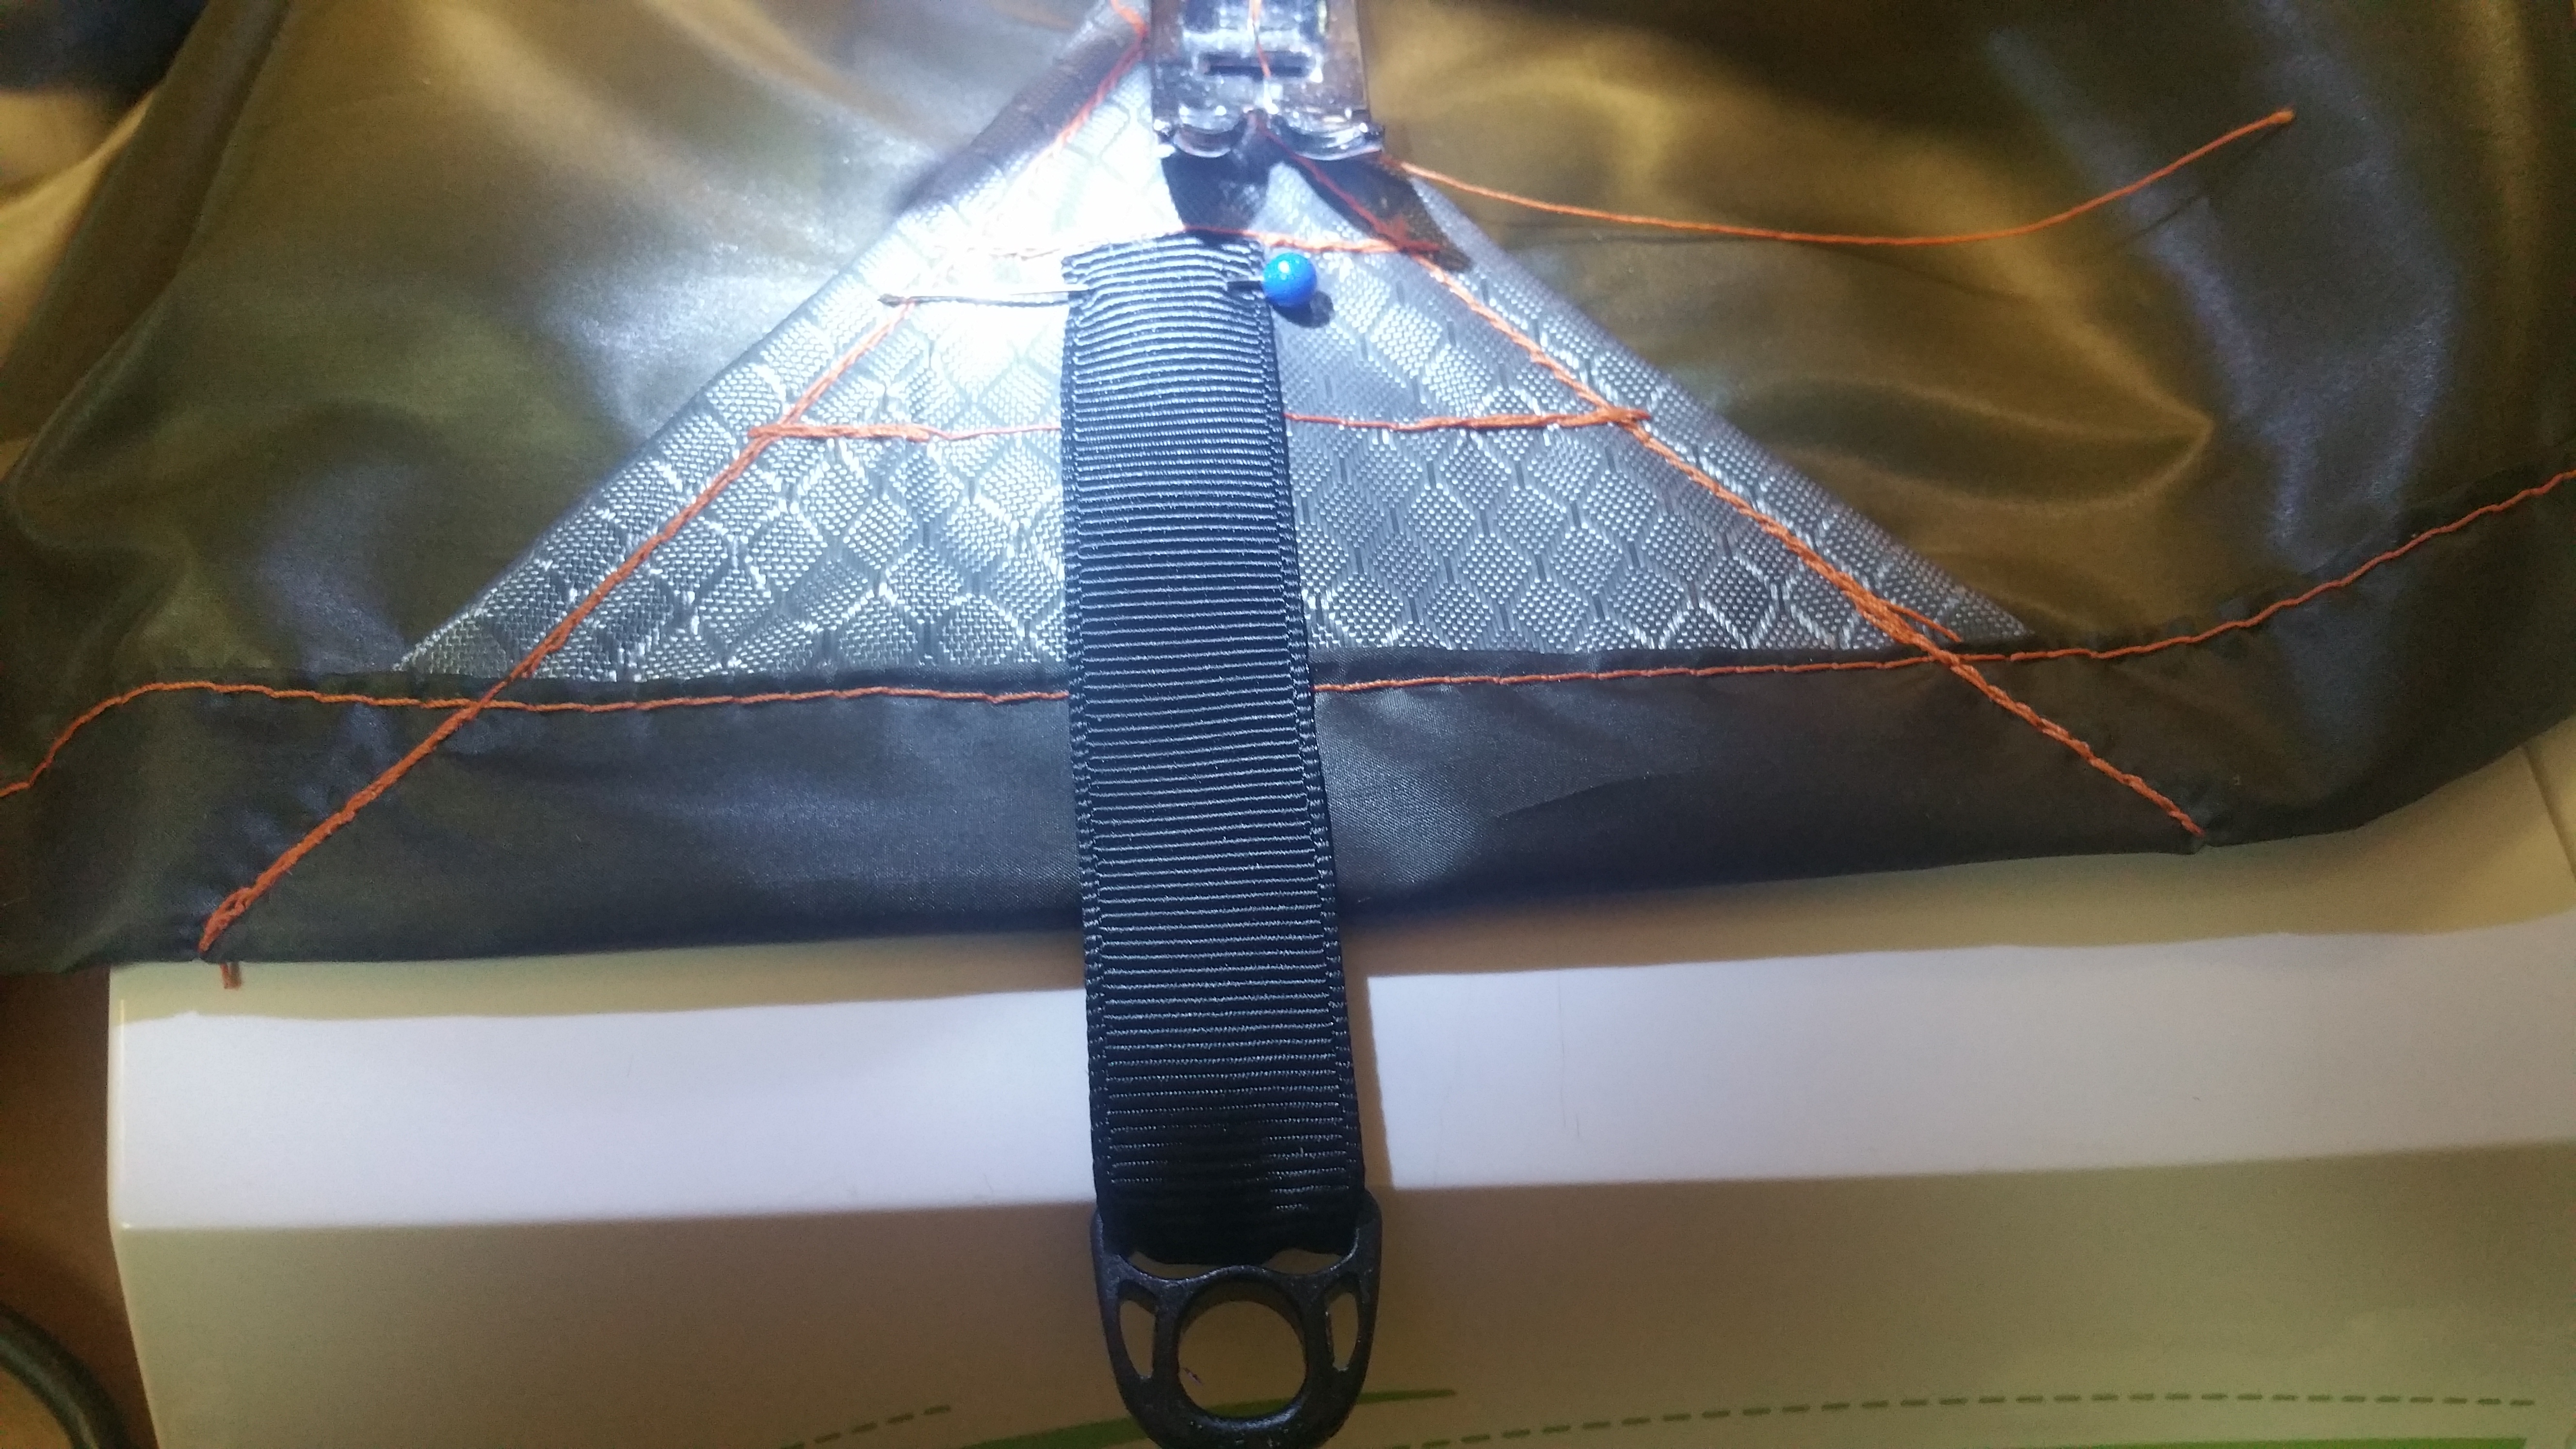
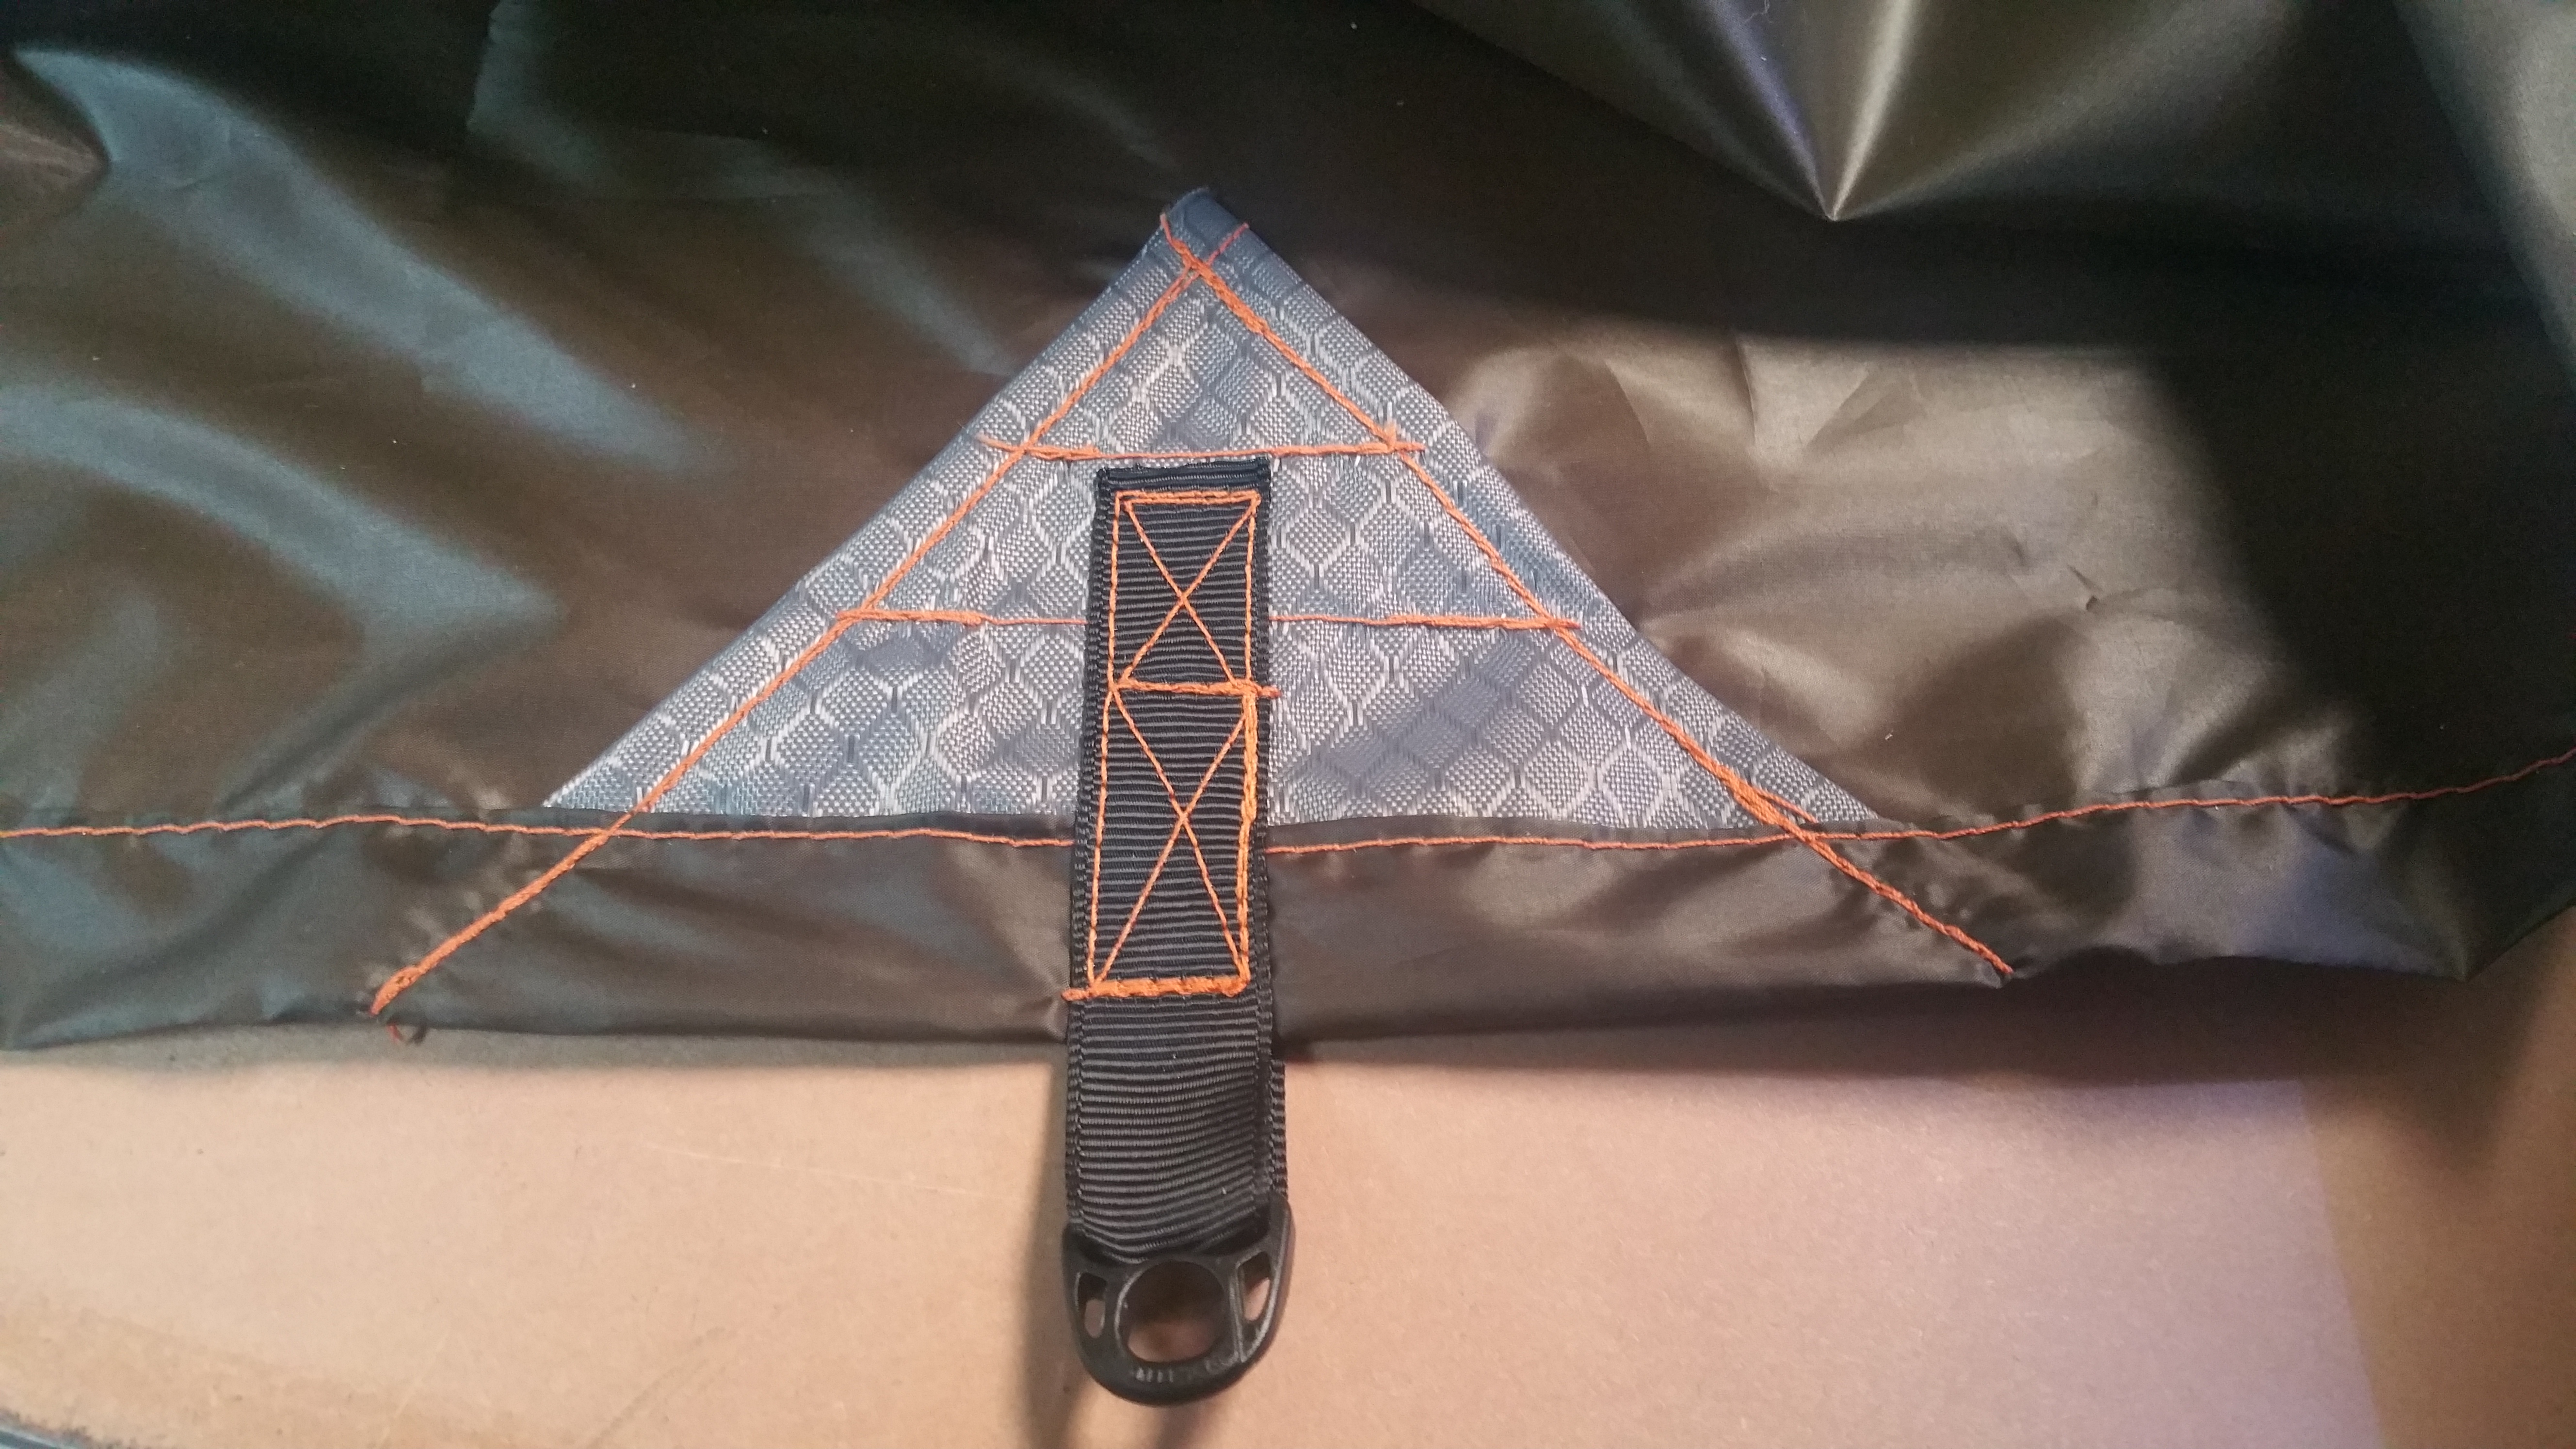
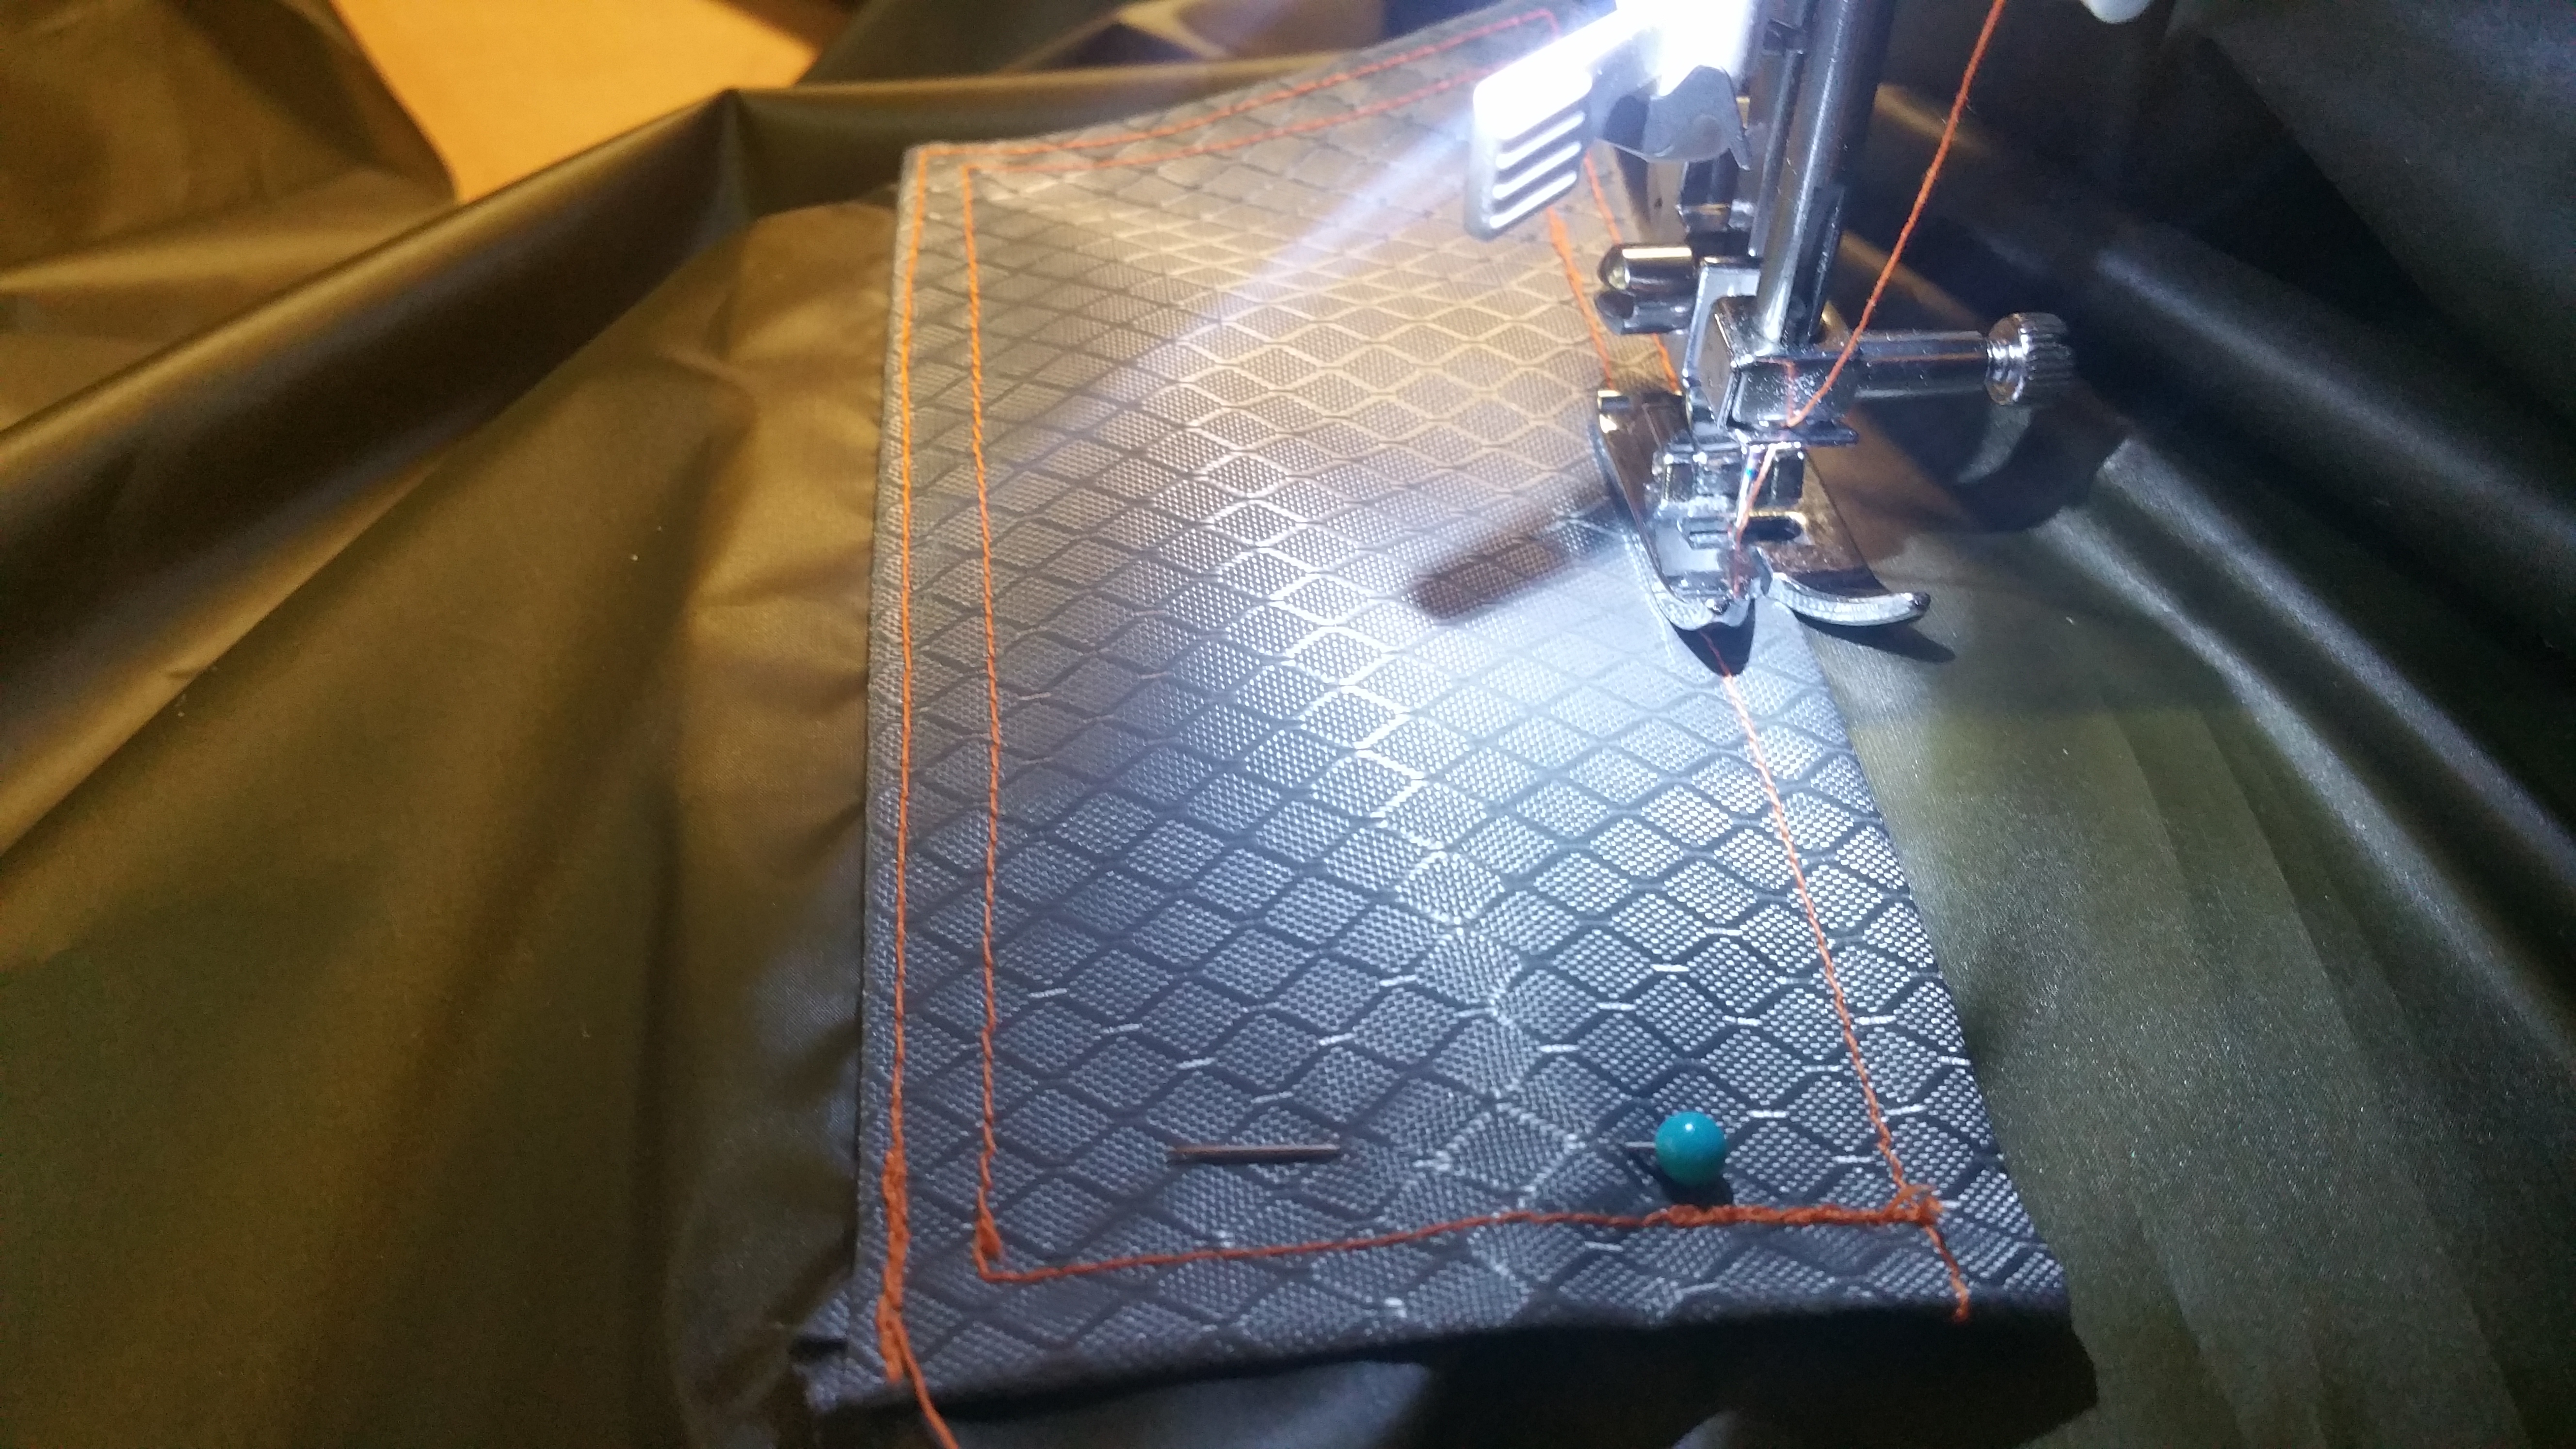
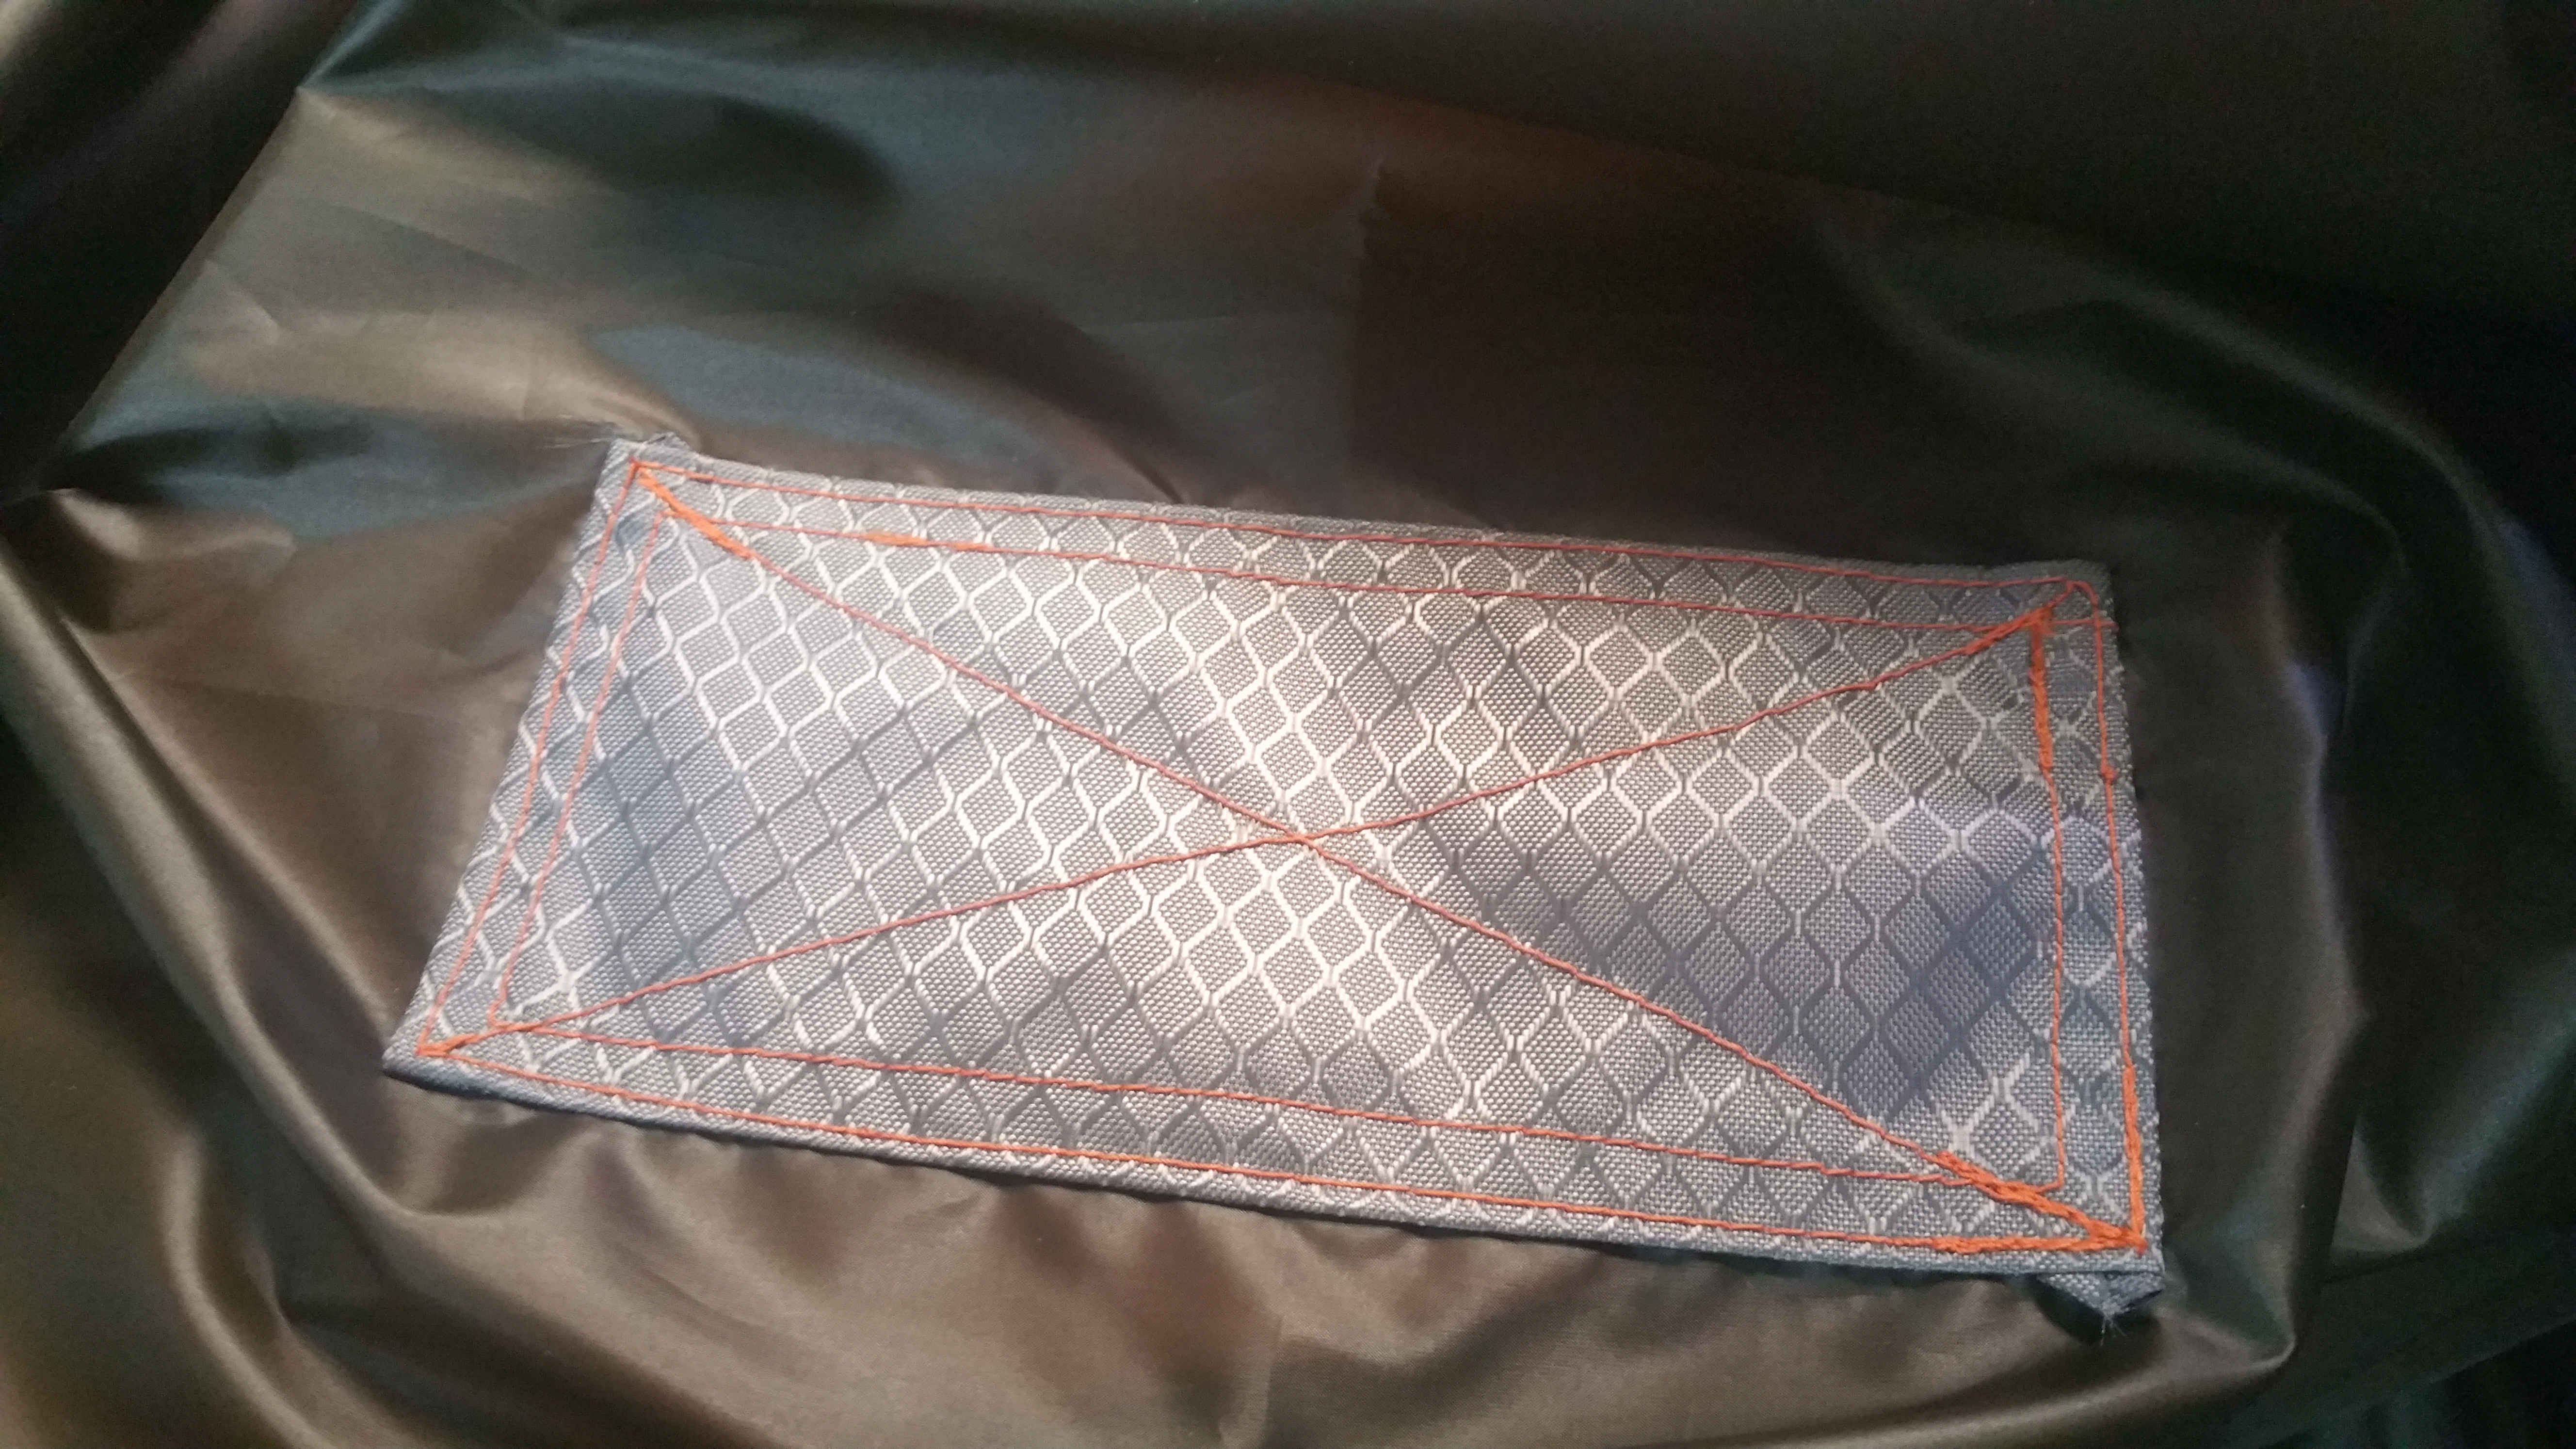
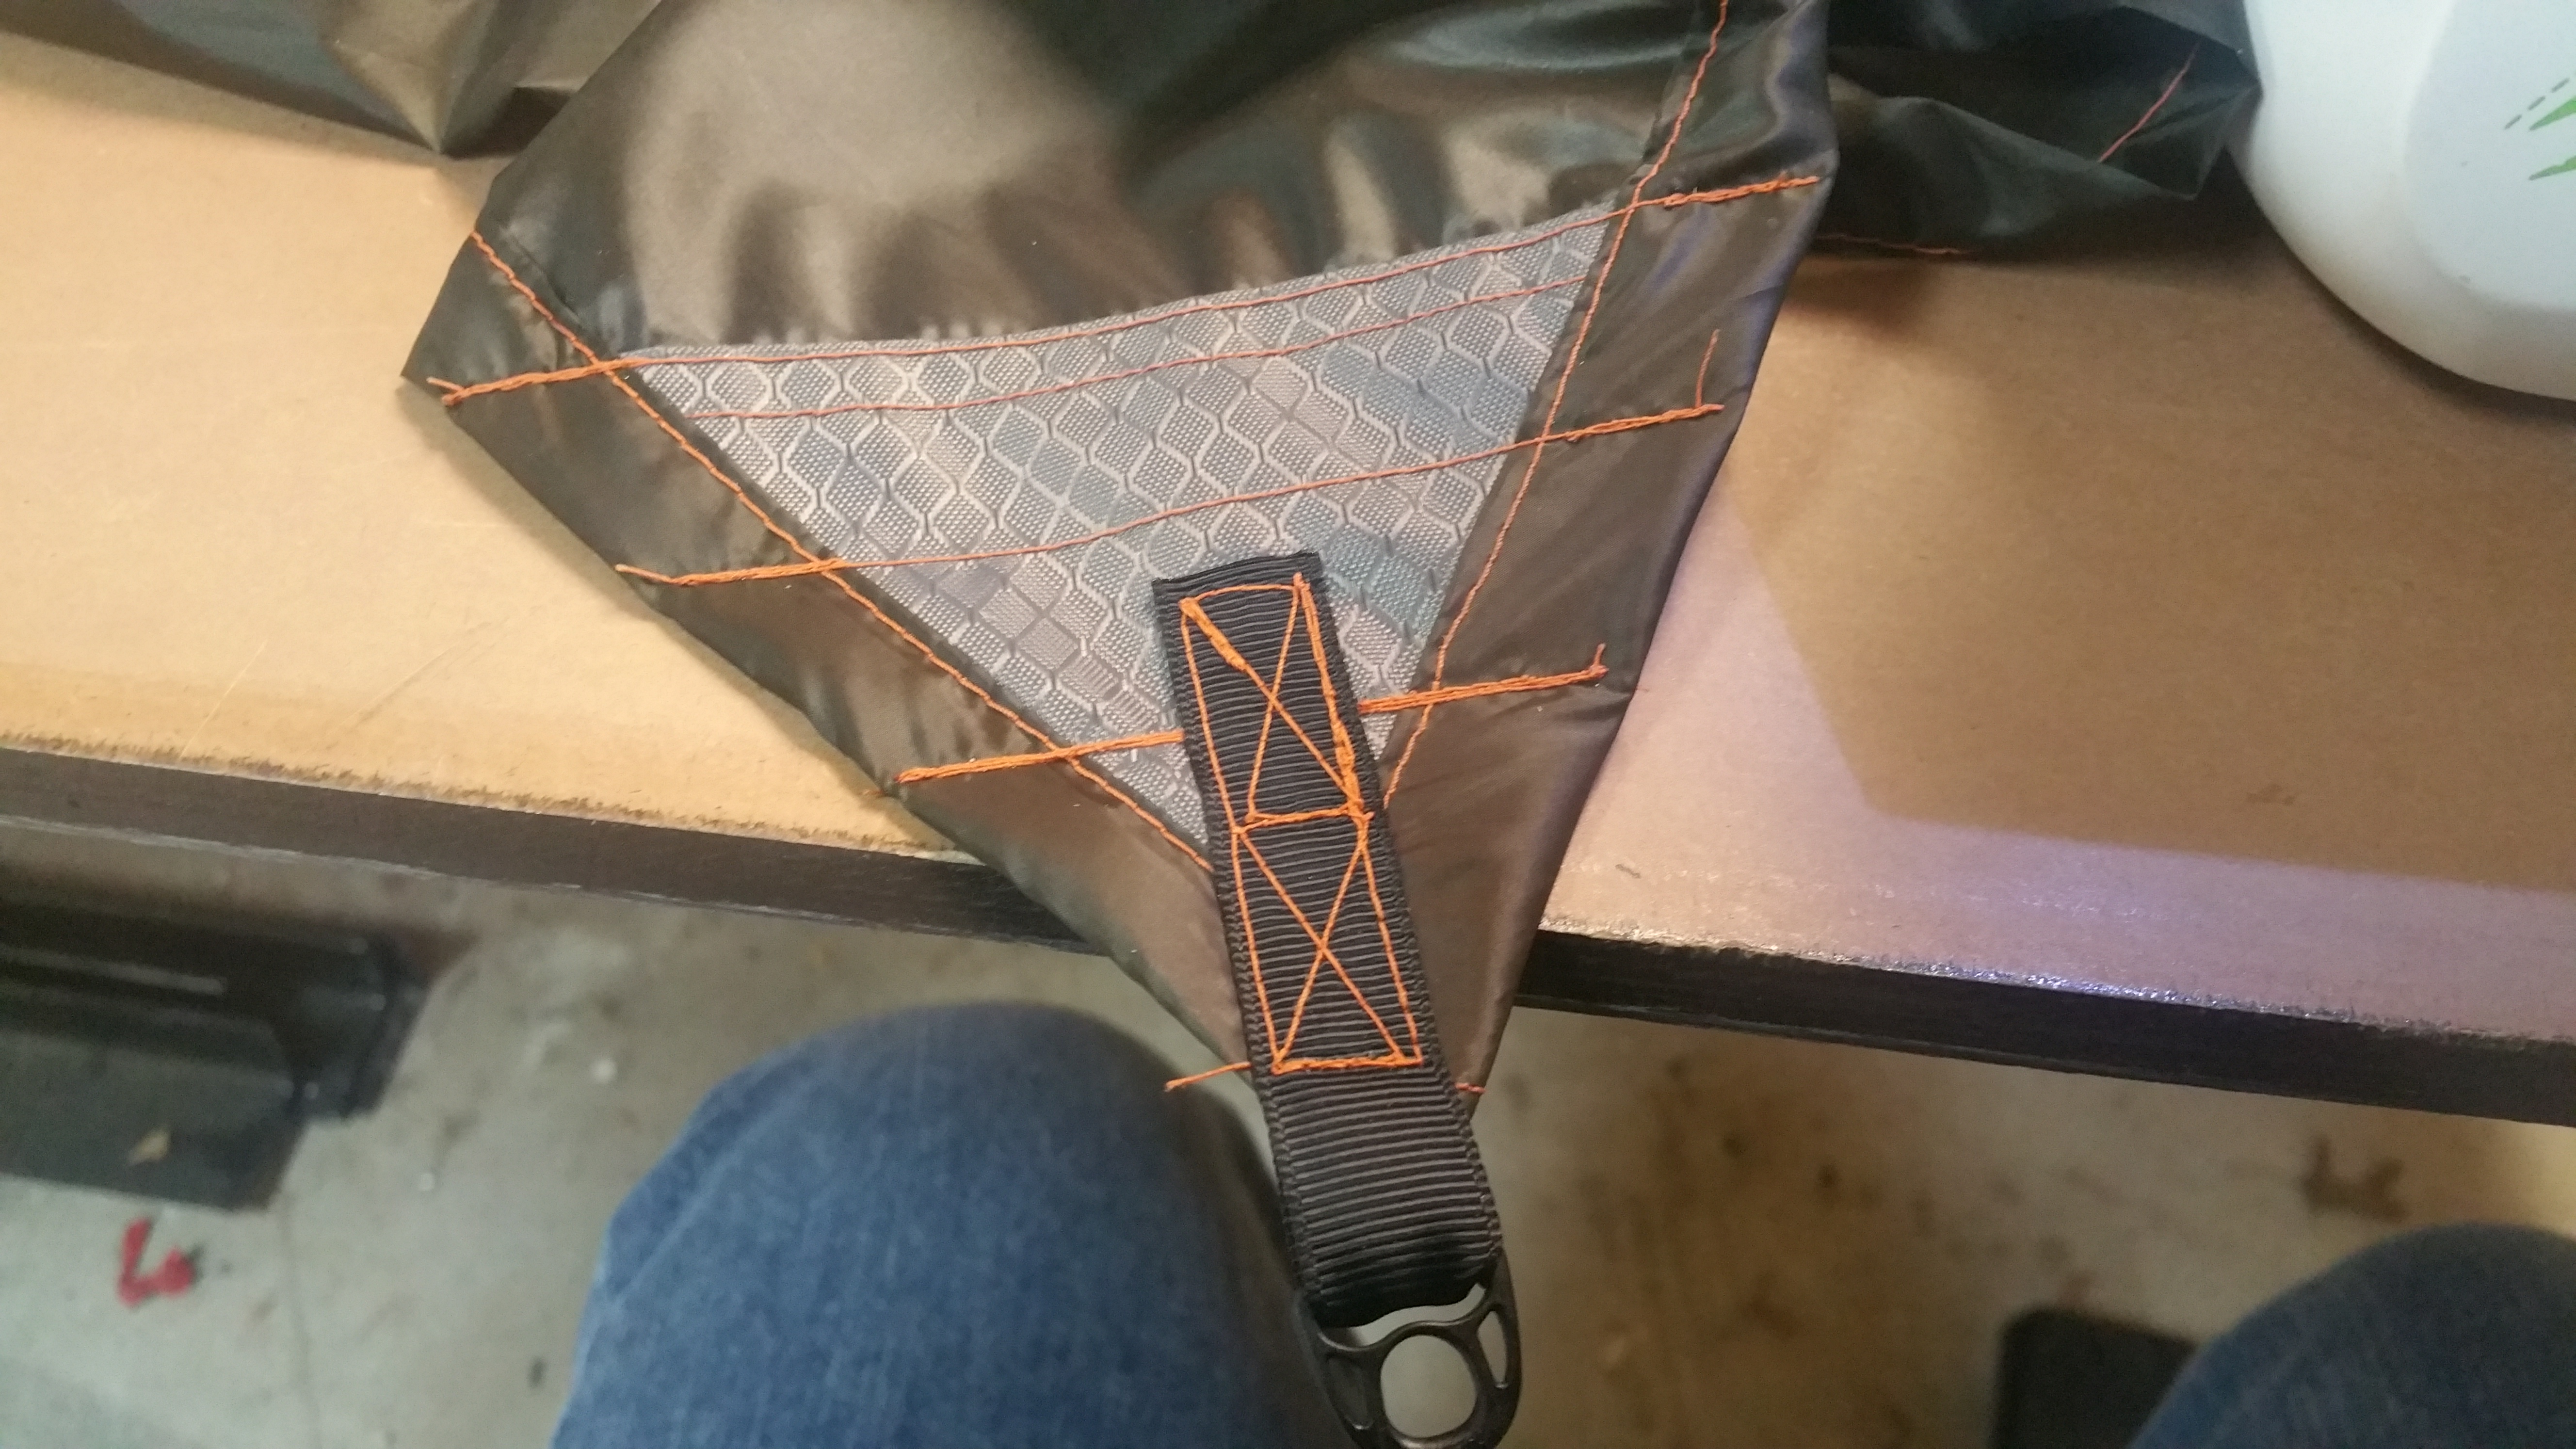
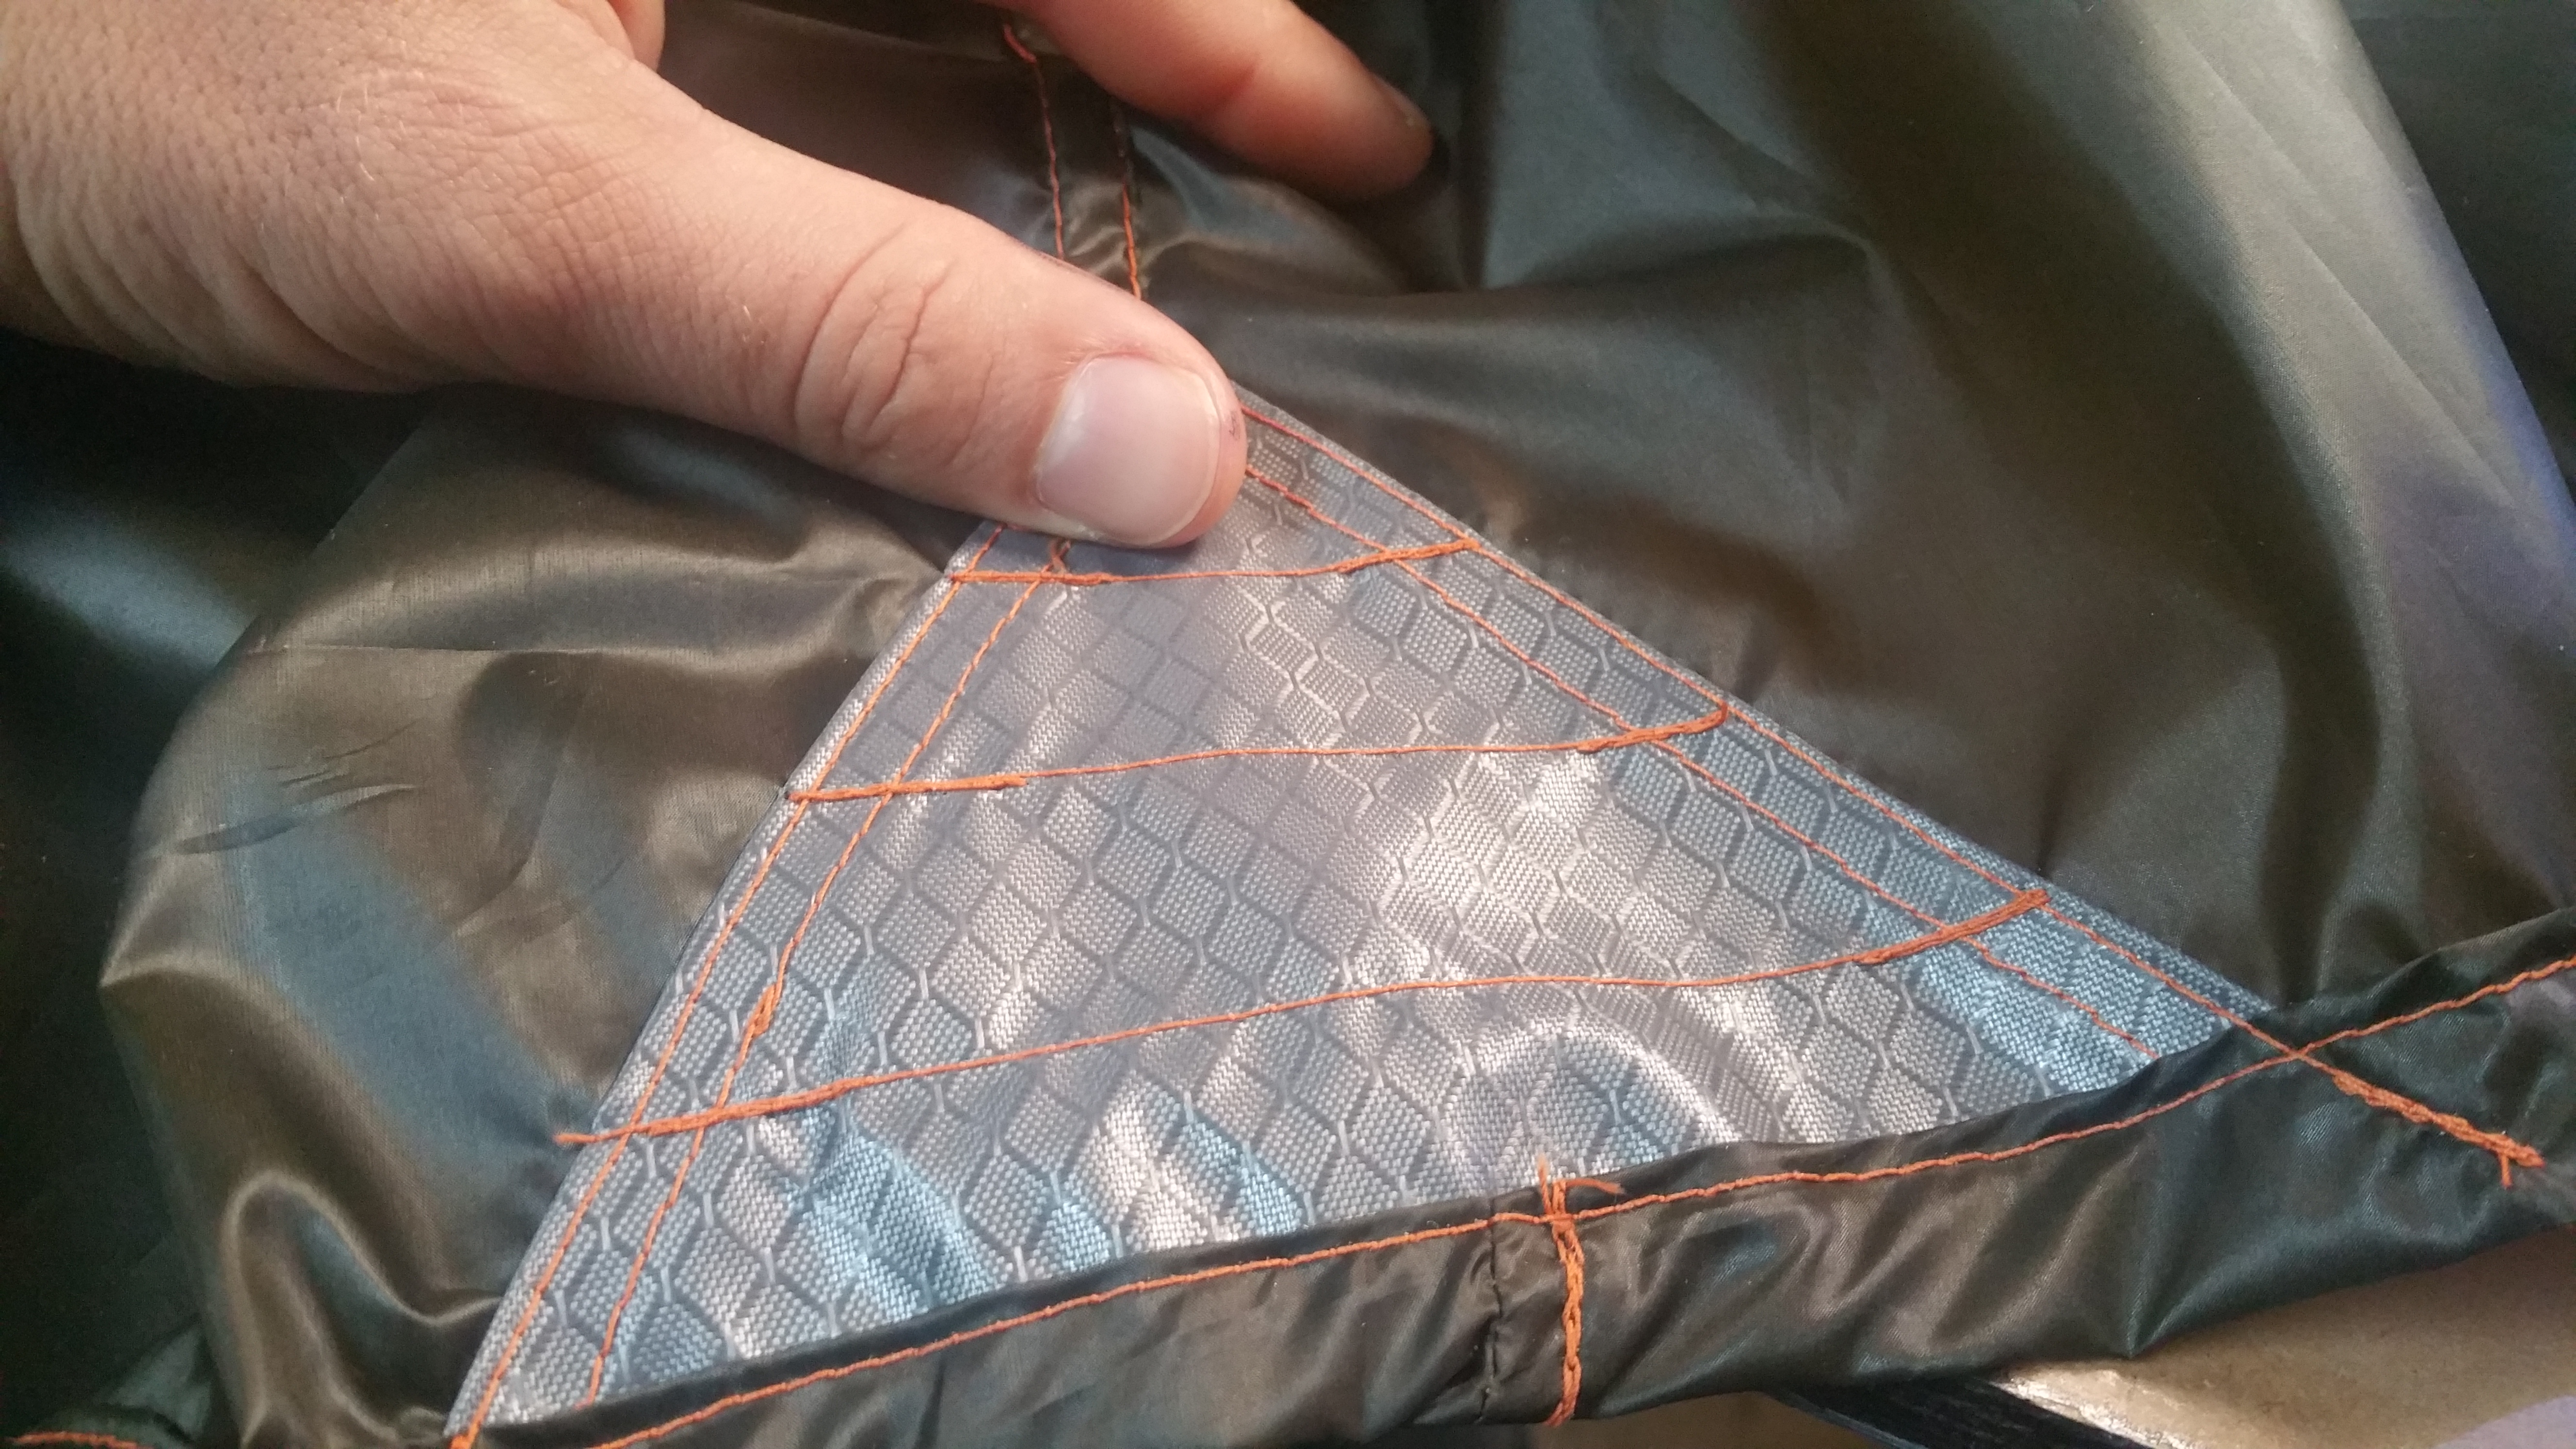
After you have done your rolled hem and all your triangles are in place we’re going to reinforce our 4 middle triangles (2 on each side) and add our grosgrain and D rings. Don’t worry about the 4 corner triangles, we will come back to those. You can finish sewing on these triangles in any pattern you would like but I prefer the design below.
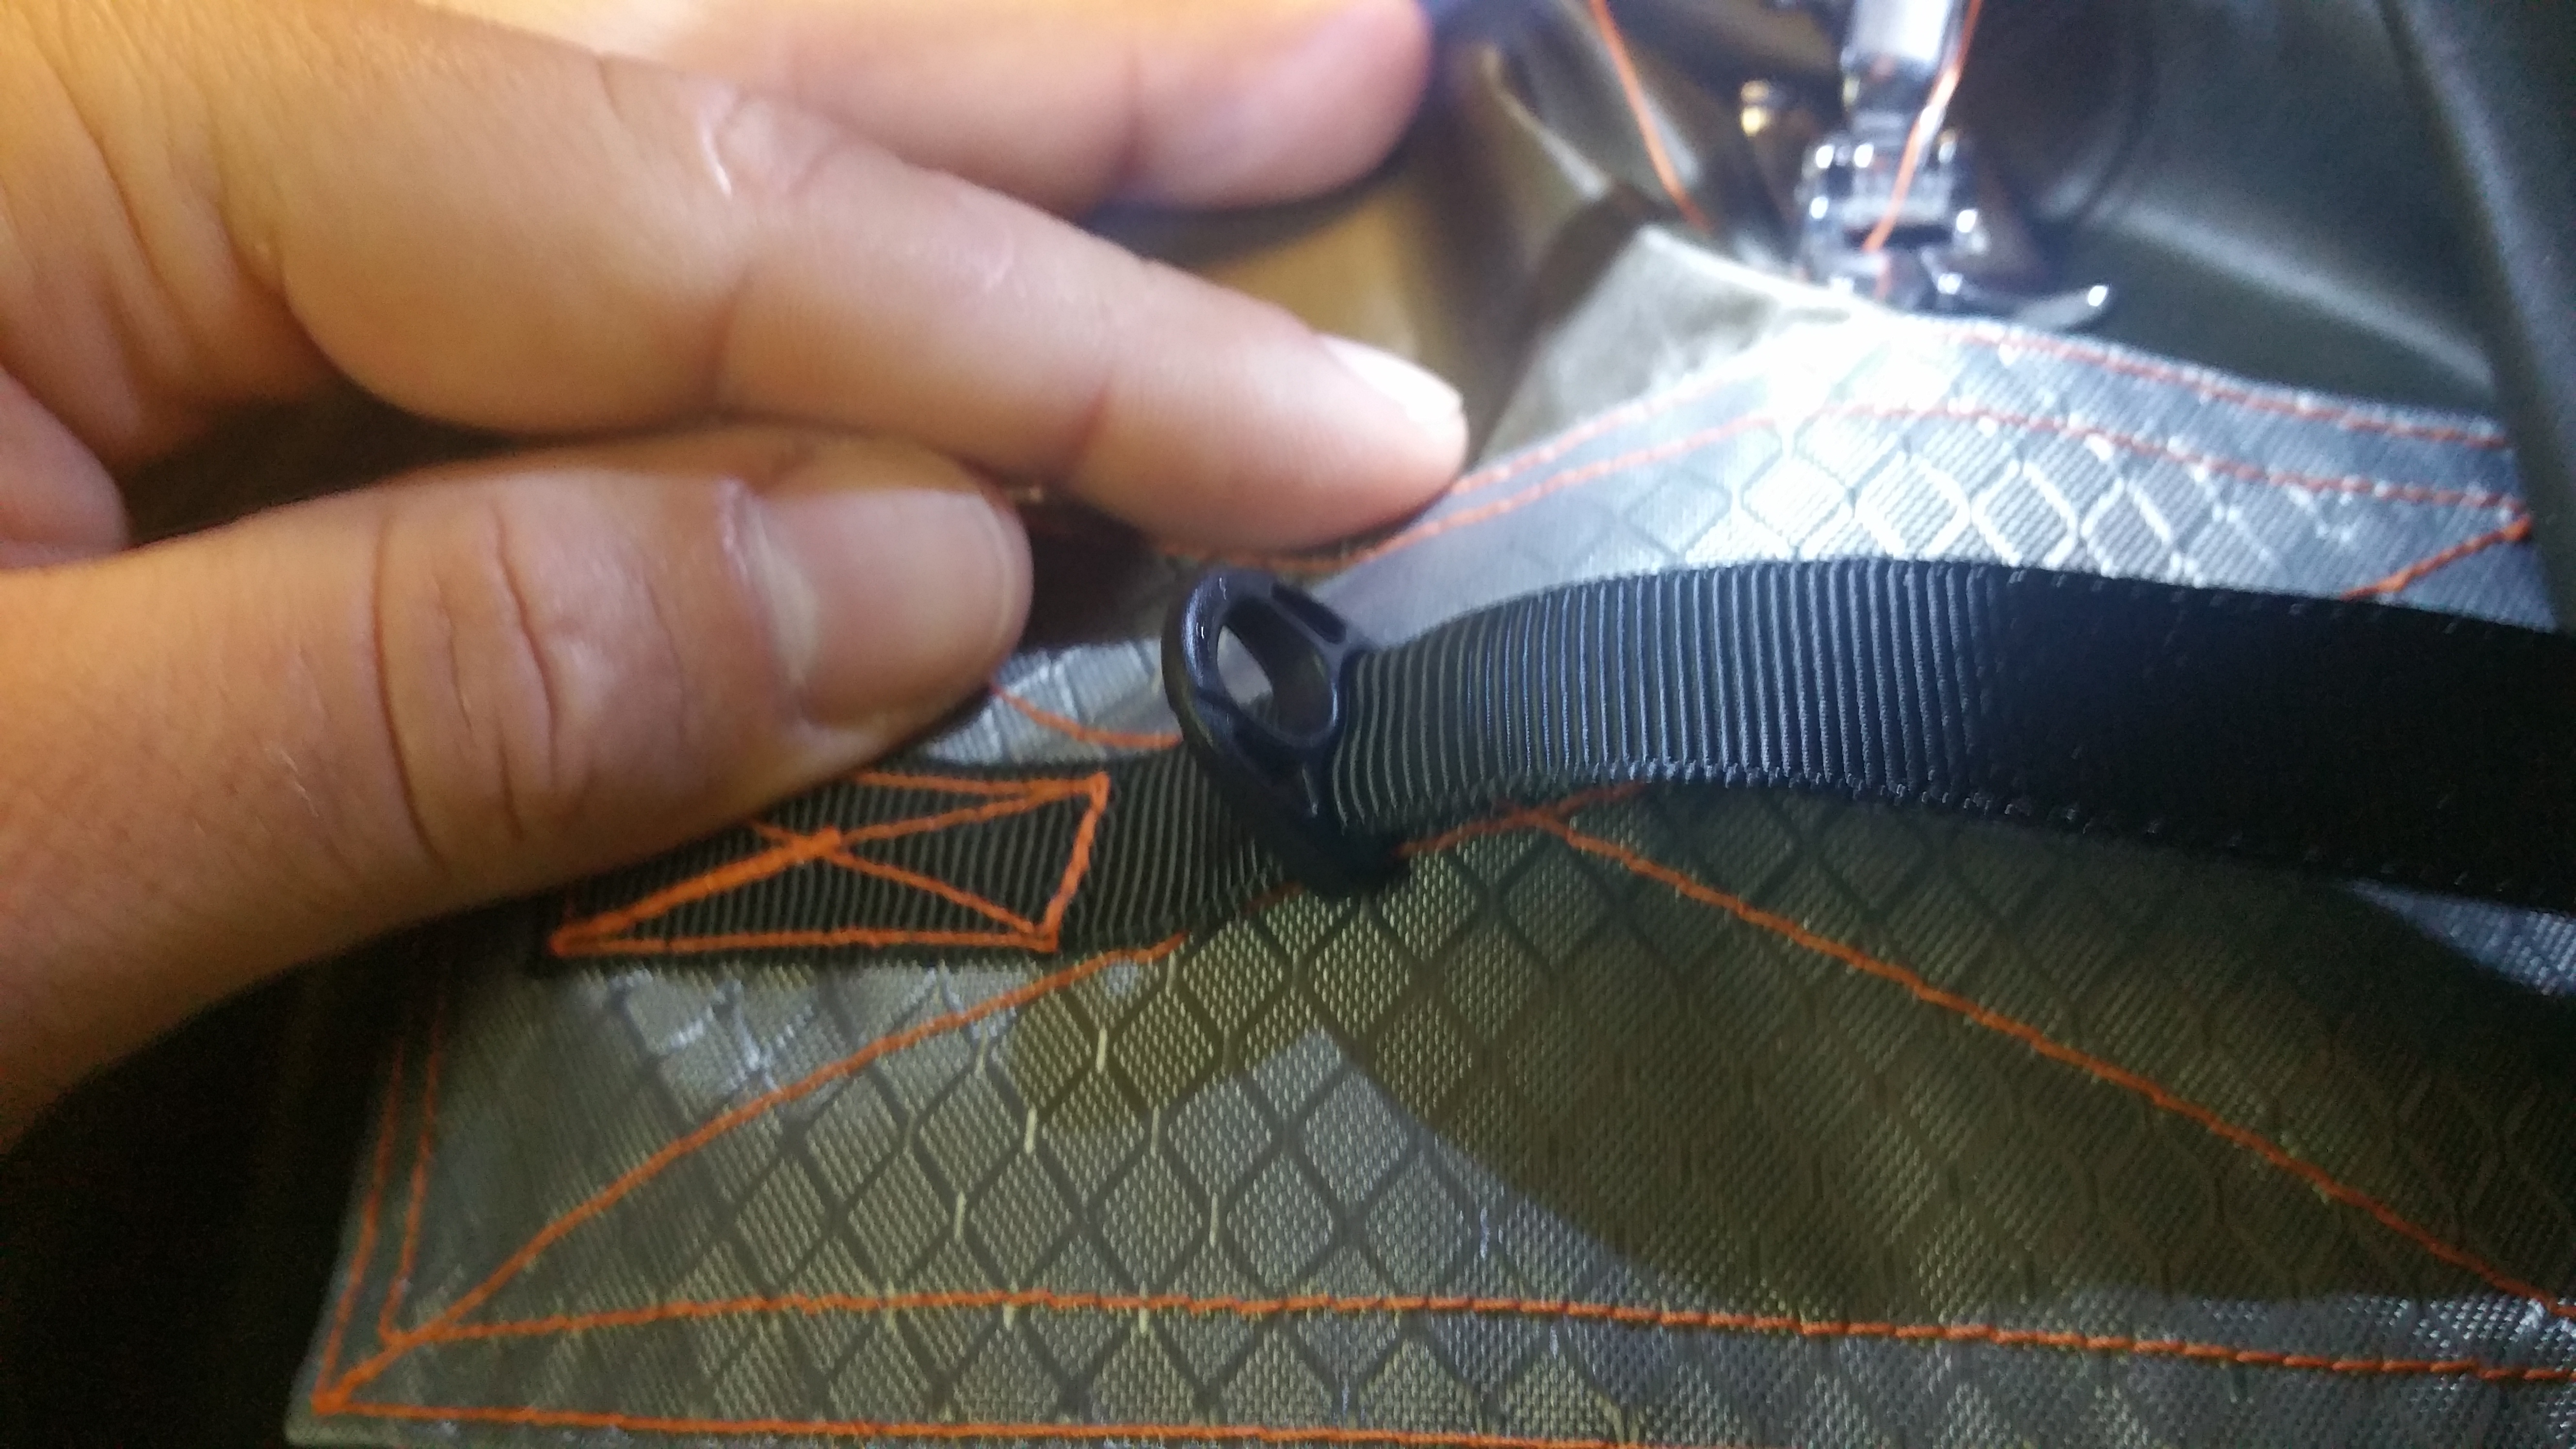
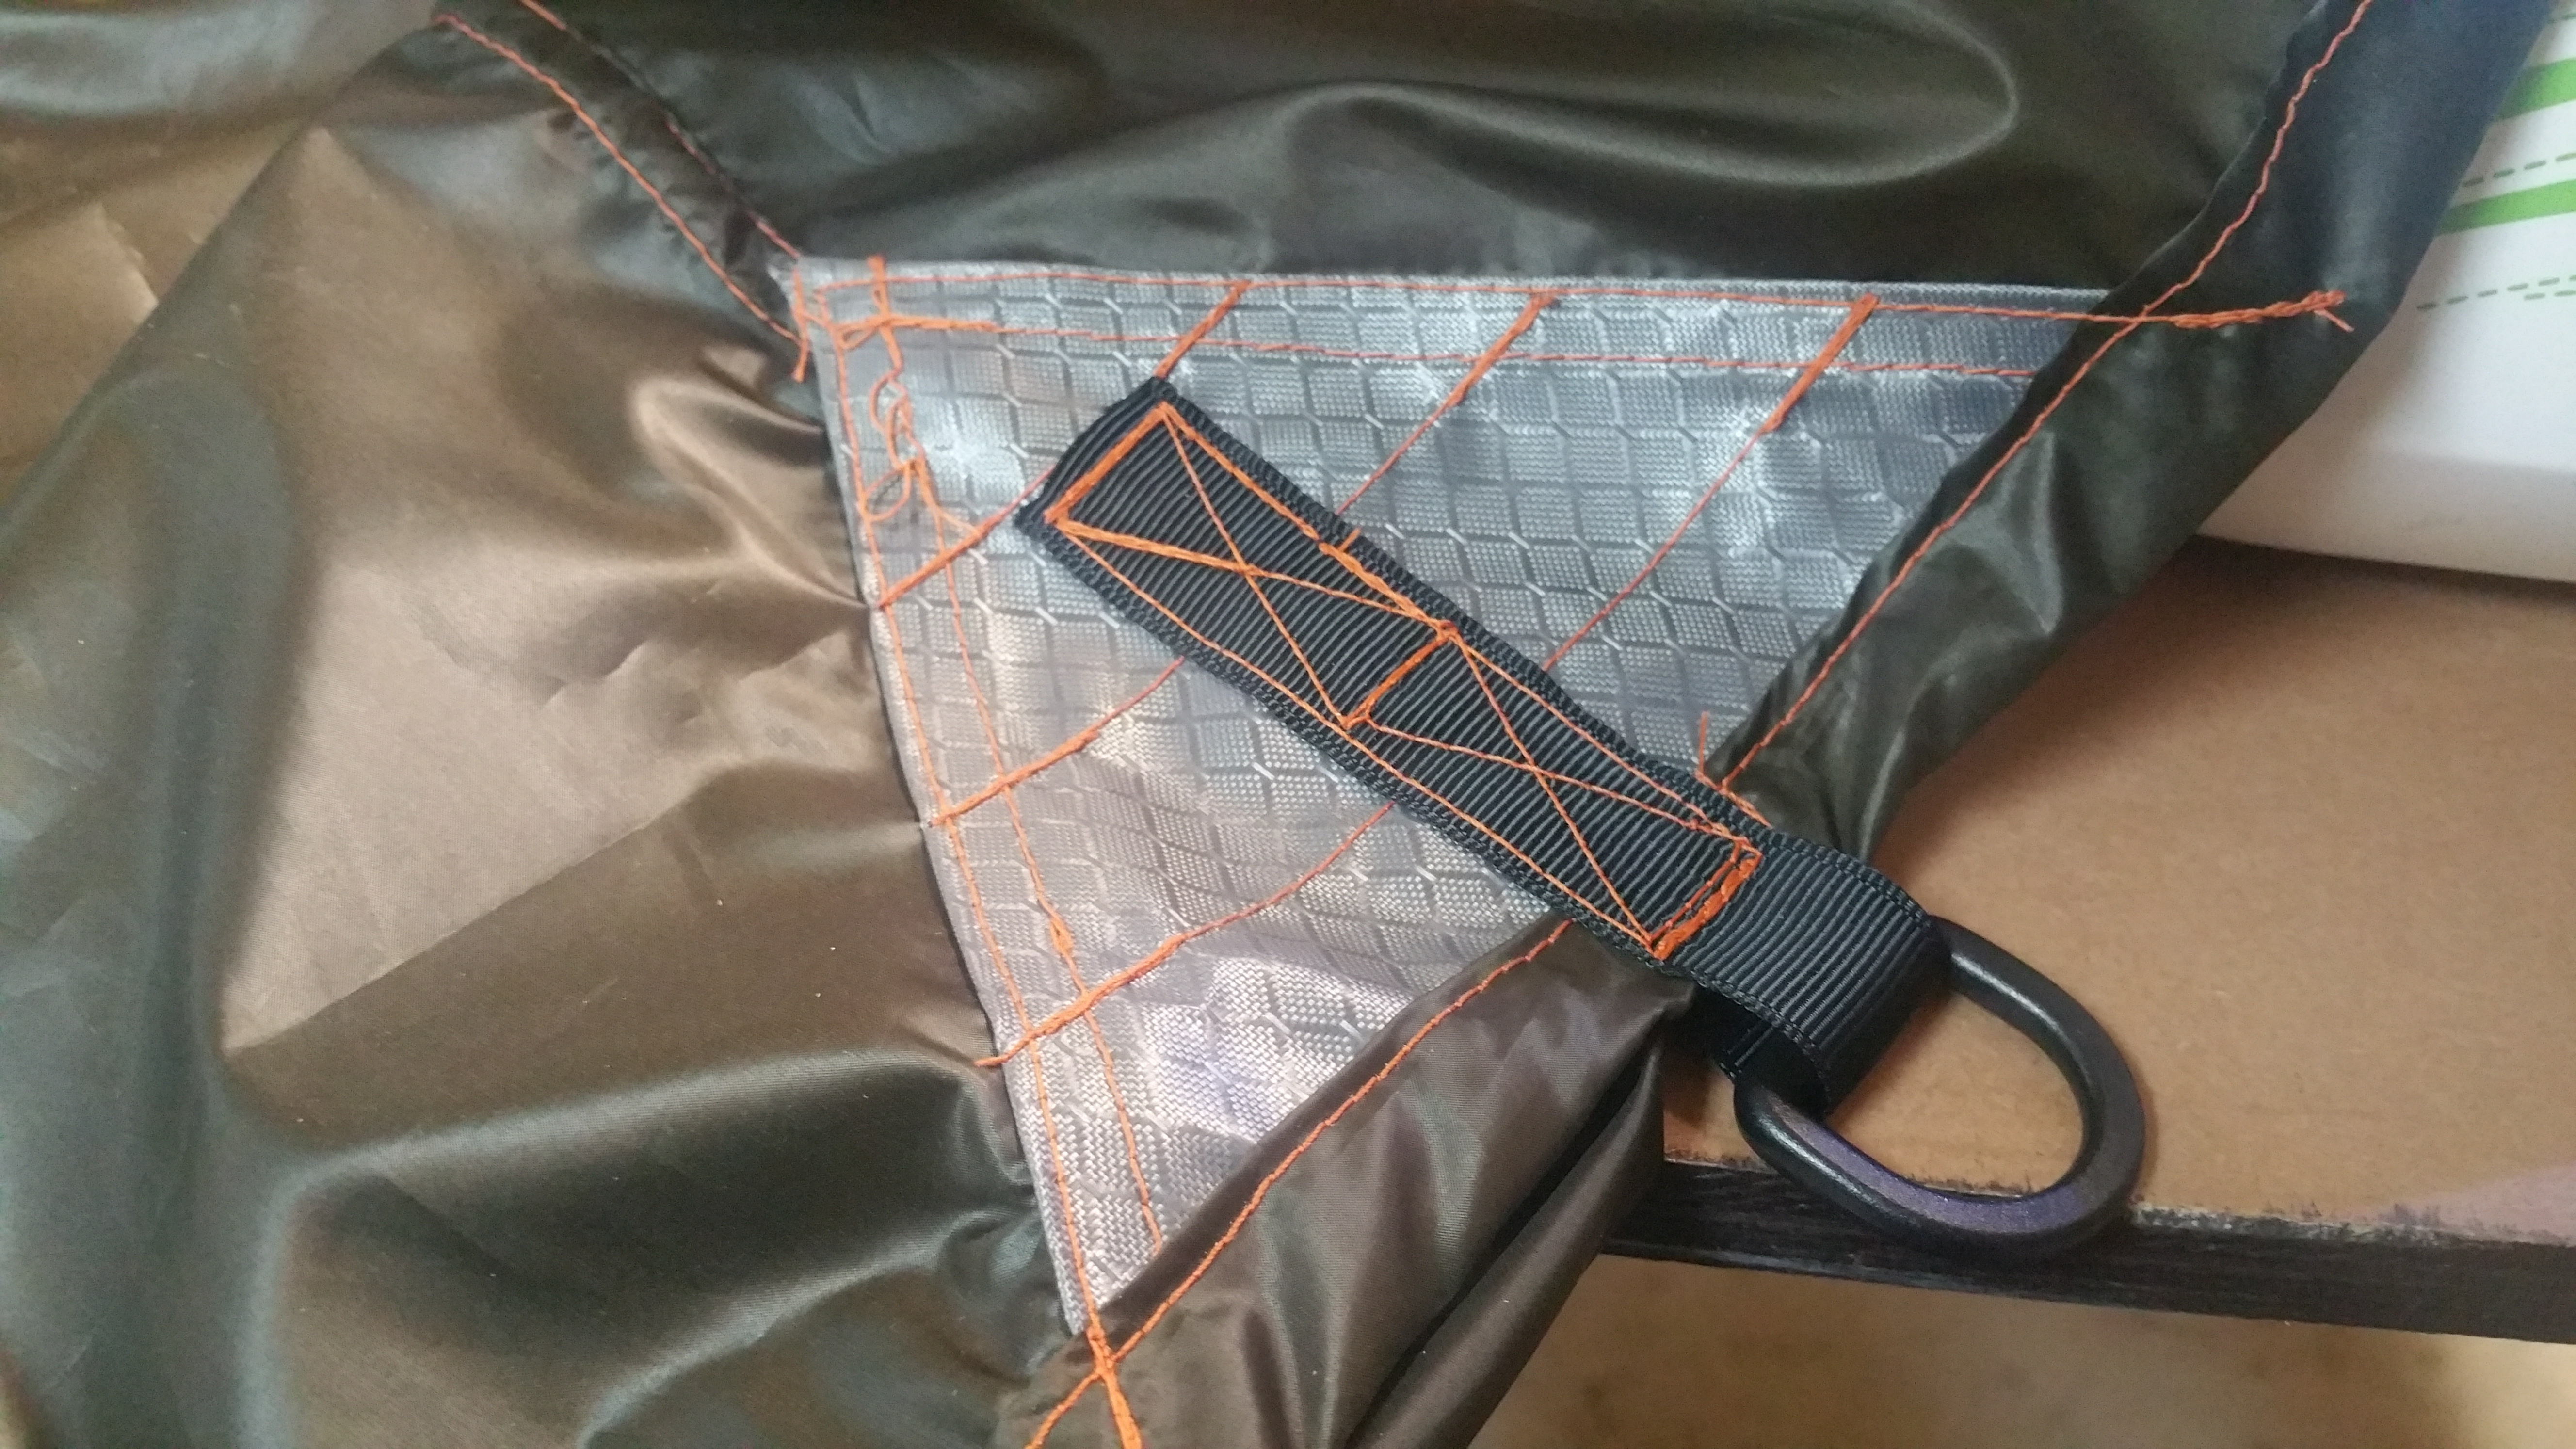
Once your triangle is sewn on completely you need 6 inches of grosgrain (be sure to melt the ends so they don’t fray) and a D ring. I prefer to have the grosgrain split on each side of the tarp so it pulls evenly but it can be harder to sew this way since the grosgrain on the underside tends to move, even if it’s pinned. You can also sew the grosgrain all on one side if you want and it shouldn’t hurt anything.
Once you have your grosgrain and D ring in place go ahead and do a double box stitch. (If you need help with this refer to the image below.) Continue this step on the other 3 triangle tieouts.


Step 10
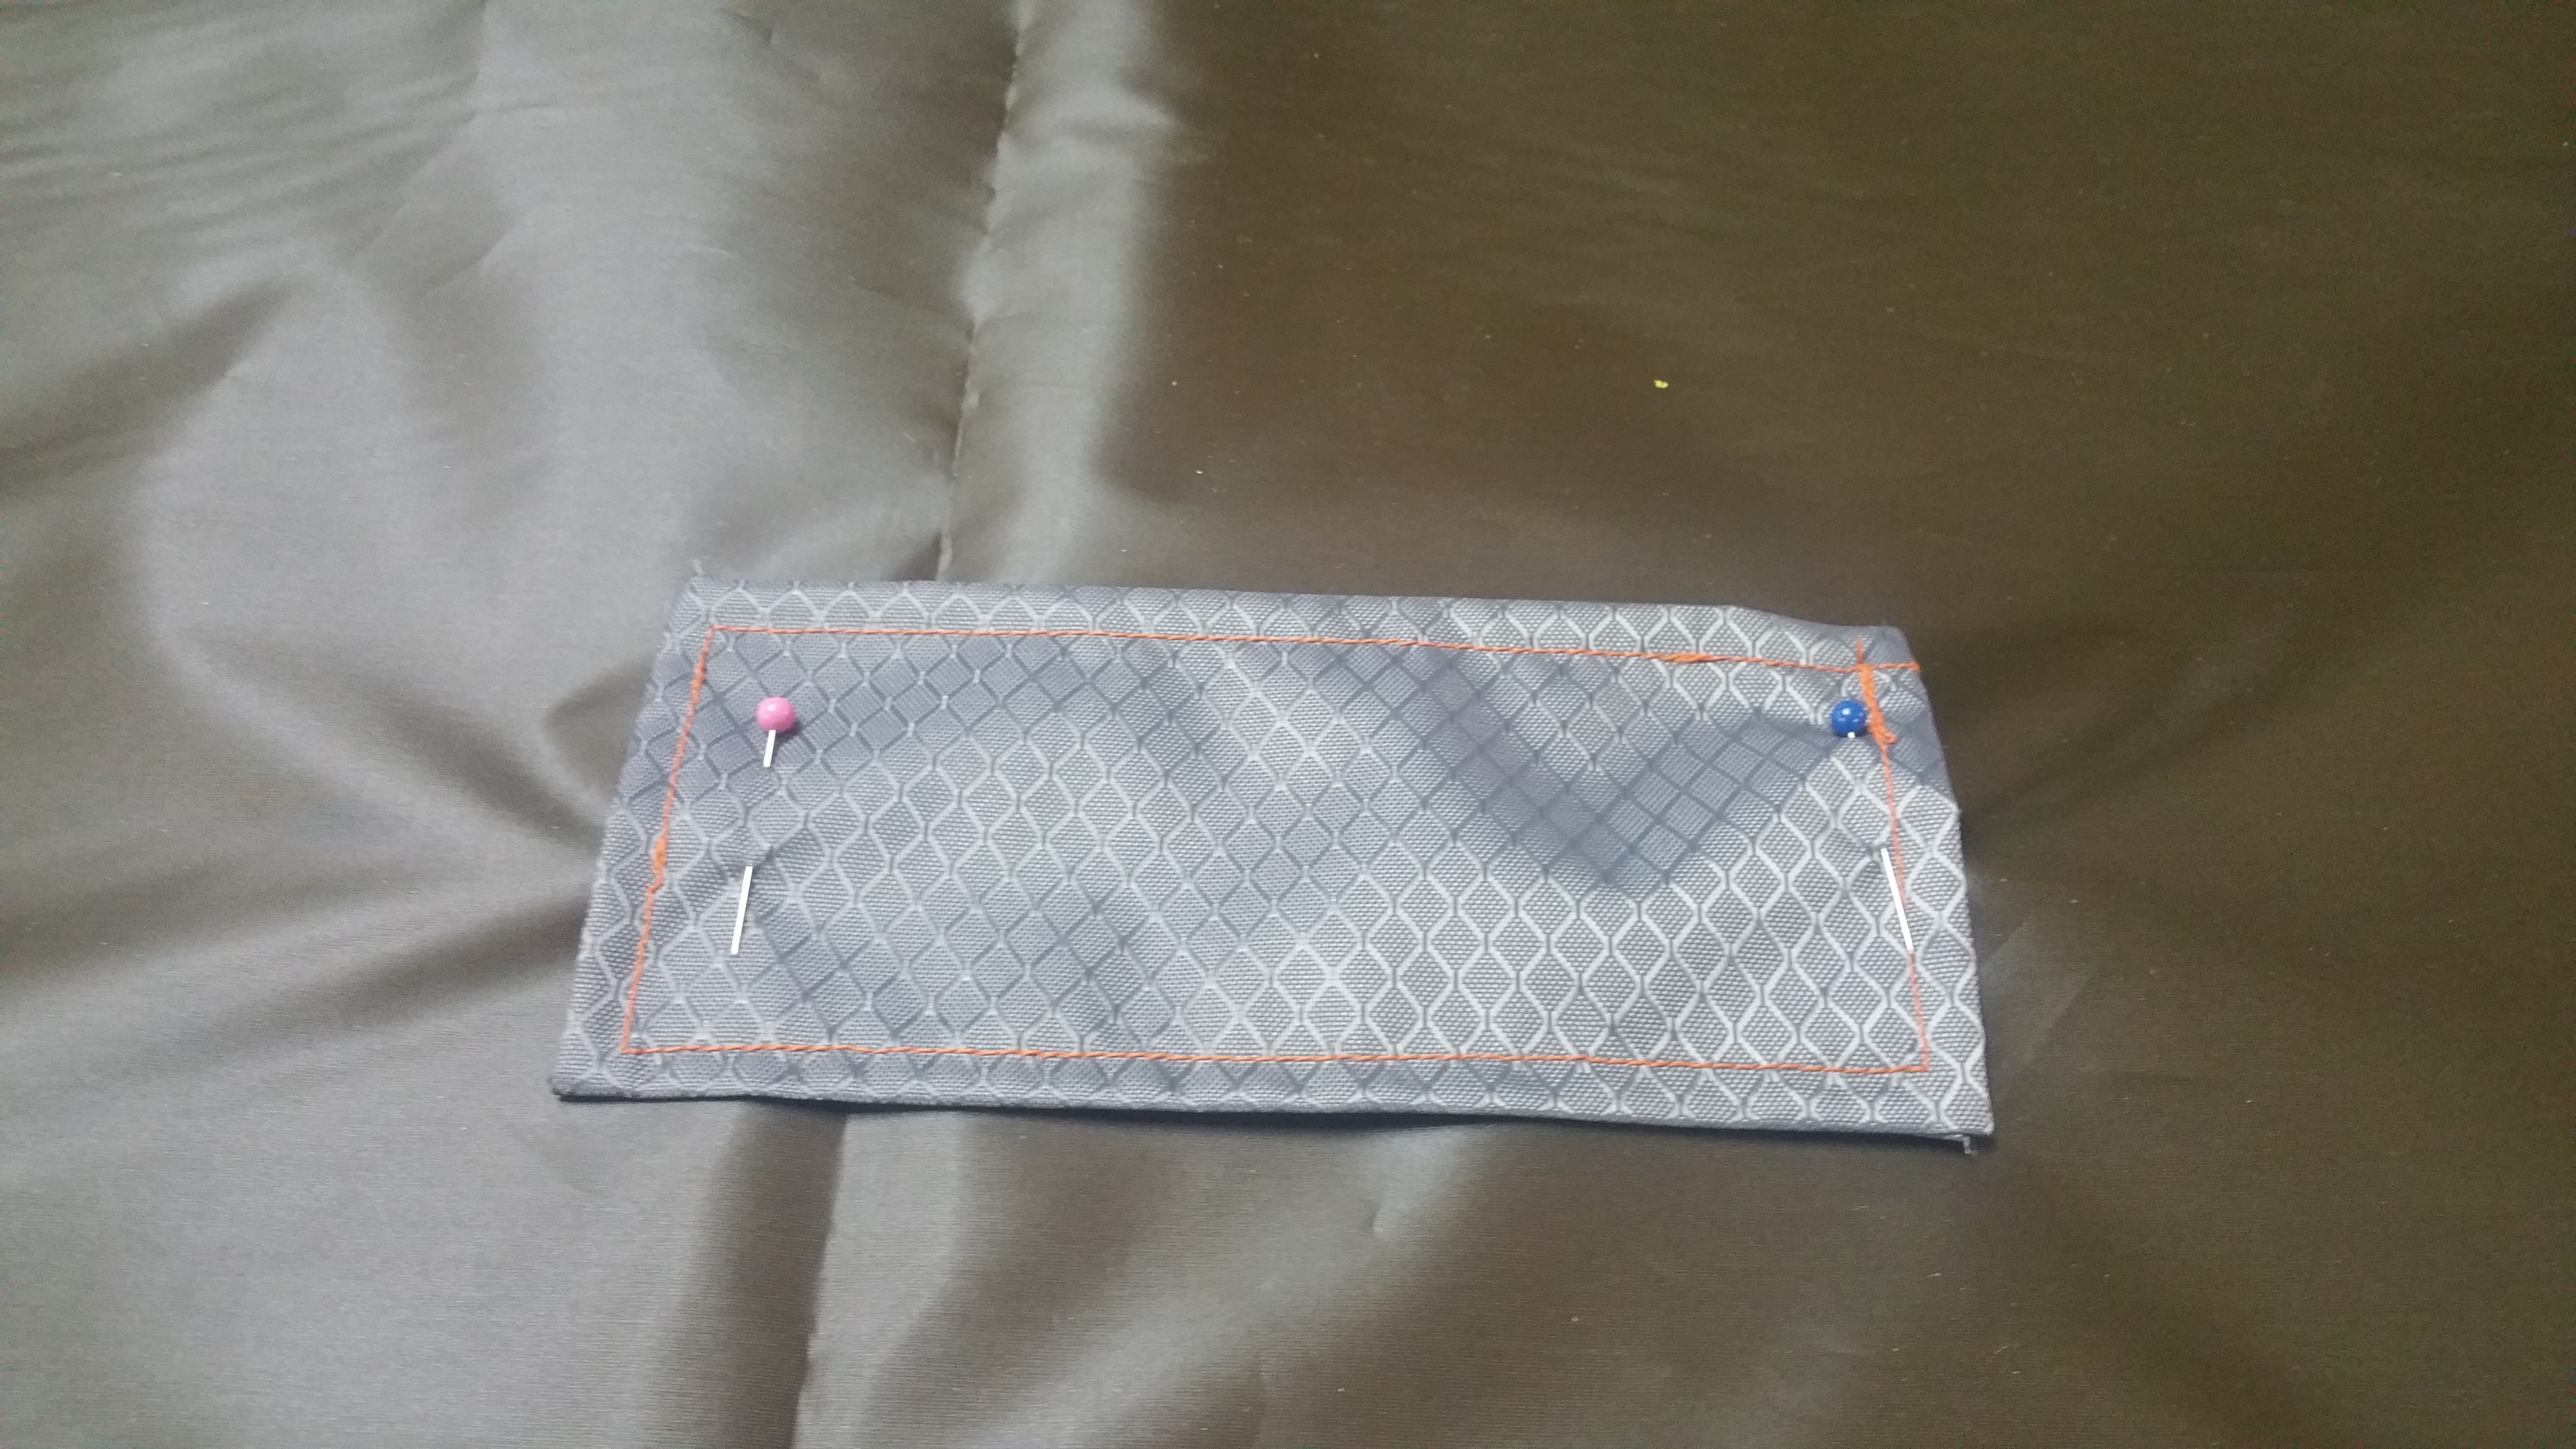
Before we sew both tarp sides together we’re going to add the side panel pull outs. It’s easier to do them now so you have less fabric to move through the sewing machine. To position the side panel pulls you need to measure in from the top corner of your tarp 36 inches (if you want the pull outs to line up with a bridge hammock I’d suggest around 29 inches instead of 36) and then down 25 inches.
Be sure you are measuring on the outside of your tarp (opposite side of the fabric from your triangles). The triangles should be on the inside of your tarp and the rectangles on the outside. The top corner of your reinforcement rectangle should be at this point. Pin it on and repeat this step for the other 4 pieces.
Step 11
Now it’s time to sew the side panel pullouts on. This part can get a little tricky since there’s so much fabric to move around. Take your time and make sure that you don’t have any extra fabric folded underneath, otherwise you’ll be sewing a bunch of your tarp that doesn’t need sewn and have to seam rip it out.
To sew the panel on you’re just going to do a big boxed X pattern (refer to the image in step 9).
Step 12
Now you need 4 1/2 inches of grosgrain (remember to melt the ends so they don’t fray) for your D ring attachment on the side panel pulls. Center it in the middle of the reinforcement material and sew one side on with a small boxed X stitch.
Then add your D ring and sew on the other side of the grosgrain with another boxed X stitch. Repeat for the other 3 side panel pull outs.


Step 13
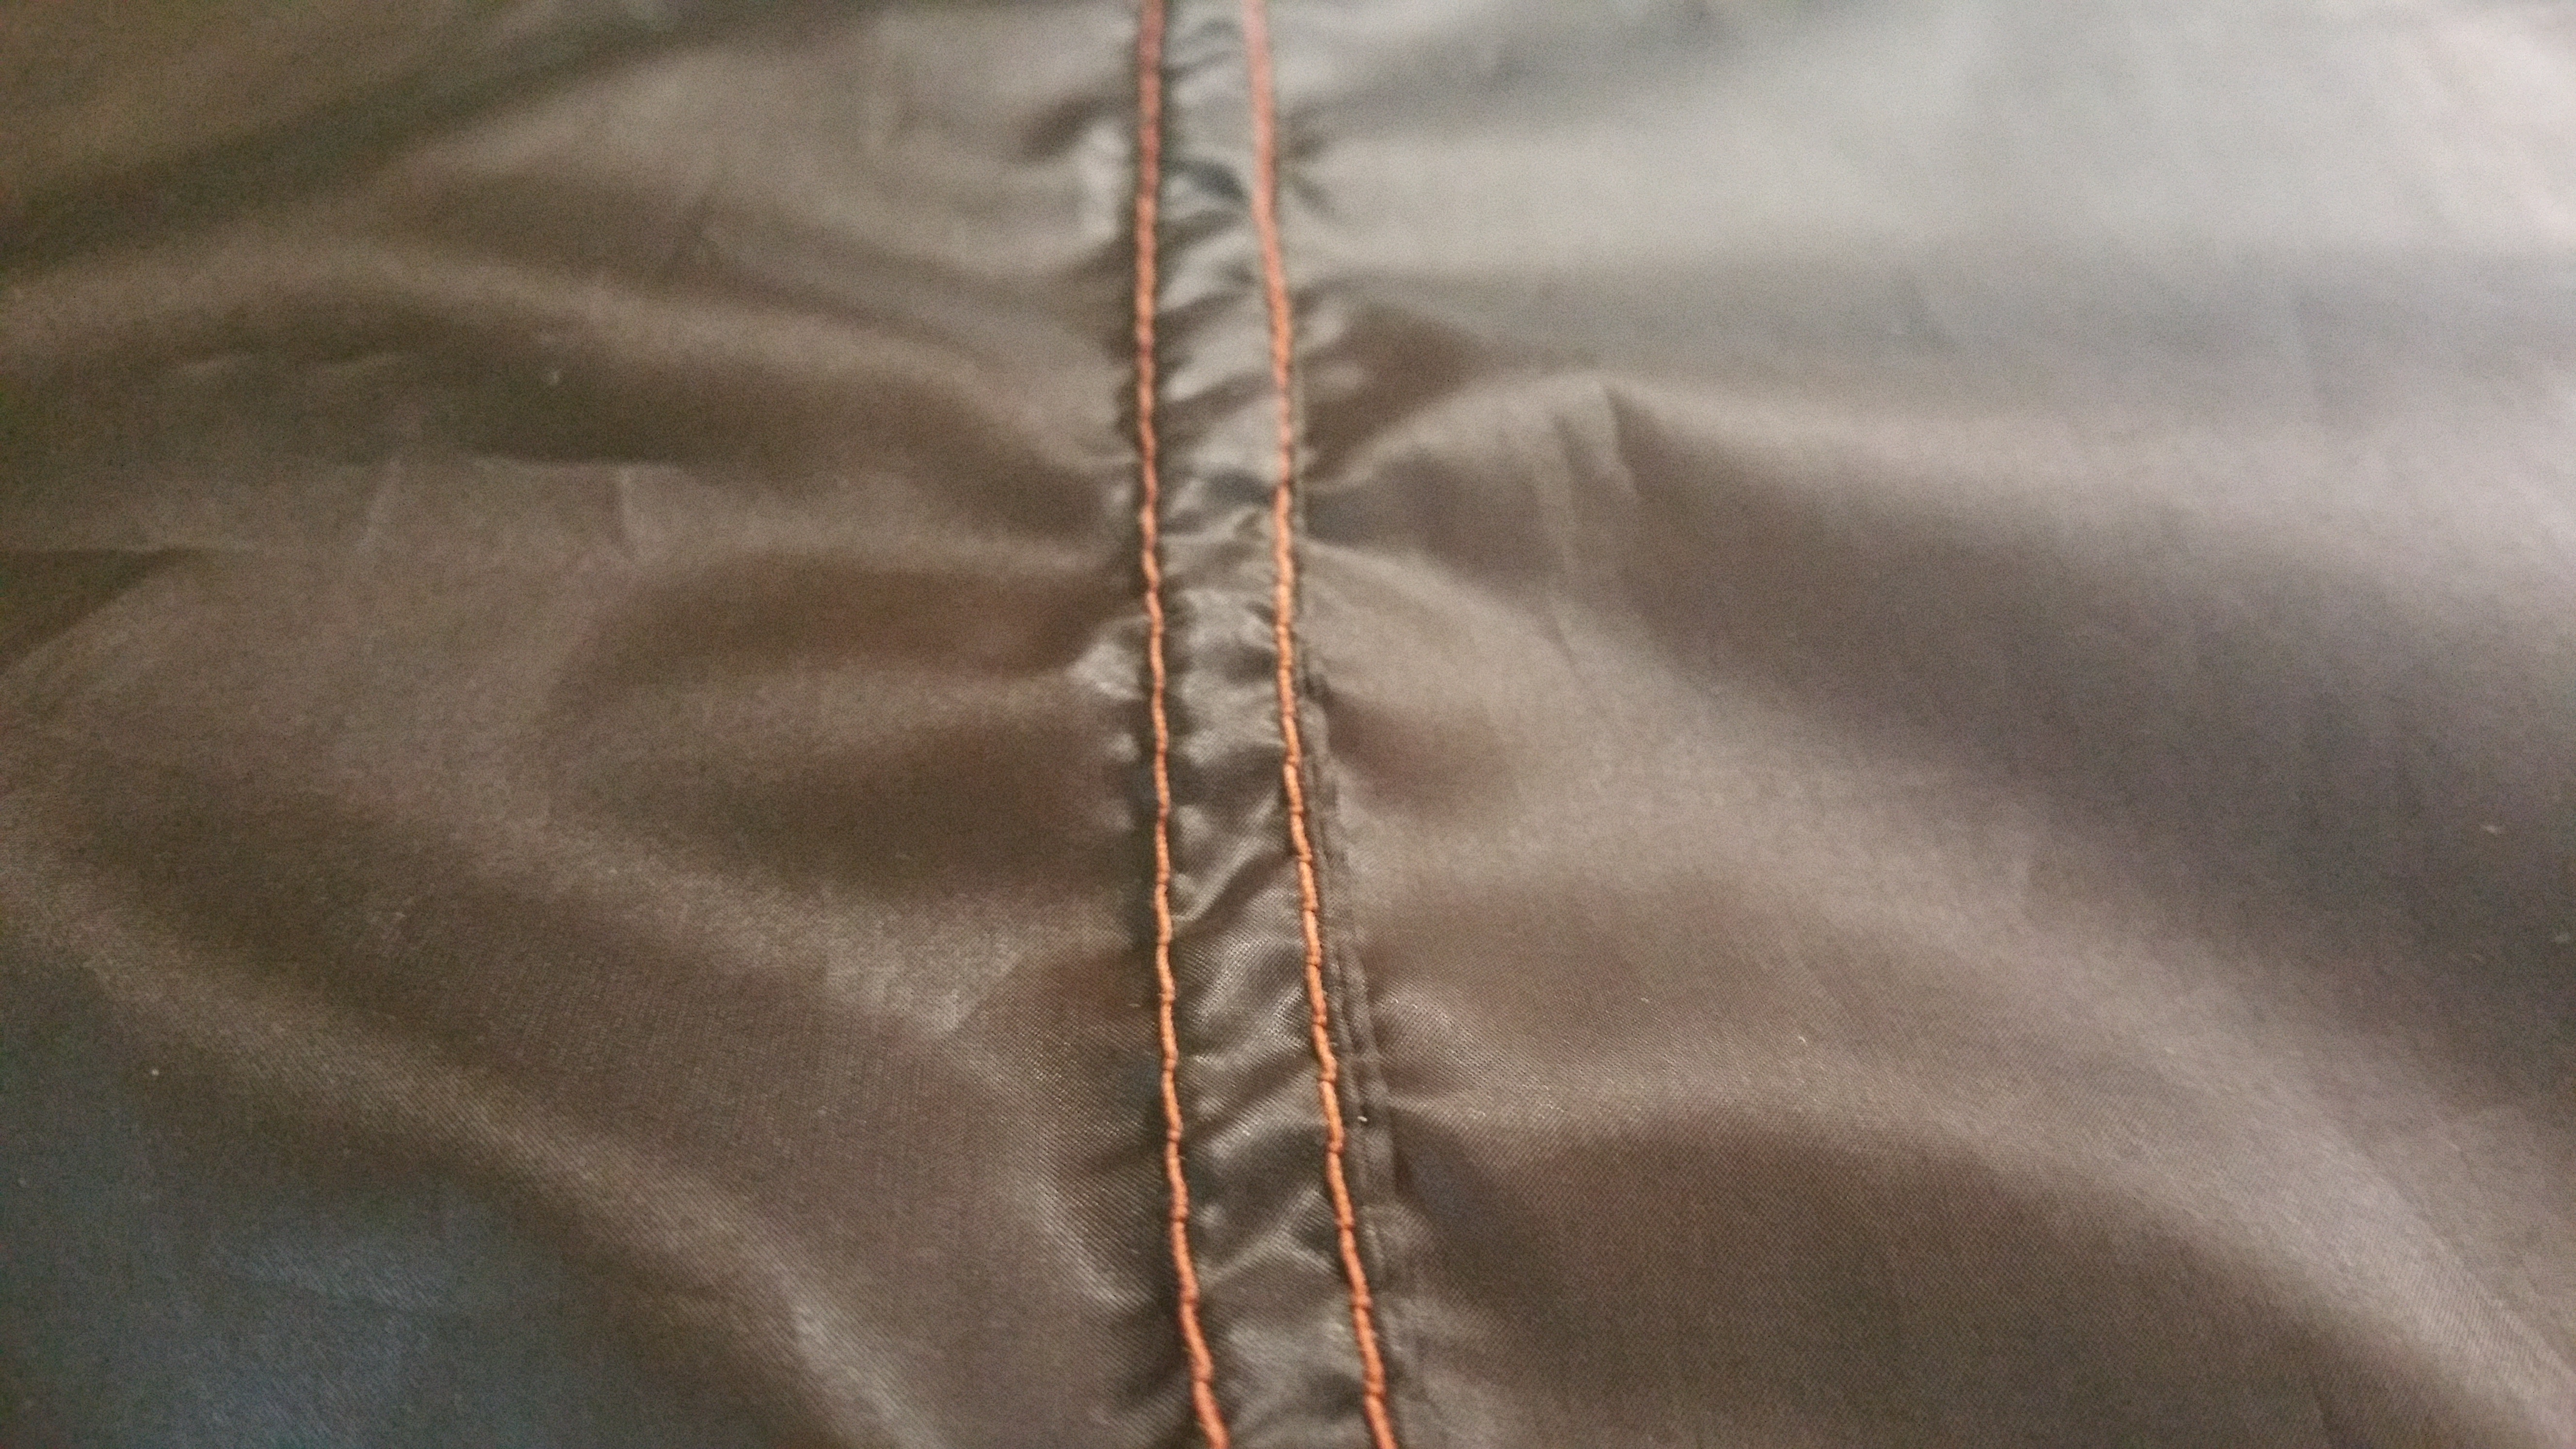
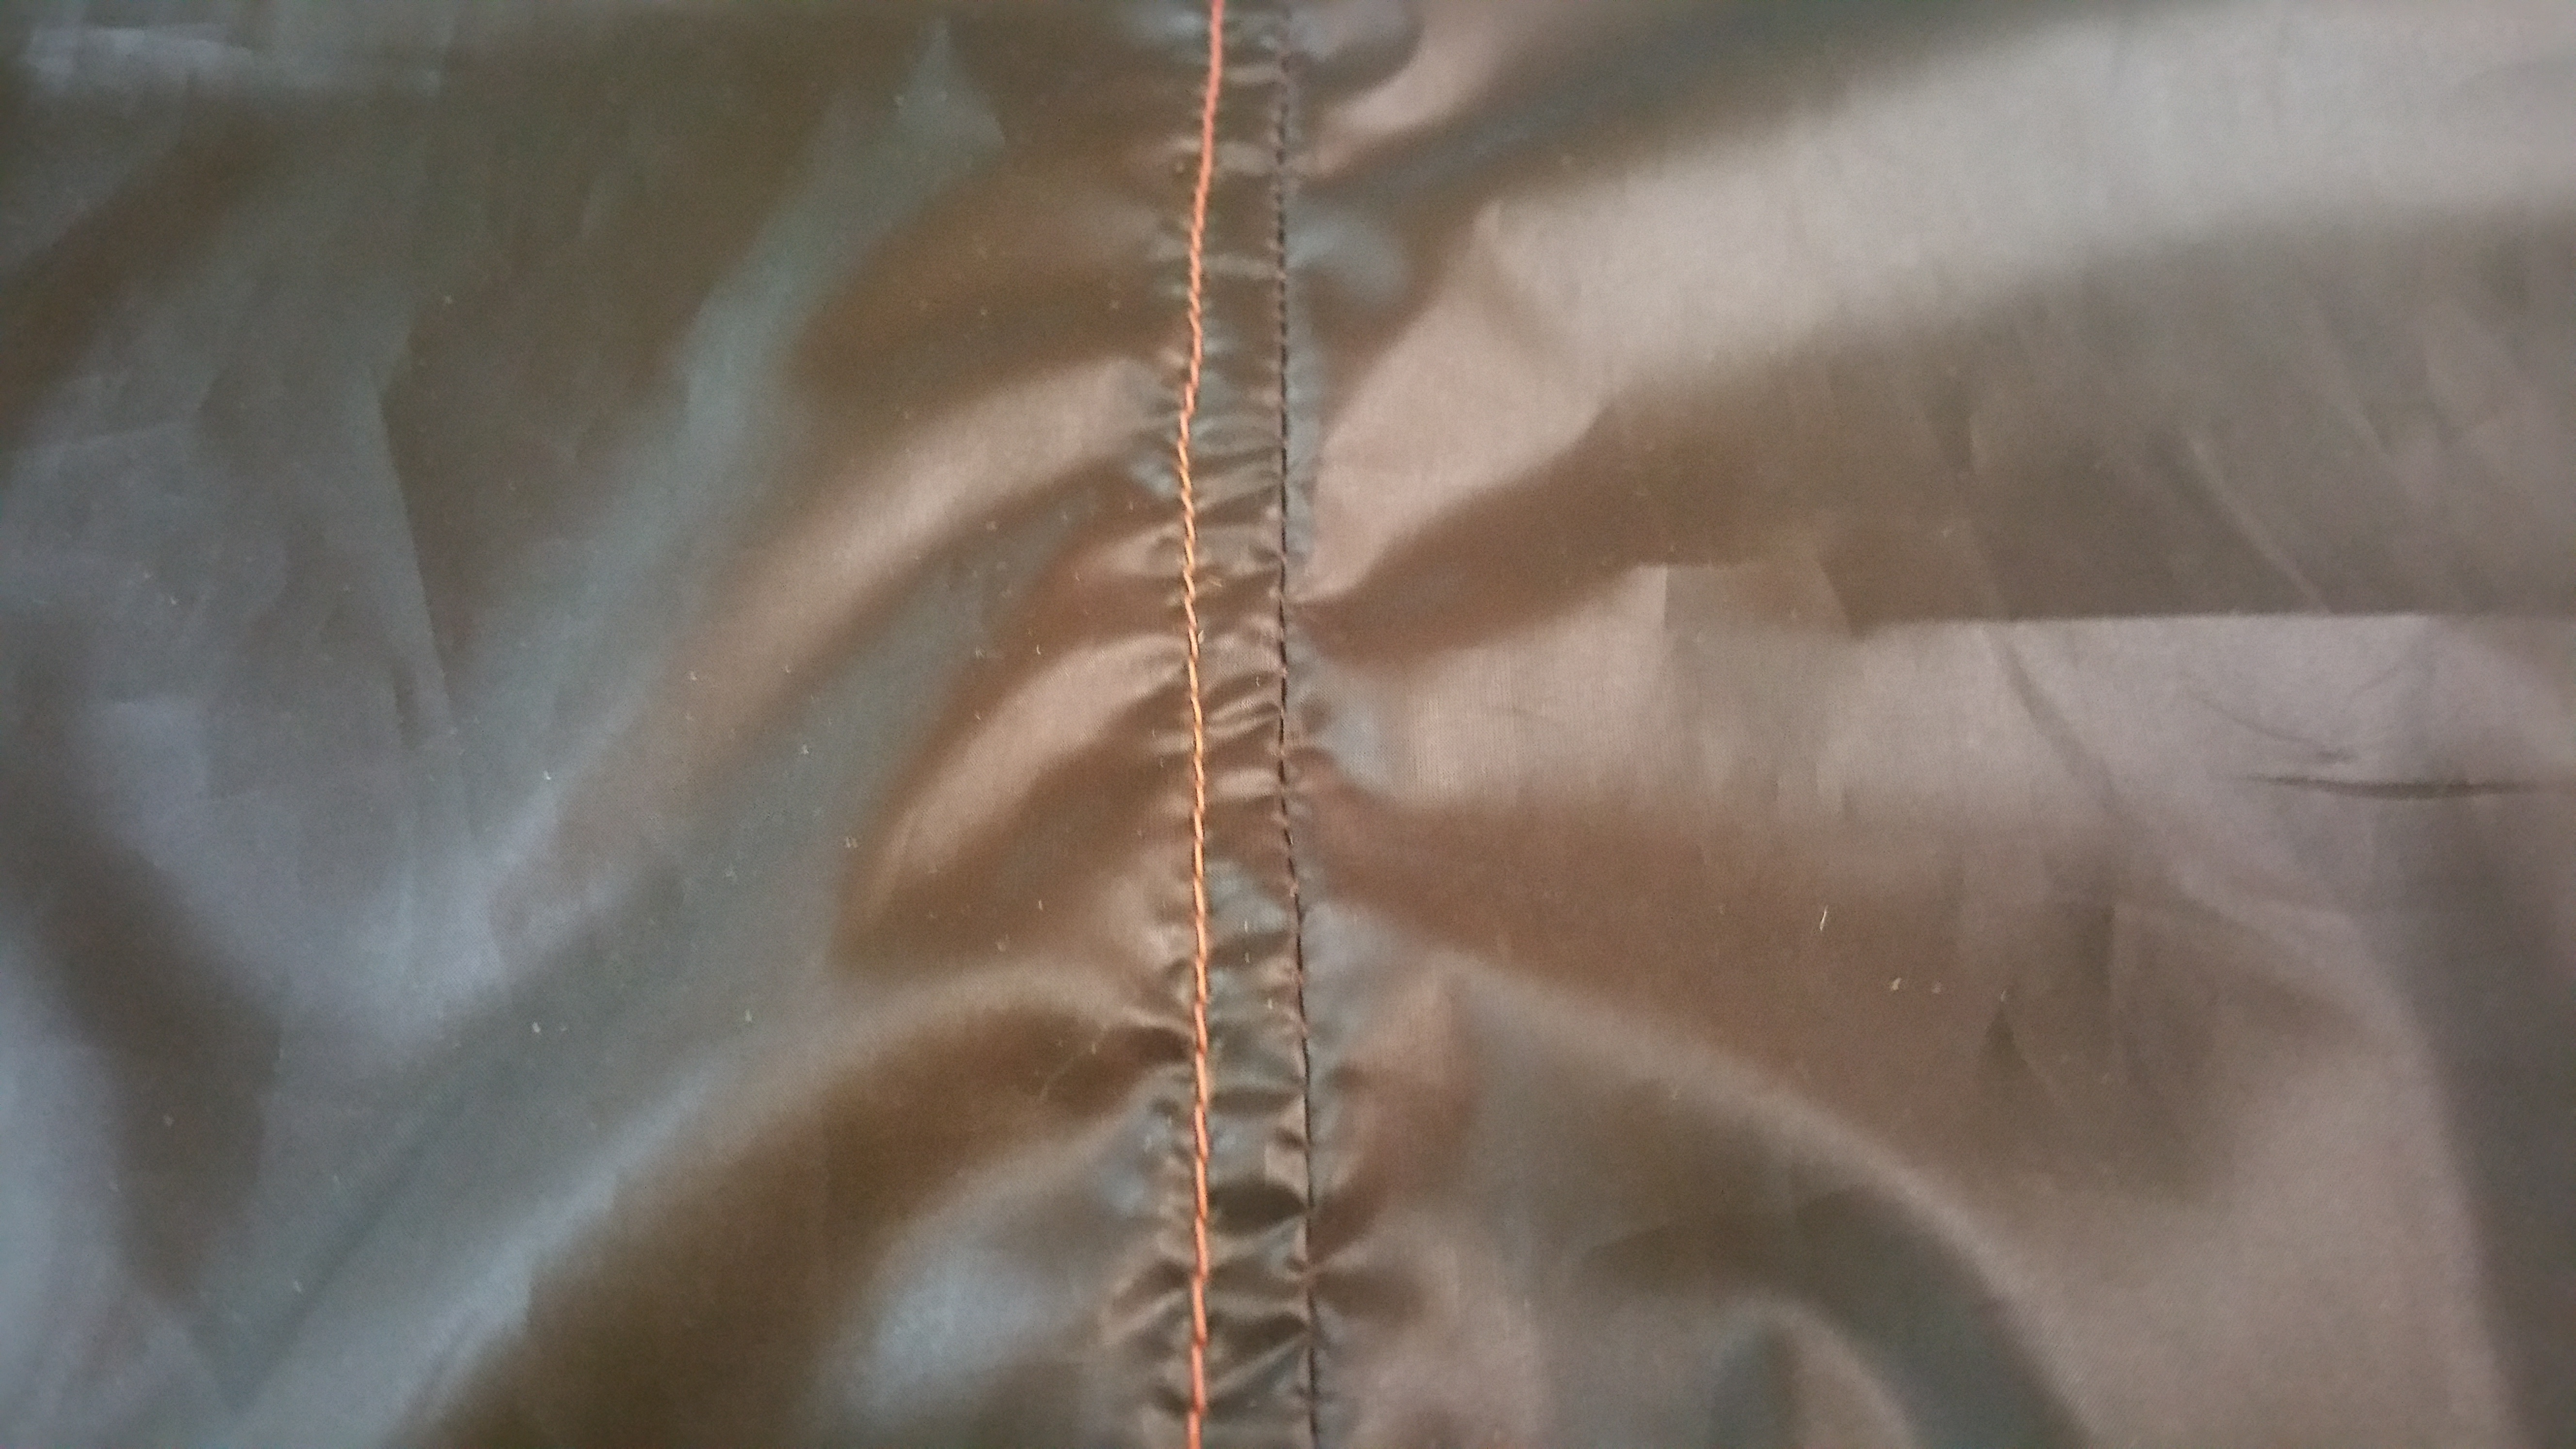
Now that both sides of the tarp have all the panels sewn on we’re going to attach both pieces to make our tarp. We’re going to do a flat seam in this tutorial but you can also join both sides together with grosgrain across the ridgeline if you would like.
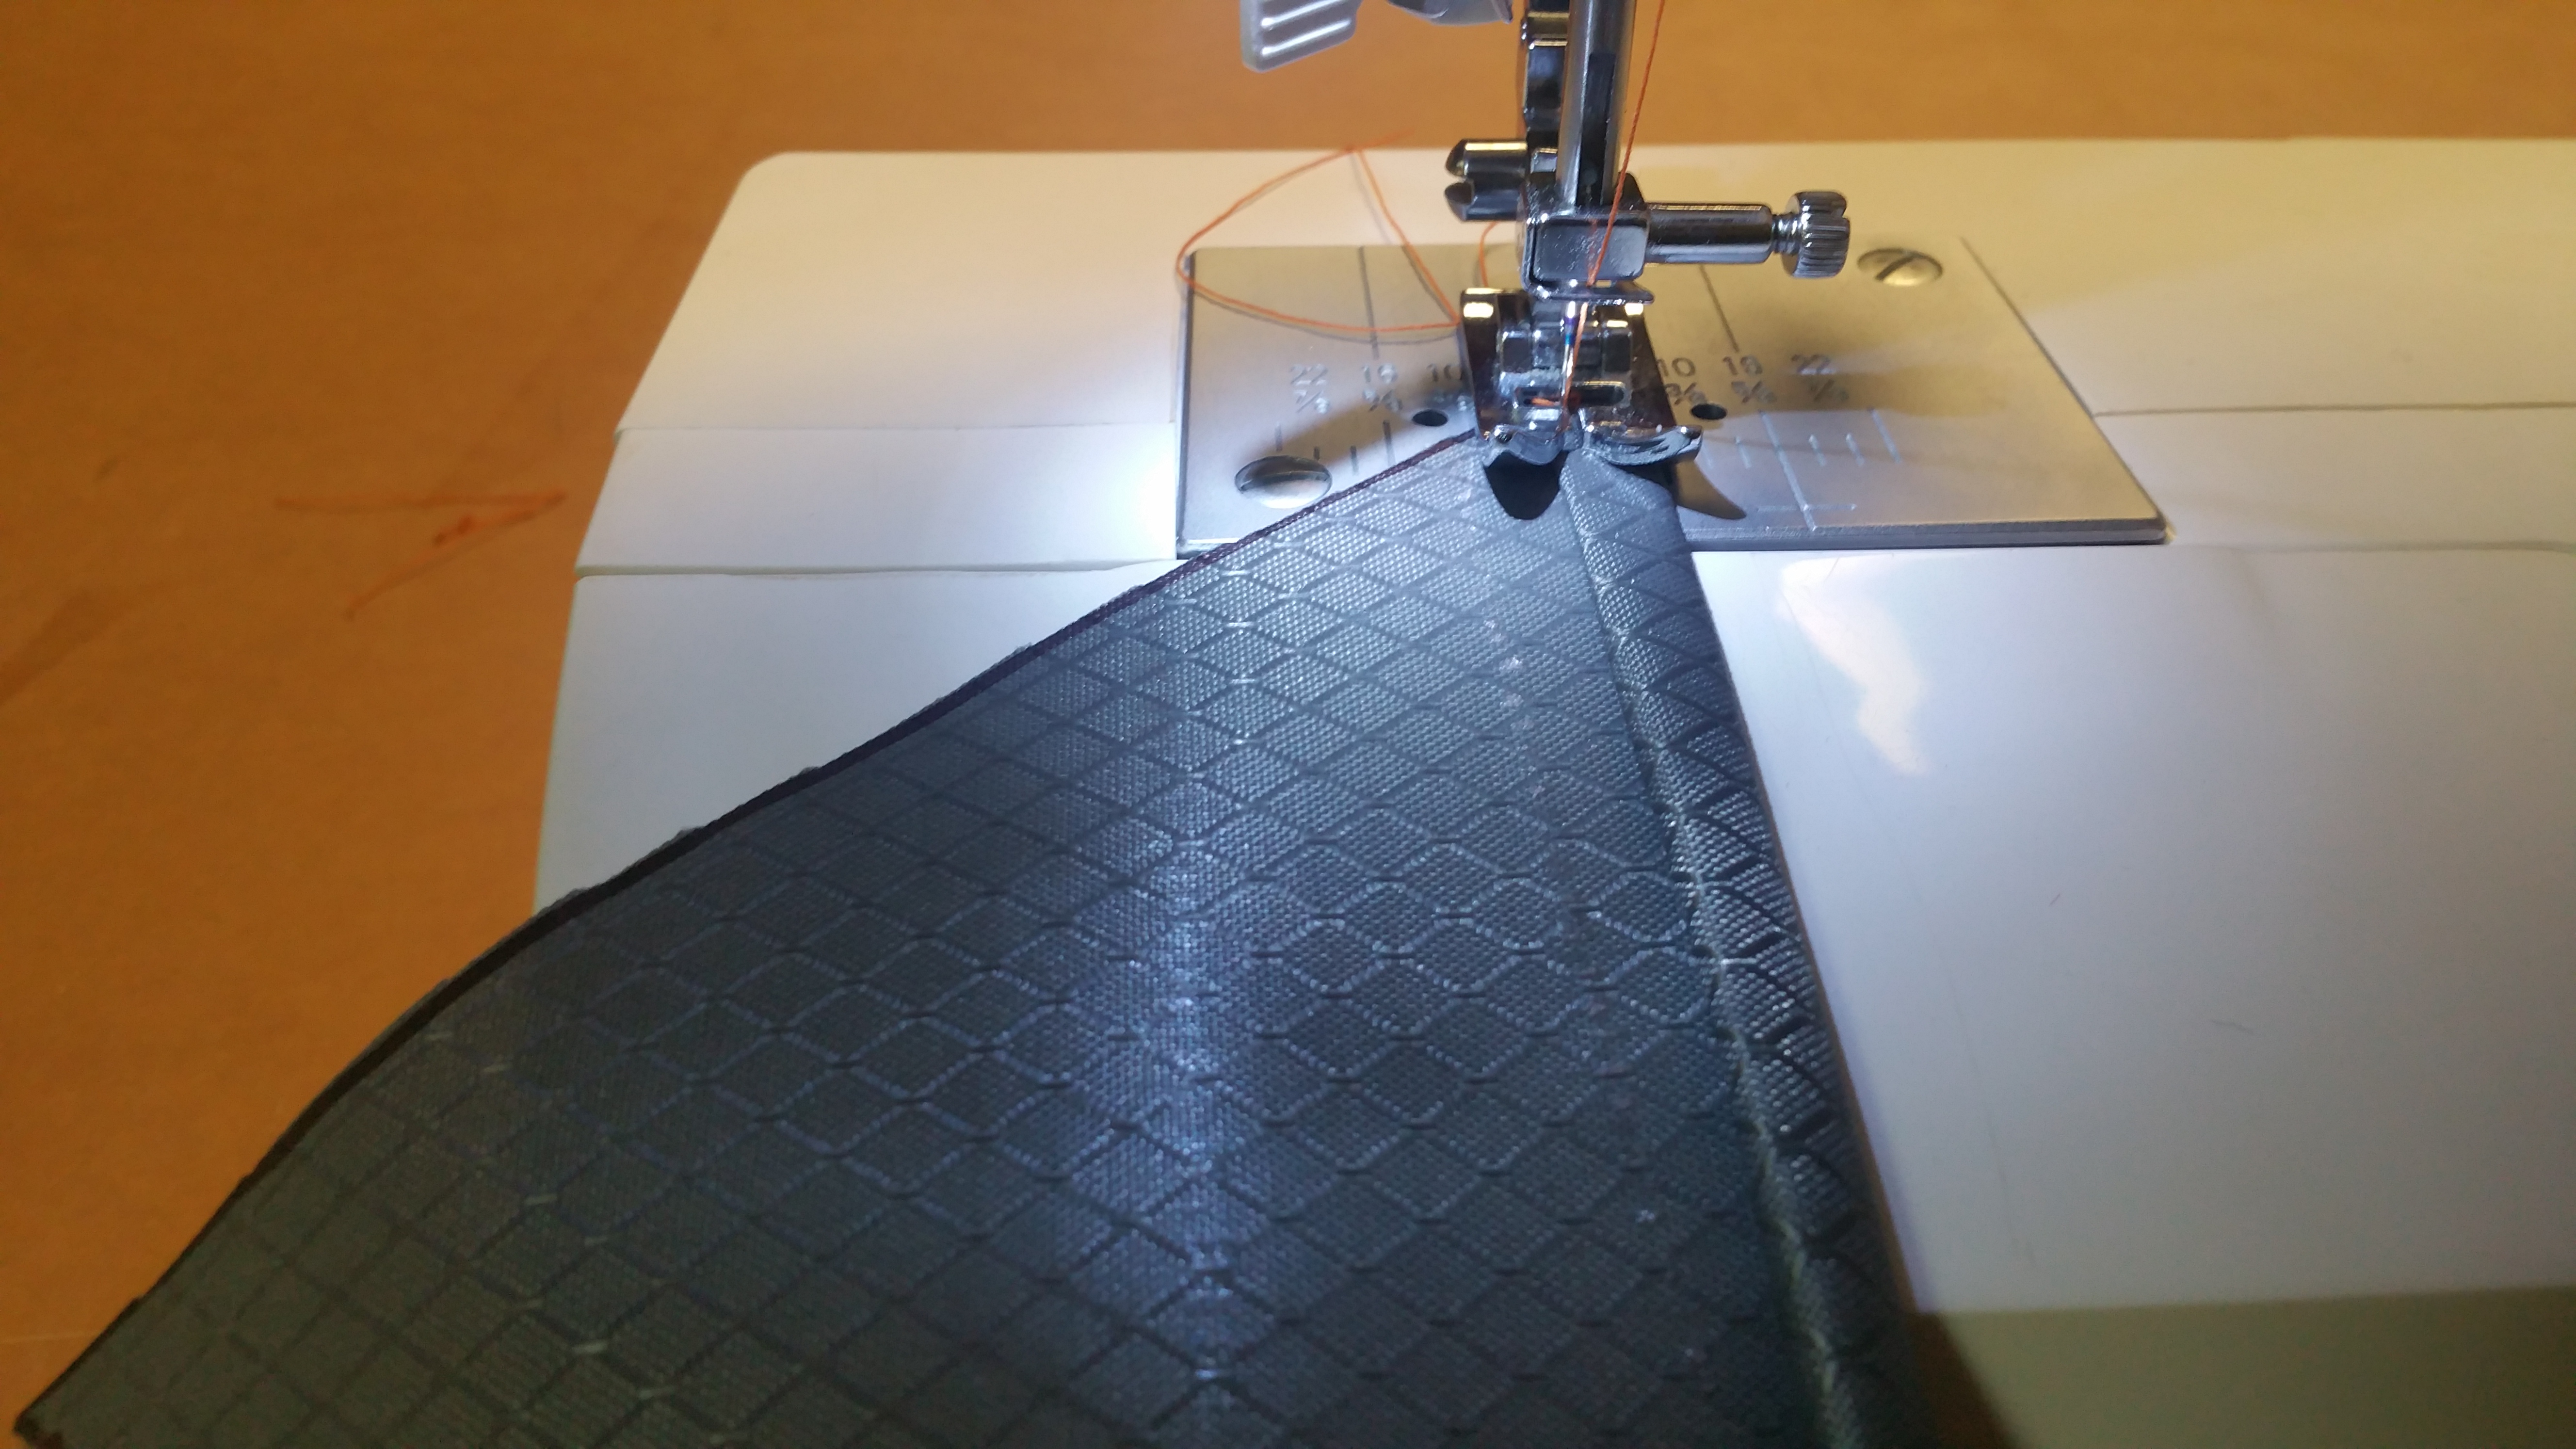
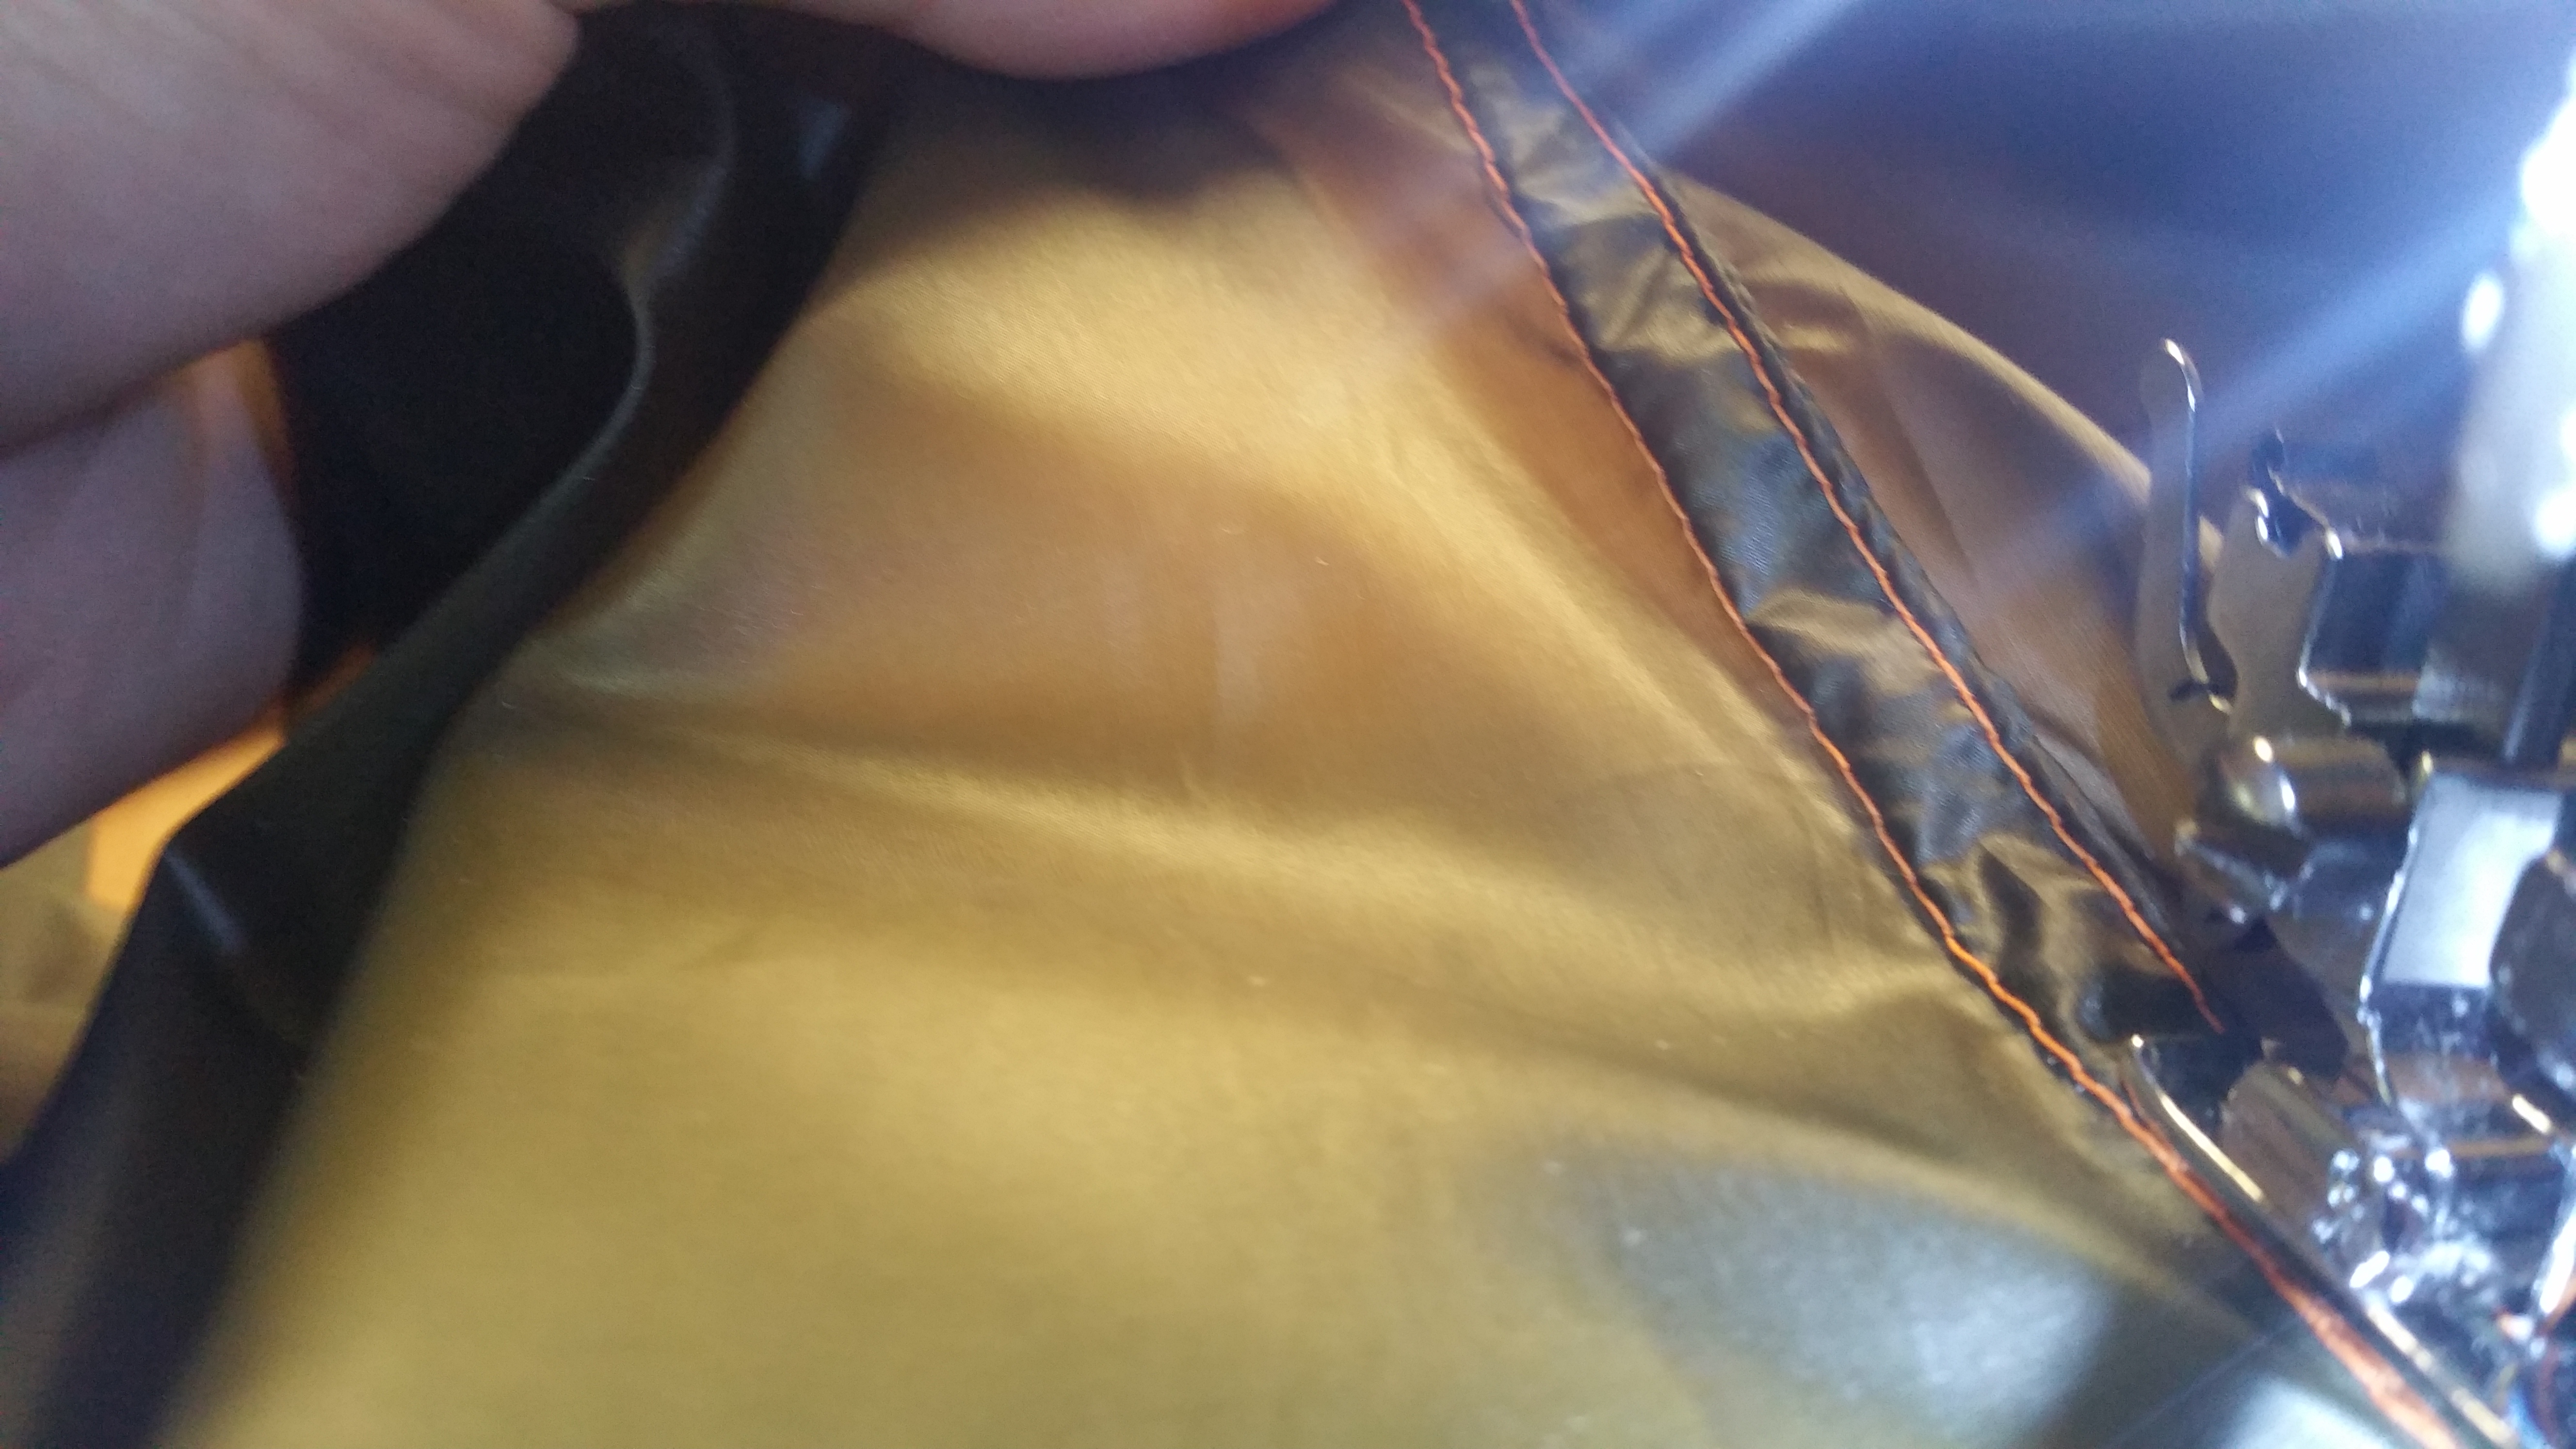
To do the flat seam place both pieces of the tarp together insides facing together. Sew both pieces together from one end to the other. See pictures to help.
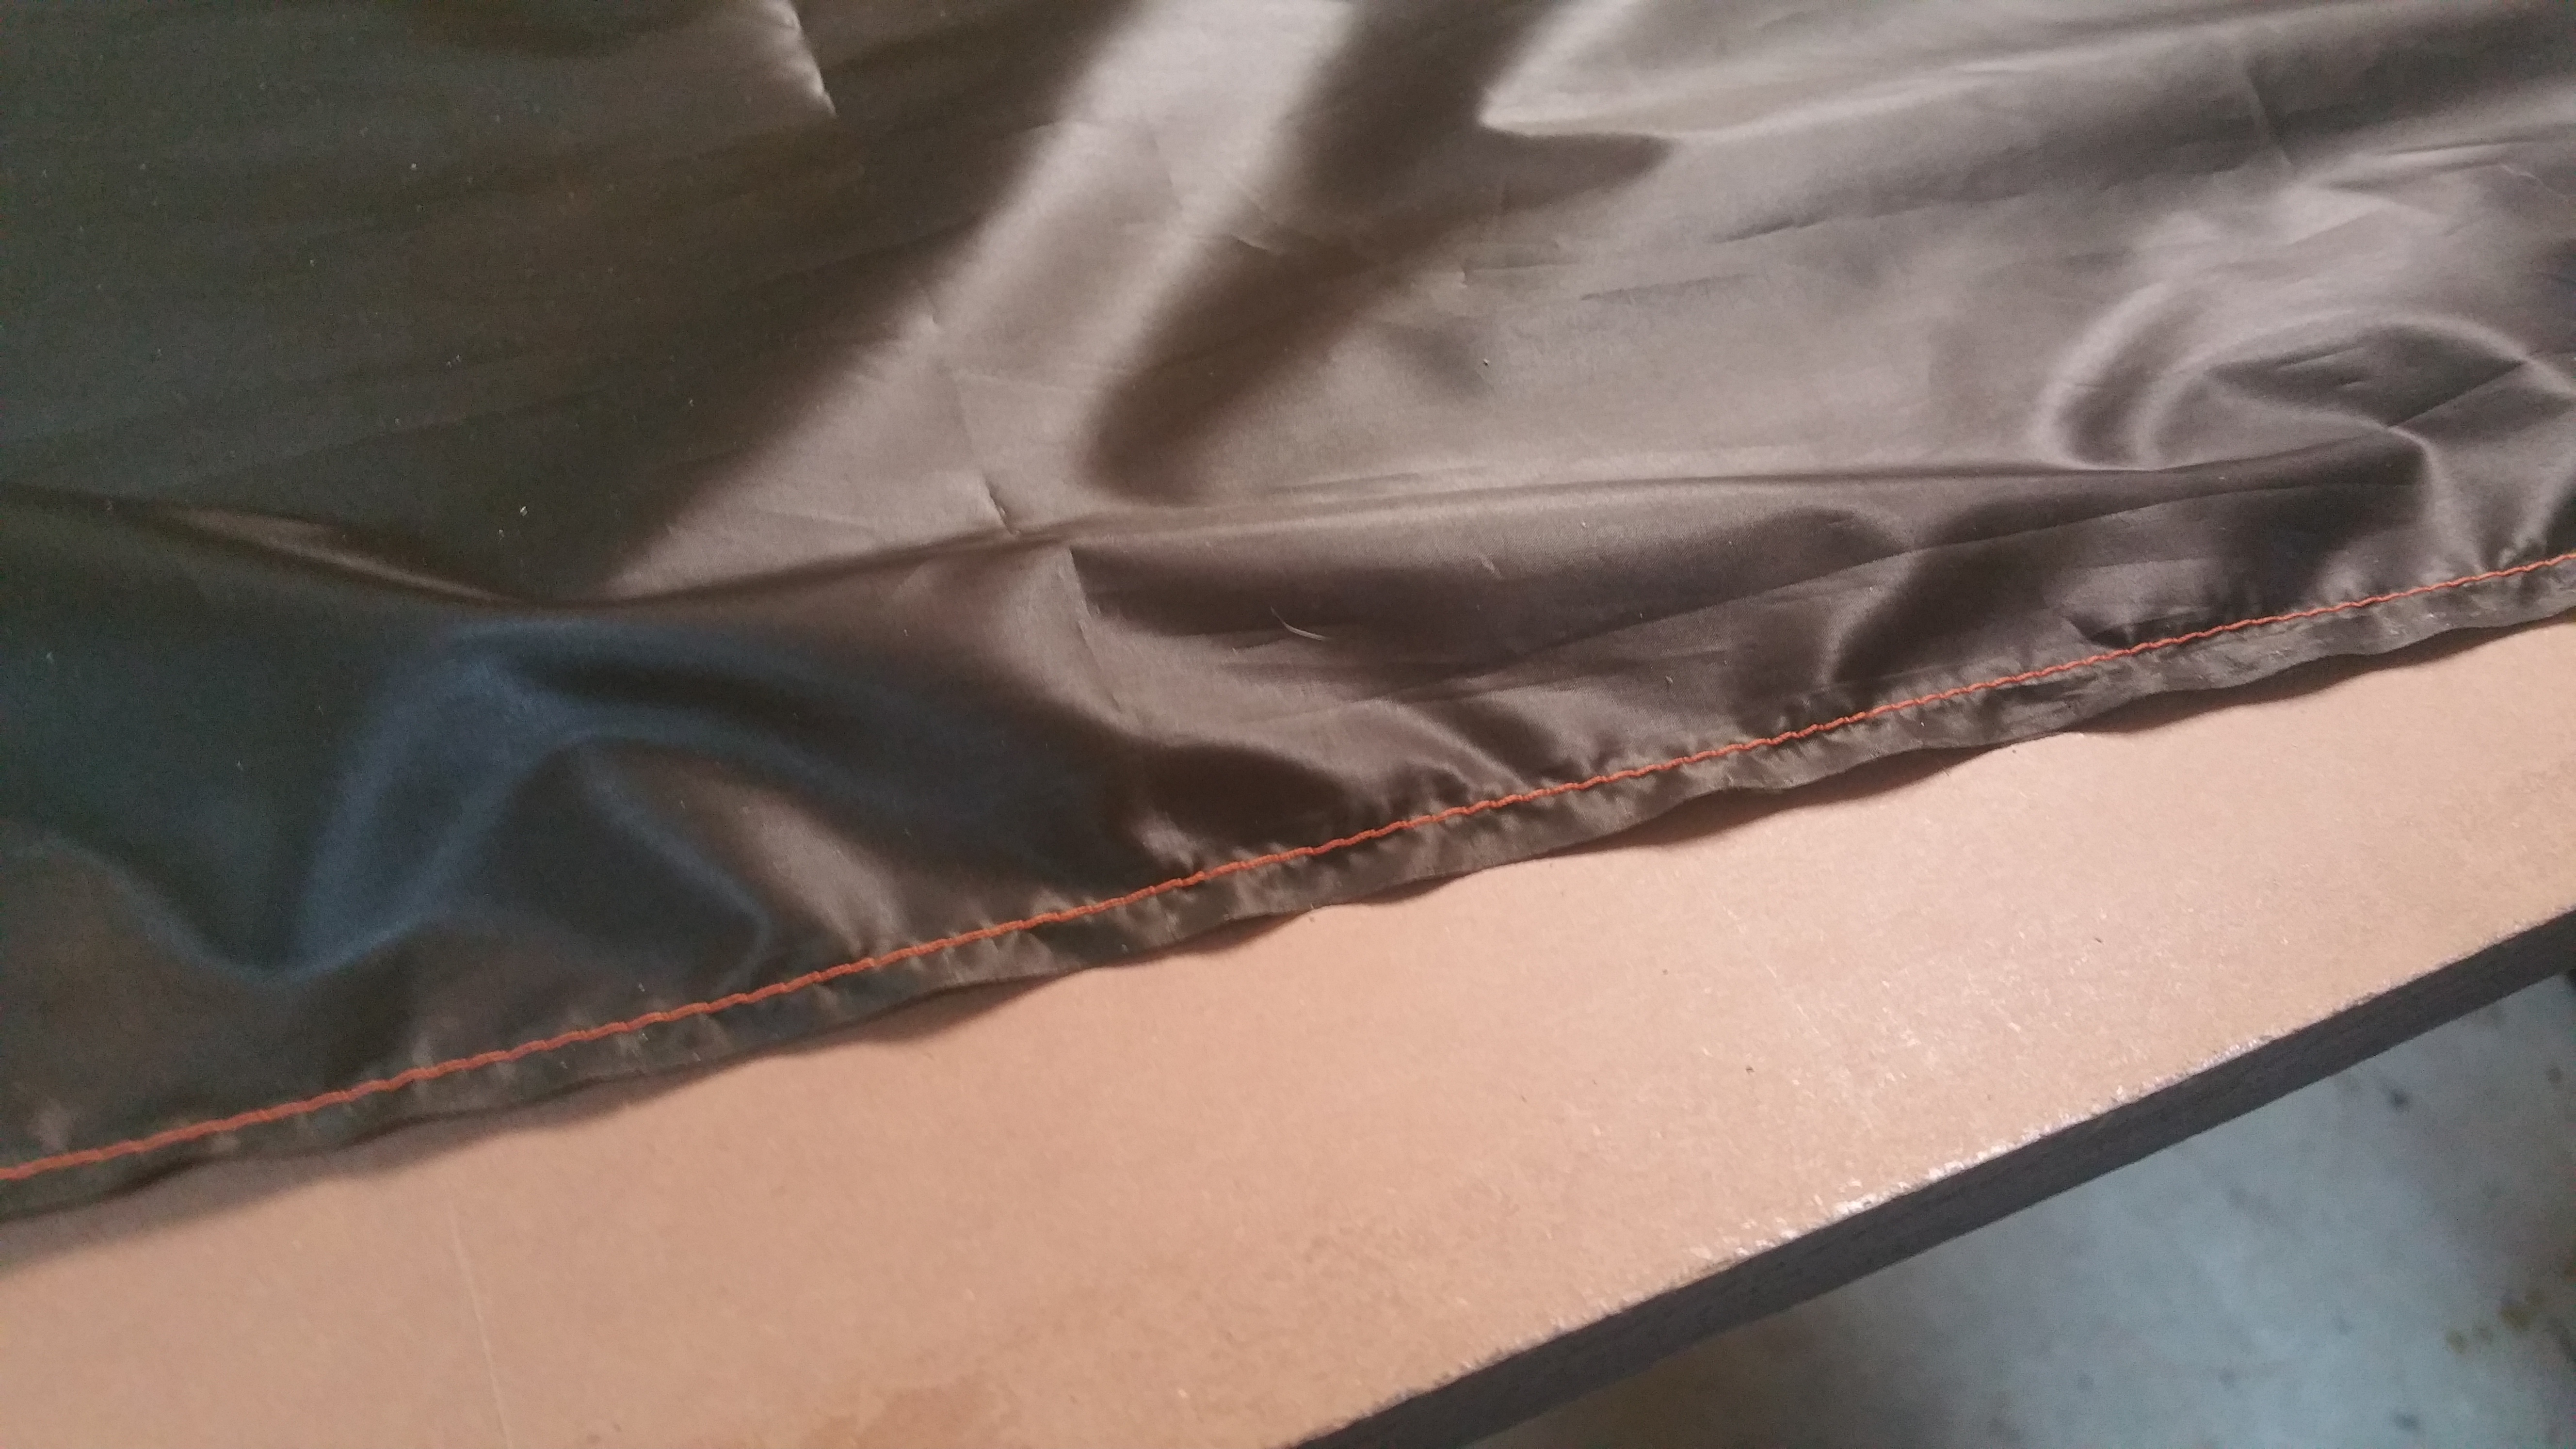
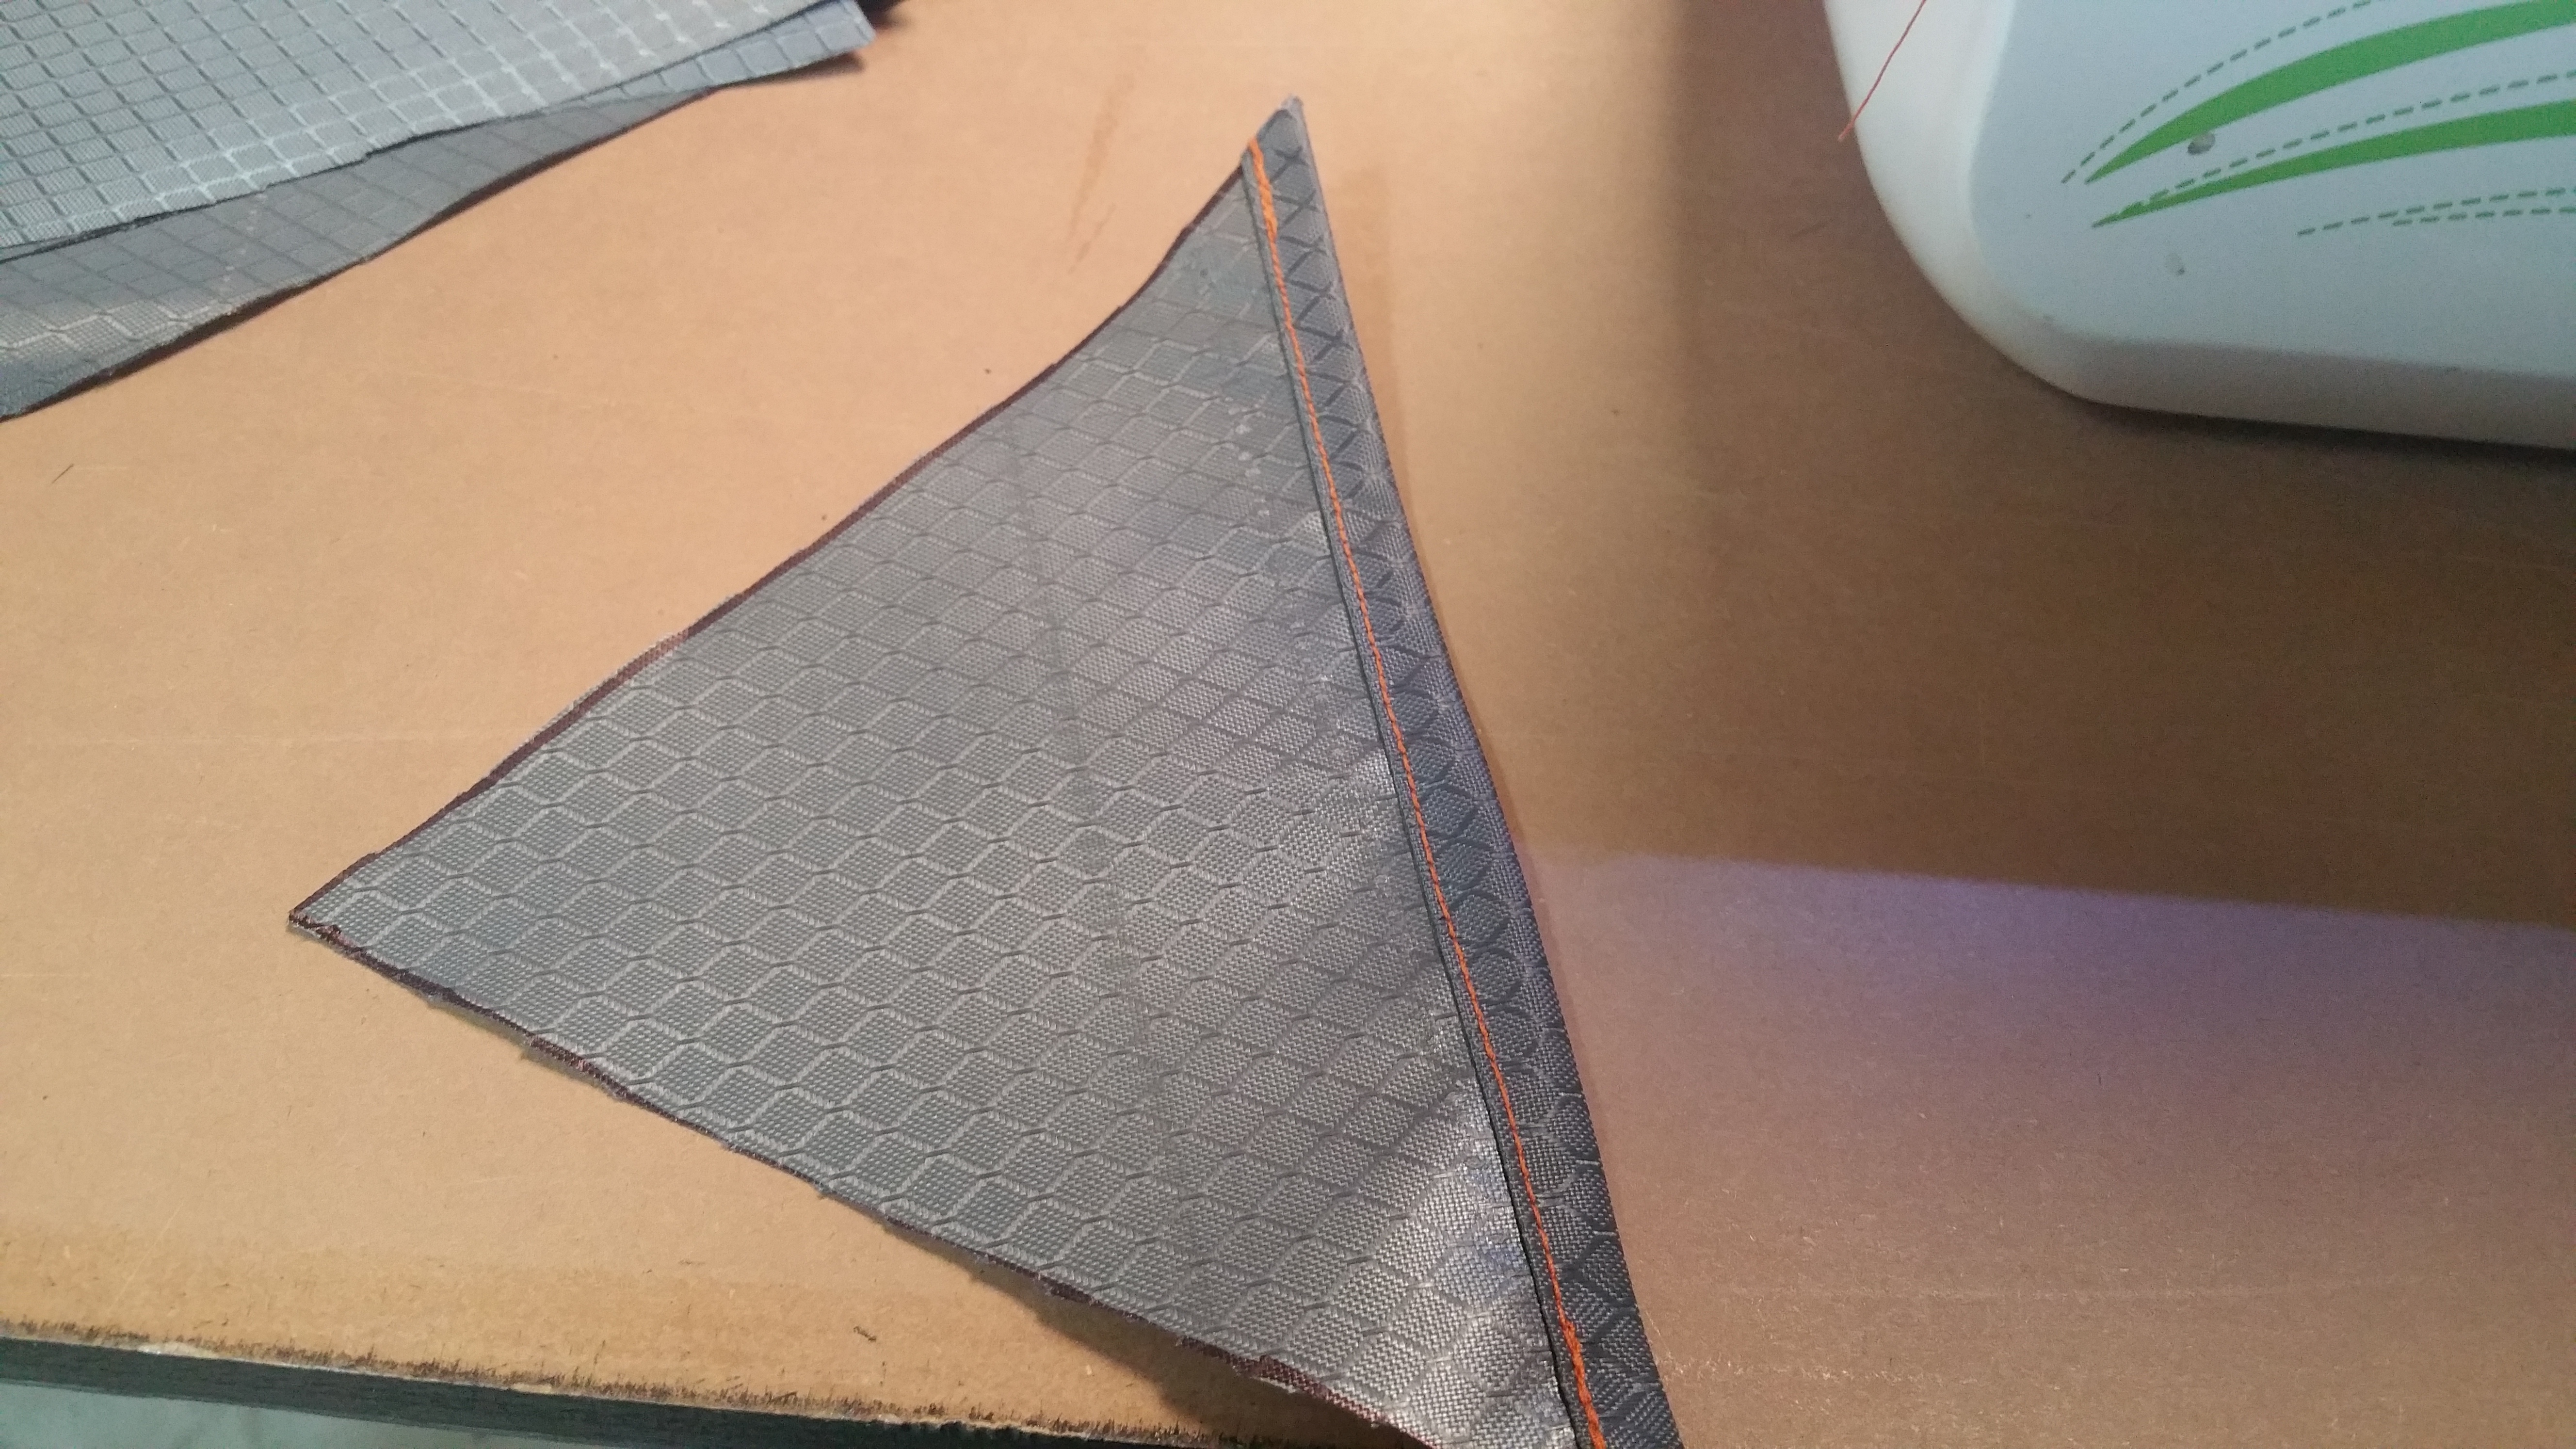
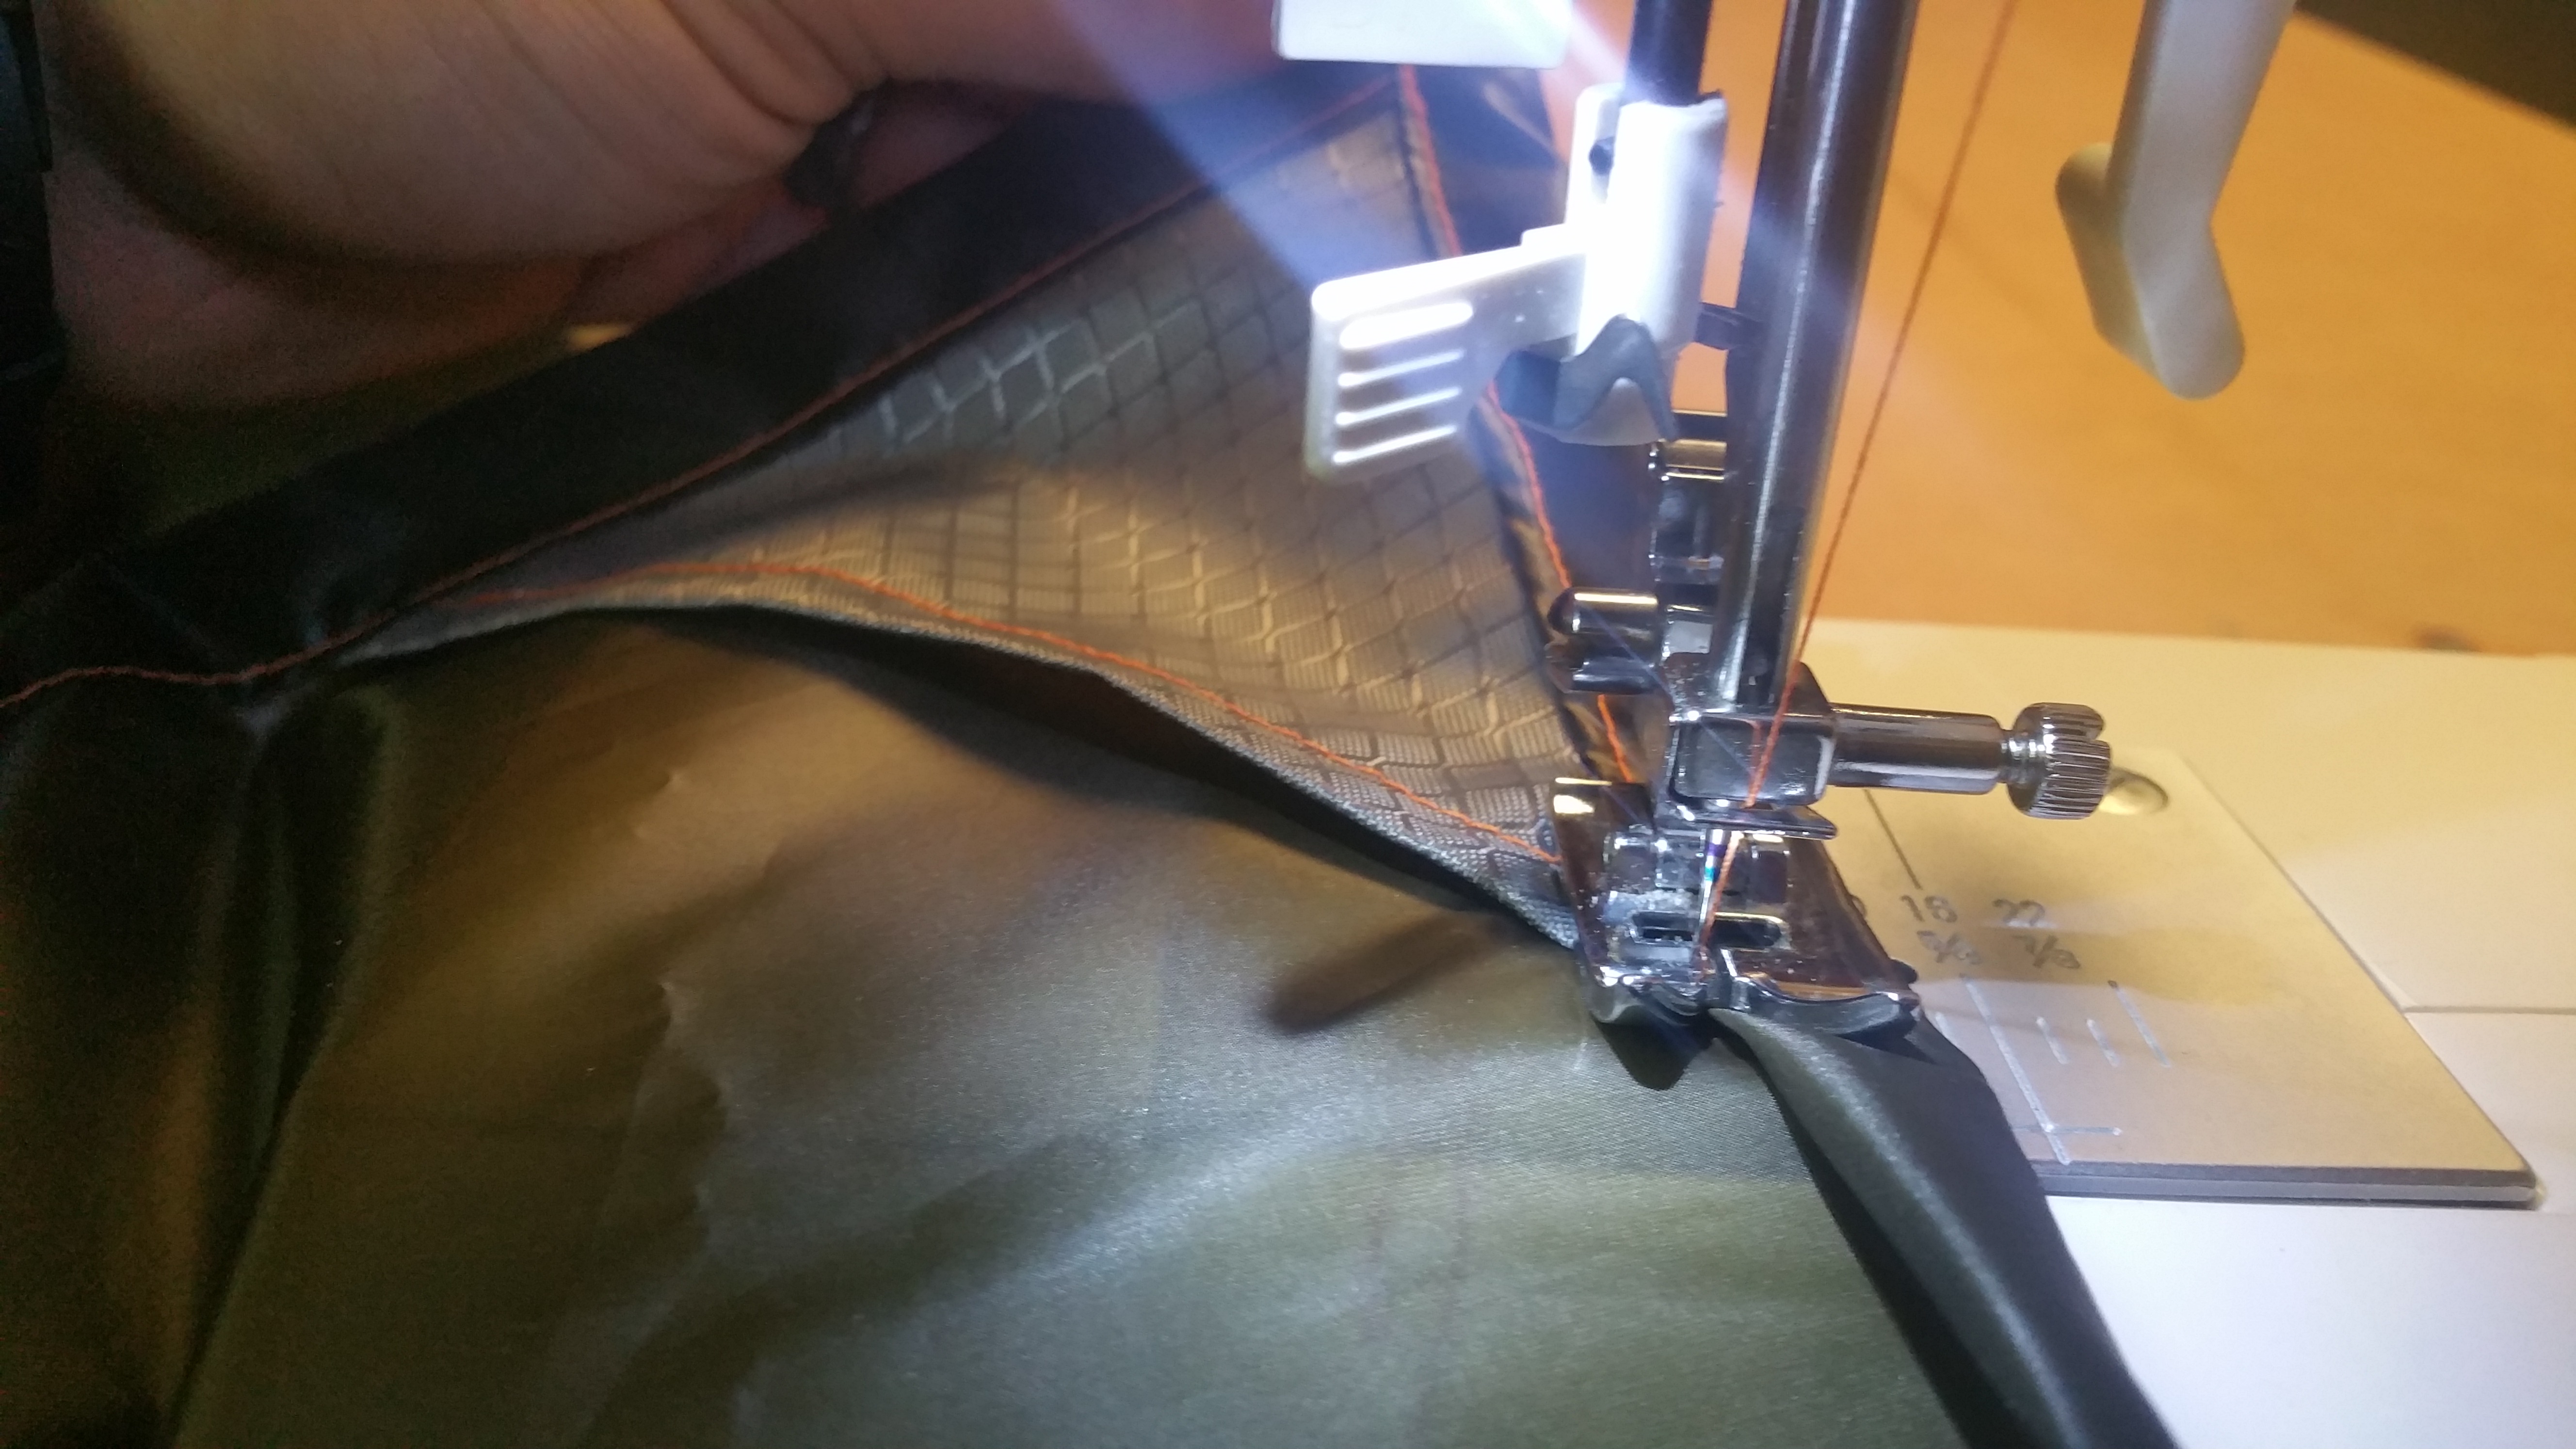
Now, fold your tarp inside out and sew another line from one end to the other. Be sure to sew far enough out that you cover up the sewn edge inside. Take your time and make sure to get this as straight/flat as possible.


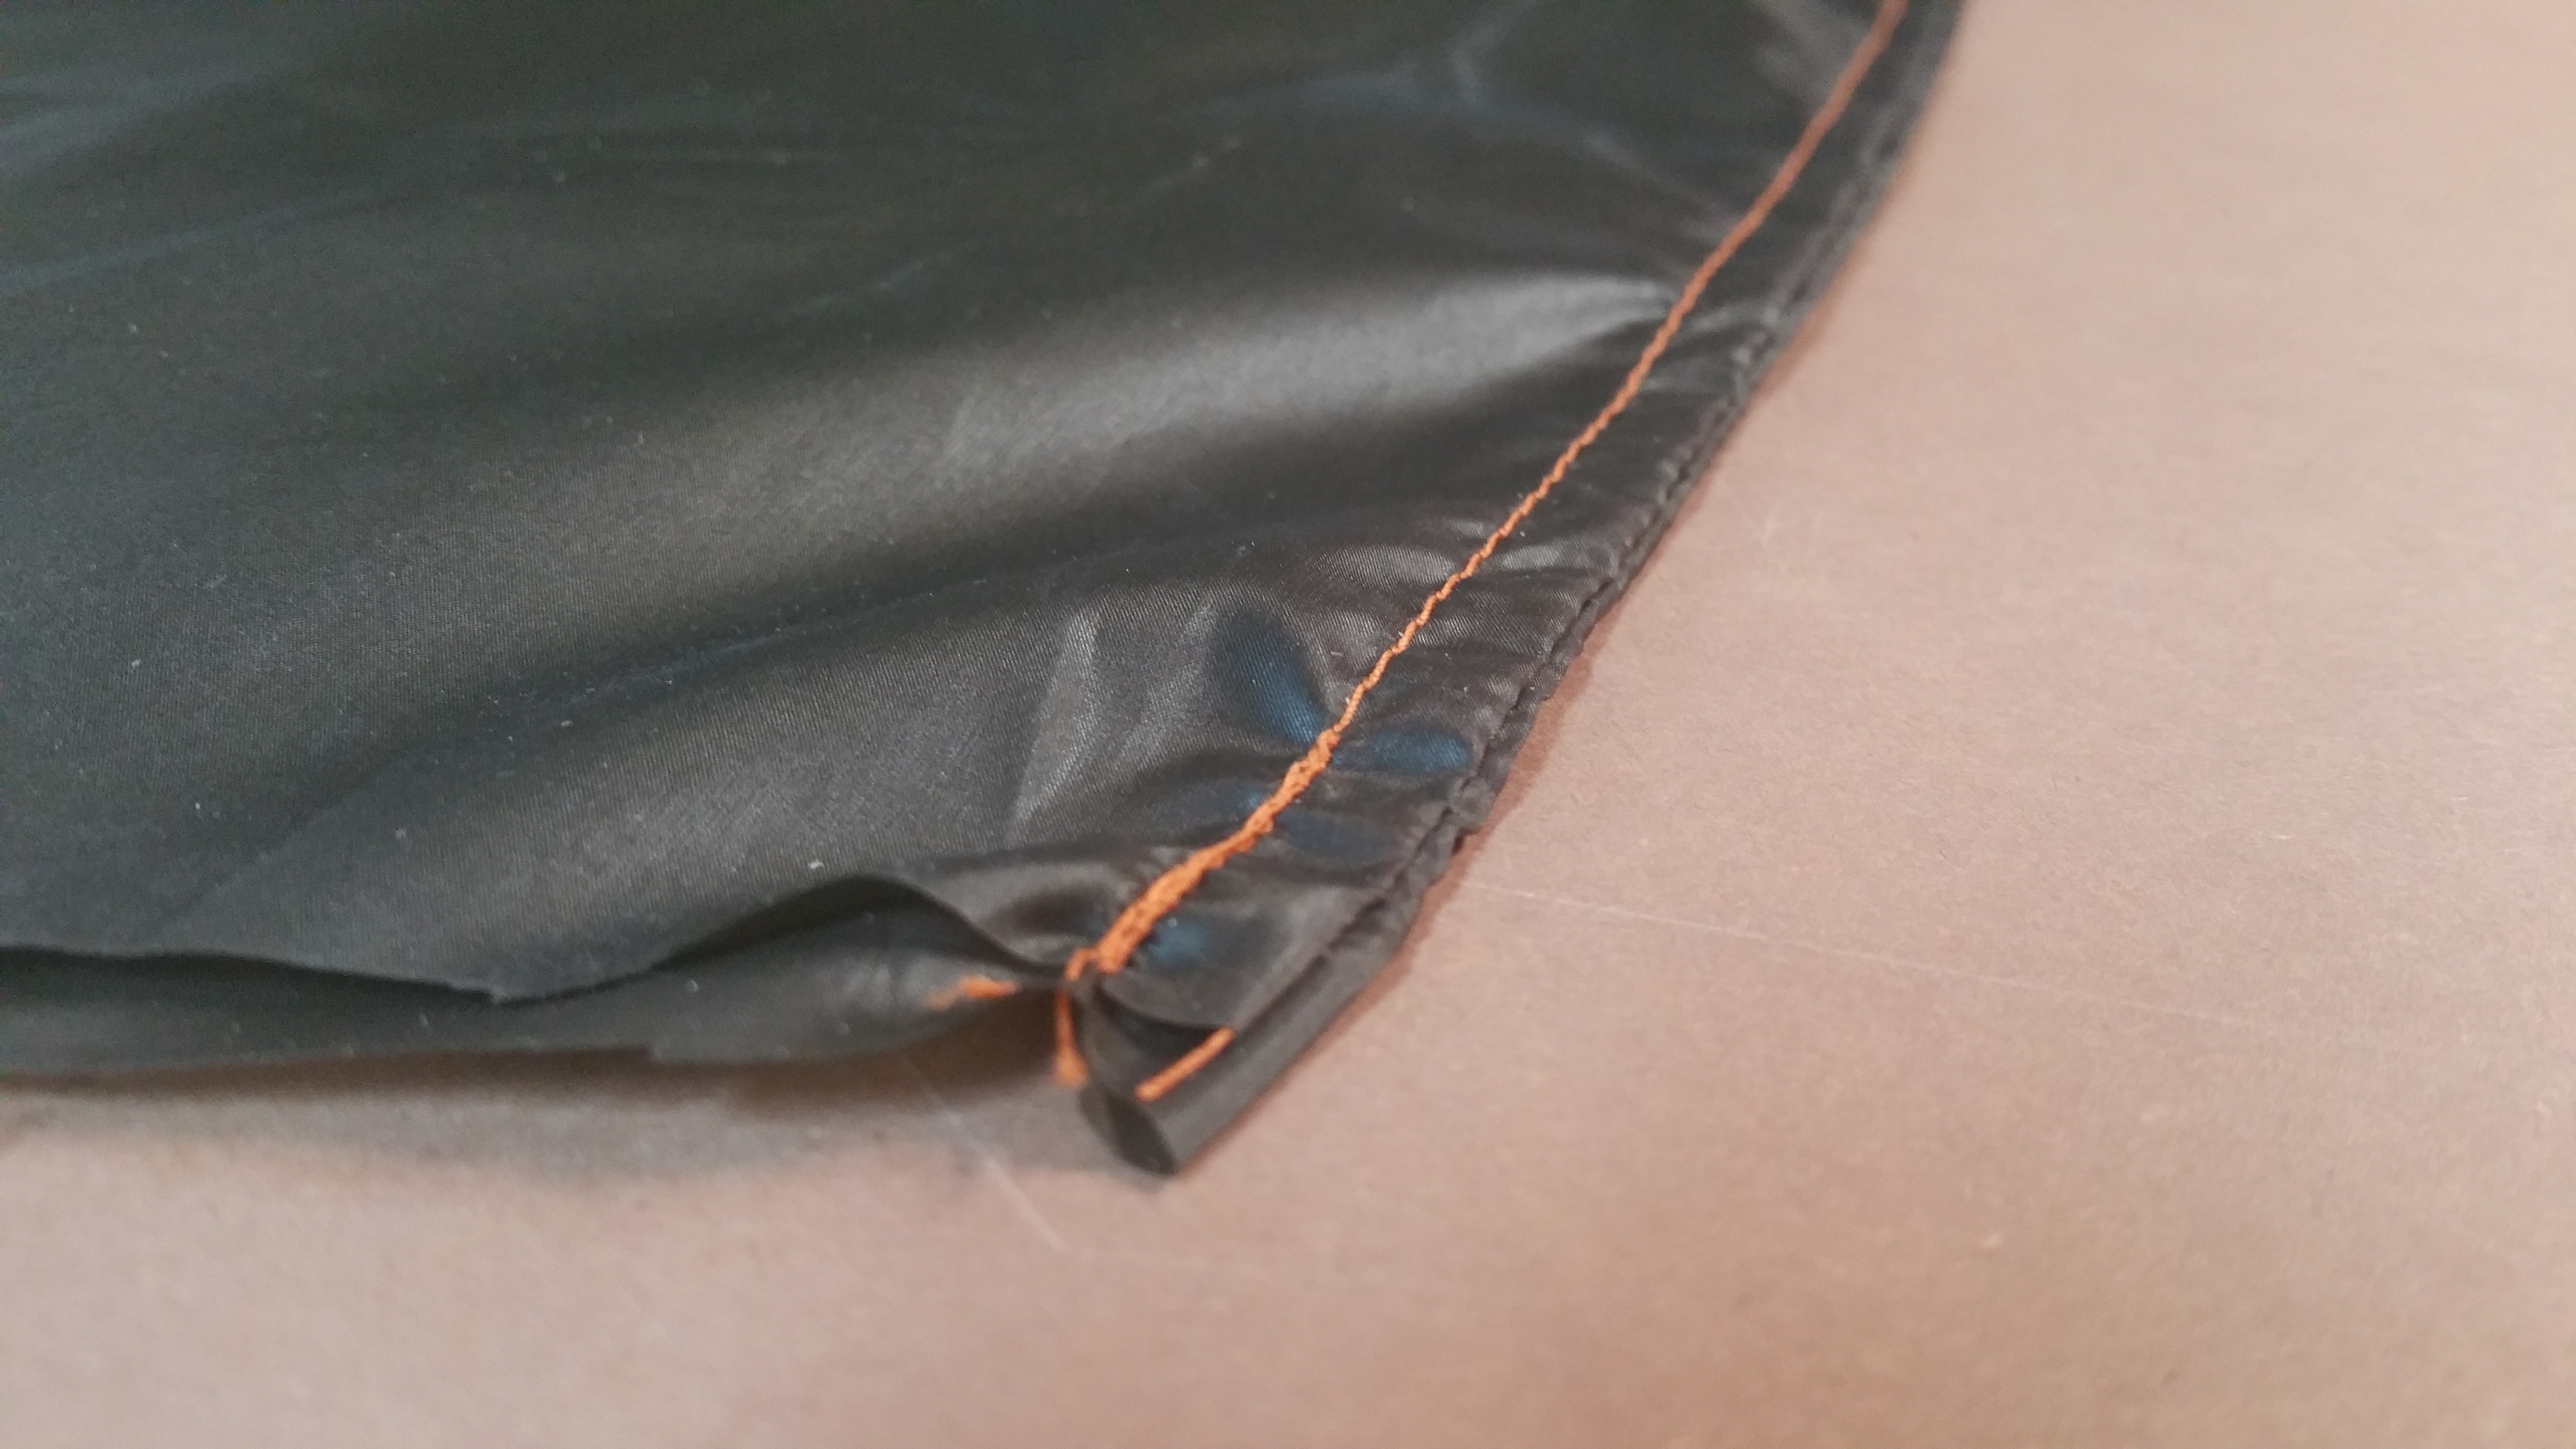
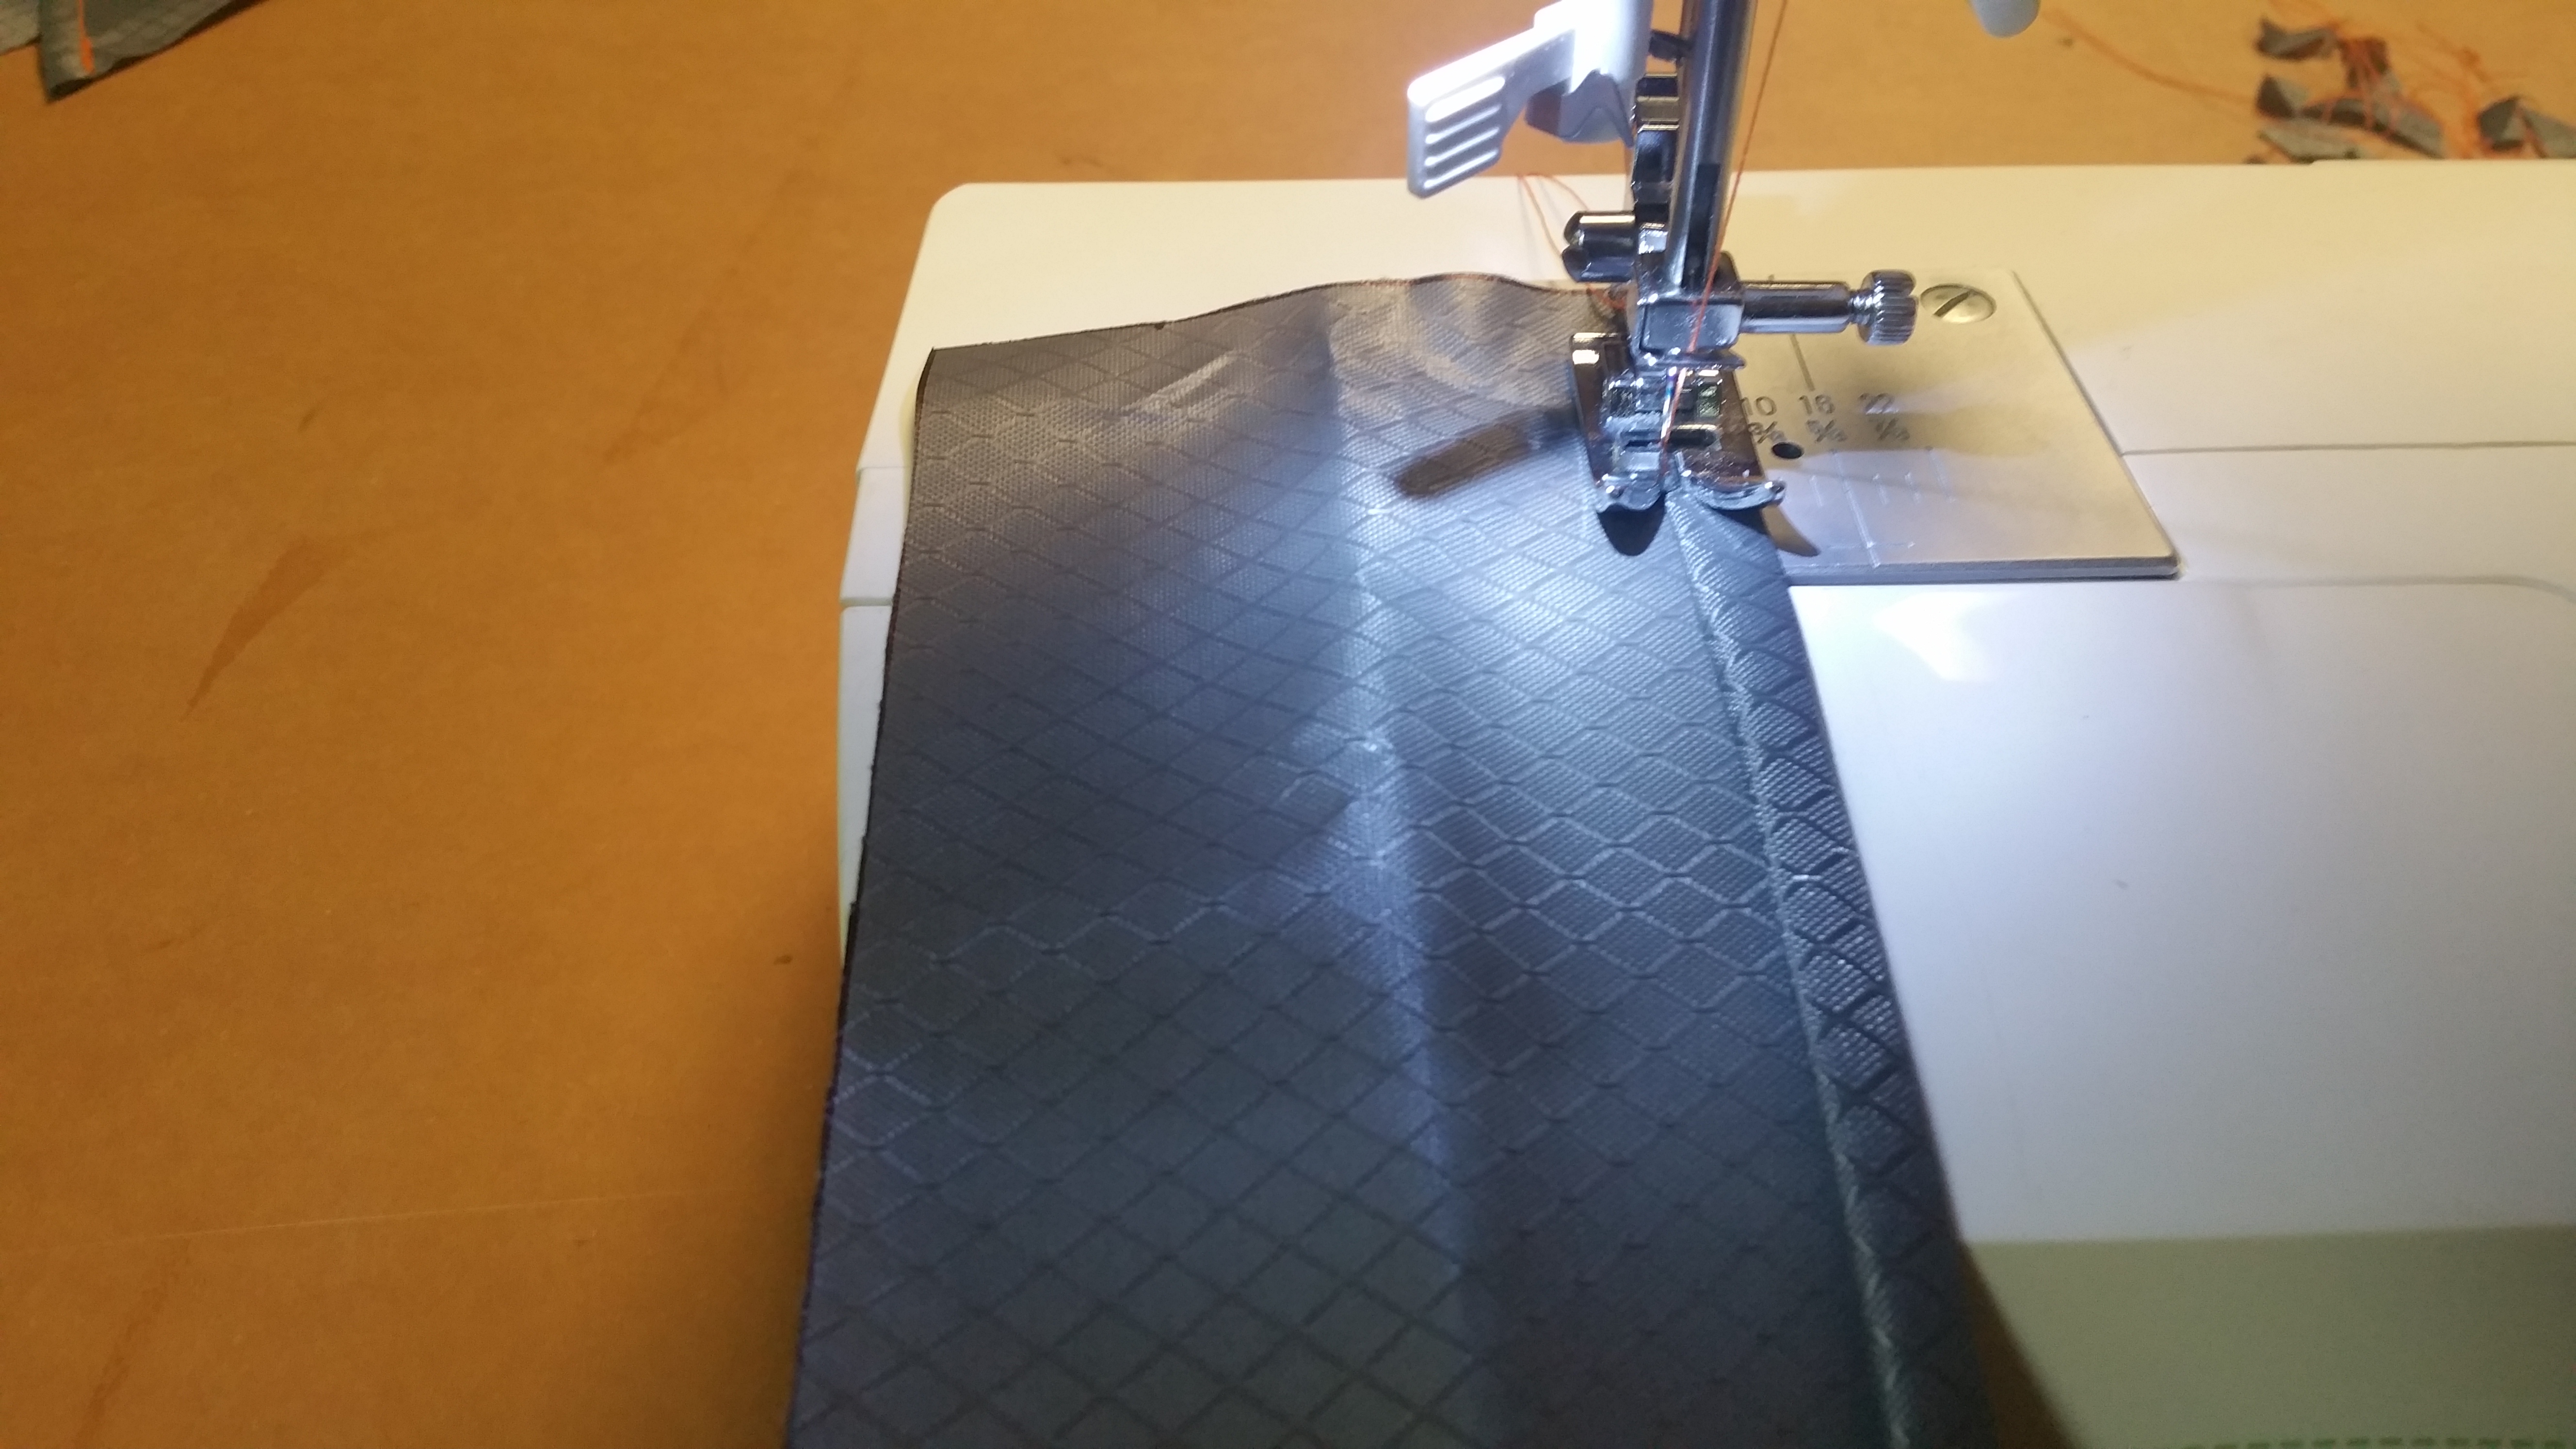
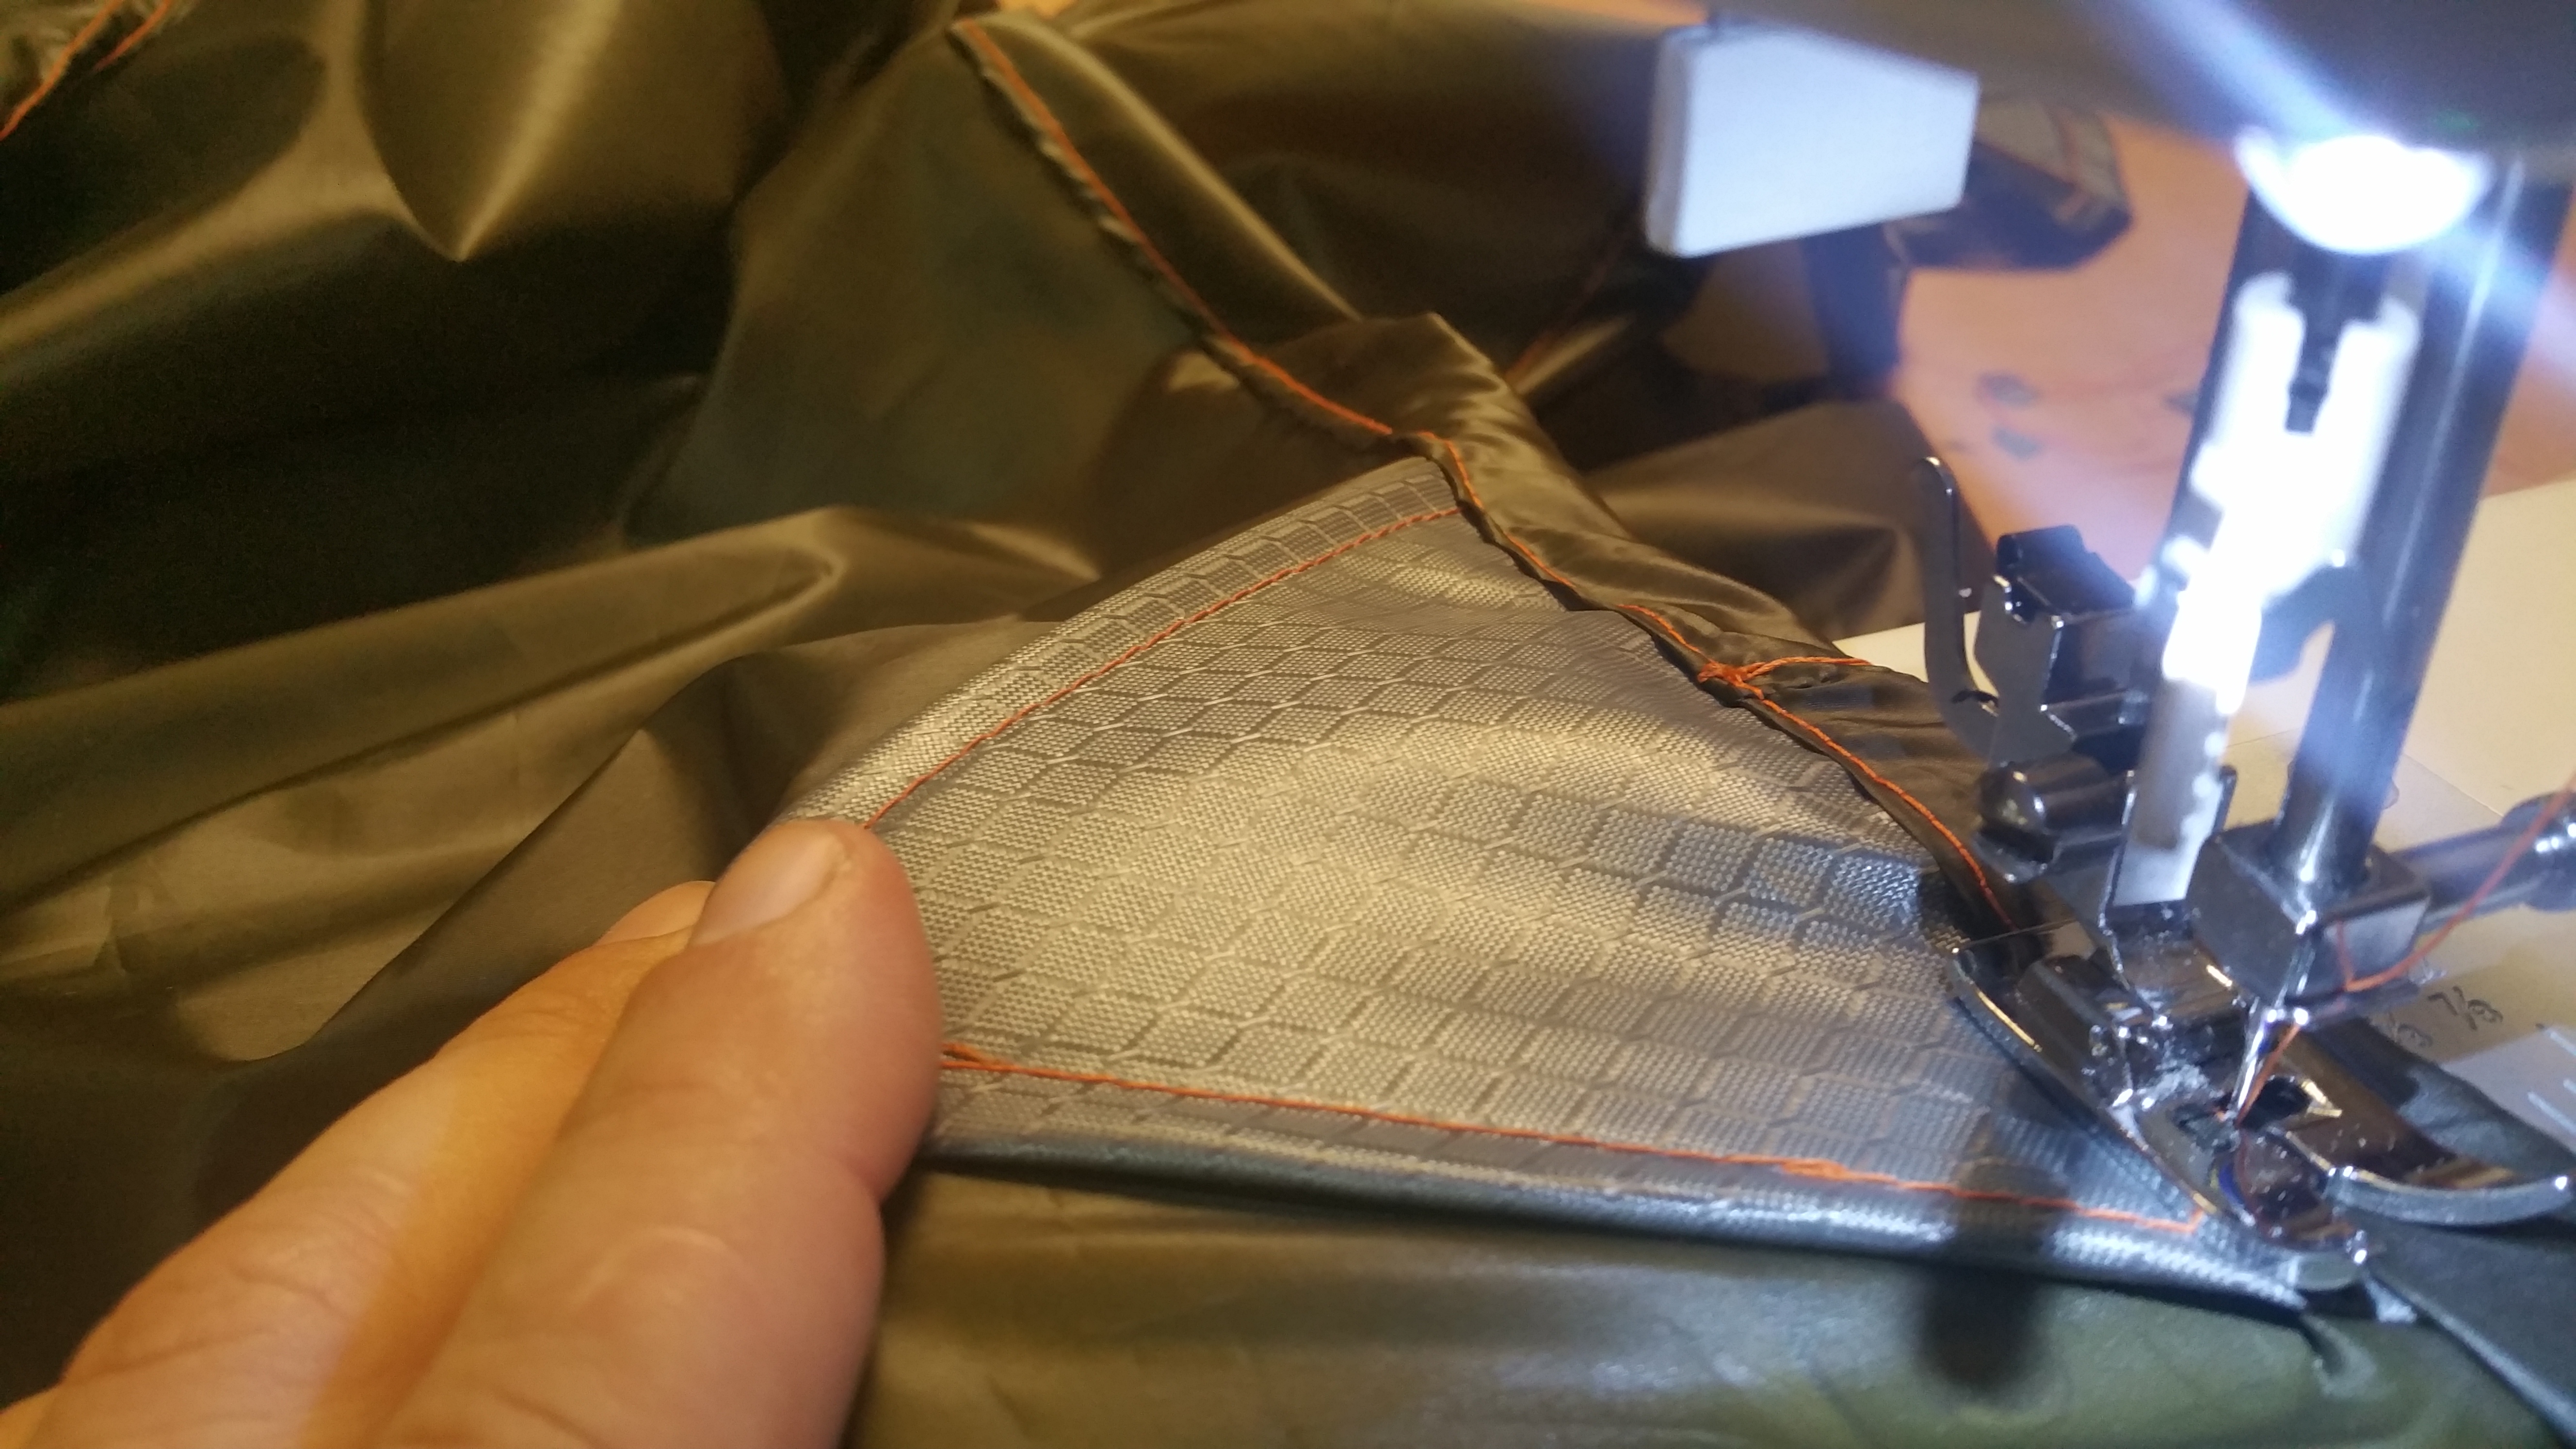
Next, fold your tarp completely open as shown in the first picture below. Fold over the little flap and sew it flat from one end to the other.
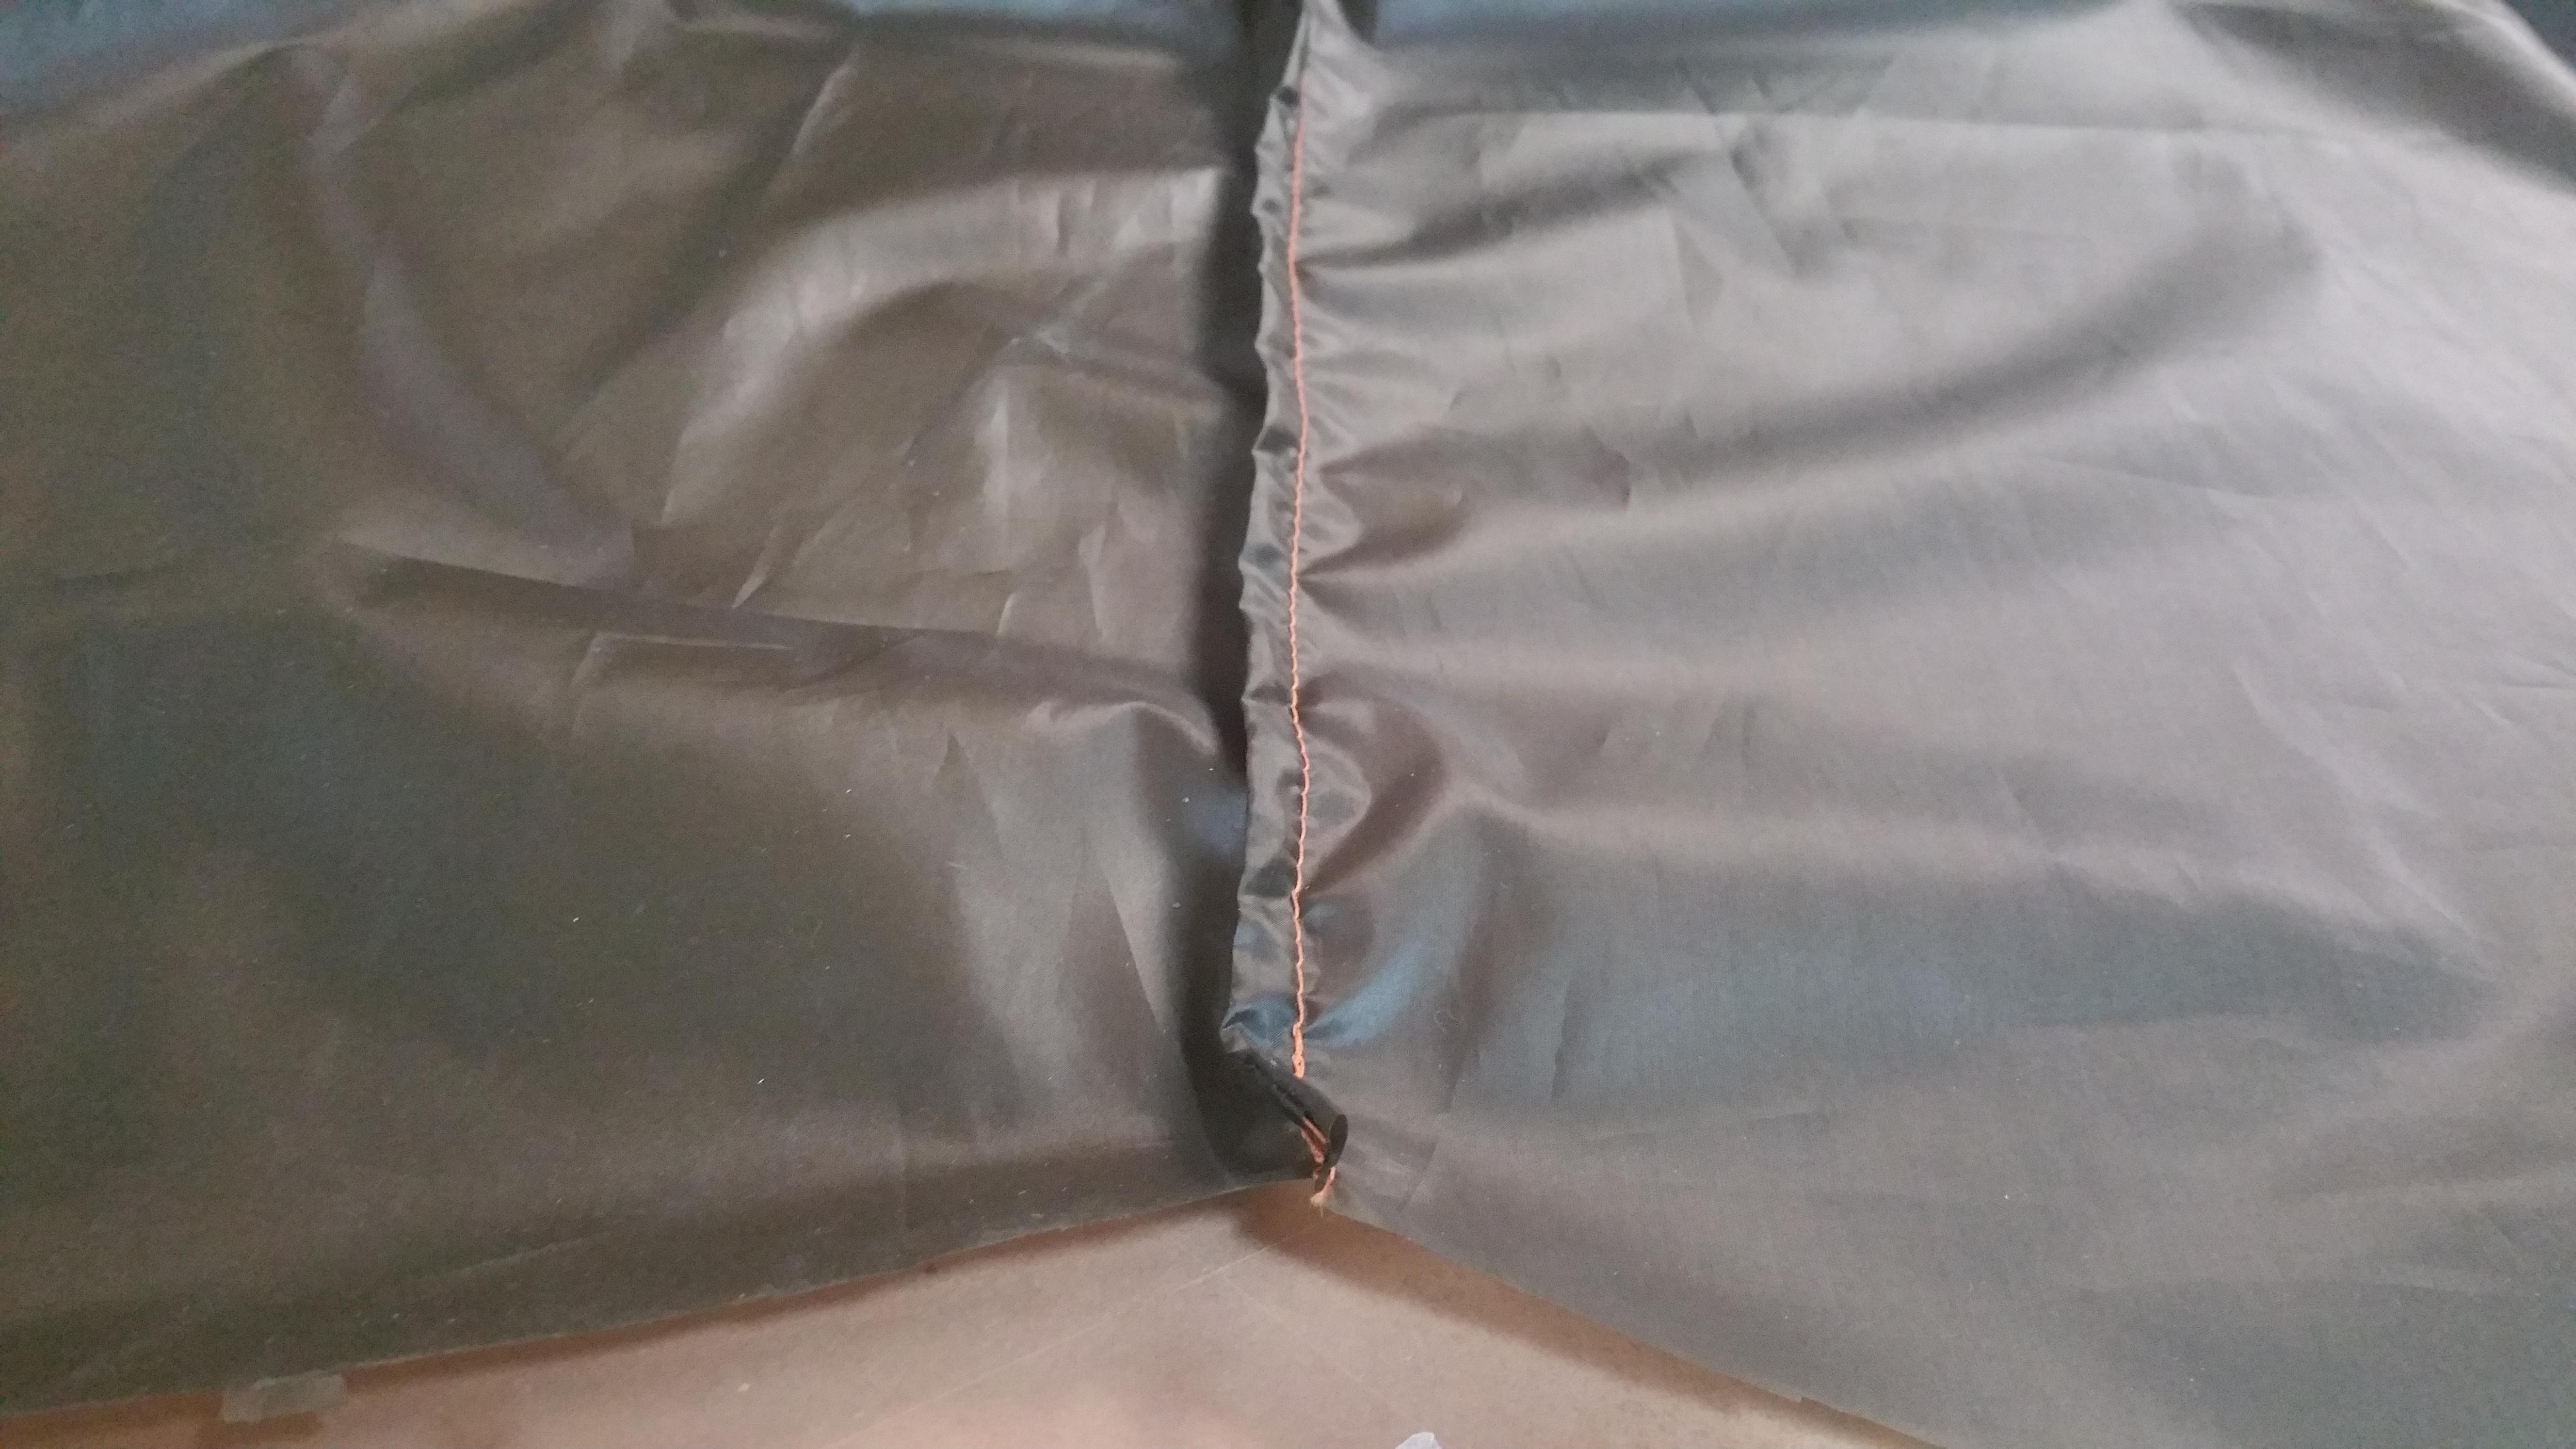

Once you’re done it should look like the pictures below. 1st picture is the inside of the tarp and the 2nd picture is the outside of the tarp.
Step 14
Now that your tarp is all put together we need to hem both ends and finish out last tie outs. First, pin your ridgeline triangle in place and make your rolled hem from one corner to the other. Repeat on the other side.
Step 15
The final step for sewing your tarp is to finish stitching your corner and ridgeline tieout points. They are done just like in step 9 earlier. Stitch them down and add grosgrain and D rings with a double boxed X stitch.
Congratulations on finishing your winter tarp! It takes some work but it is well worth it in the end.
Similar DIY Projects & Instructions
- ASYM Tarp DIY Instructions
- Cowboy Dart Tarp DIY Instructions
- Cowboy Trail Boss Multipurpose Tarp DIY Instructions
- Ultralight Tarp Shelter DIY Instructions

Sign up for news & events
5 Comments
Leave a Comment
You must be logged in to post a comment.
I didn’t see where you did anything with the doors except cut them out.Where did you install the doors?
I plan to buy this tarp kit and build it soon.
Thanks,
Keith
When you make your cuts you will be left with 2 pieces of fabric if you look at them you will have a short side and a long side the short side is your Ridgeline and will measure 11′ or 12′ depending what you choose the long side will be the bottom part of the tarp and that is where your doors are you don’t sew them on if you can picture it the edge of the short end is the top follow it straitdown and that is part of the rectangle your corner tie out goes that triangle that is left is your door hope that helps
I’m making one right now out of silnylon. The tarp weighs 650g complete. Does this sound about right for a 3 x 3 metre tarp?
Good instructions, easy to follow. I’ll do it again soon, hopefully out of Dyneema. Want to practice on silnylon before I spend a ton of money on a Dyneema one.
Thanks so much. Any plans for a hammock kit?
Has anyone made a video of this for those who are not good at following written instructions?
We have not made a video of this and don’t plan to at this time. Good luck =)